Rim blues – the end of the story

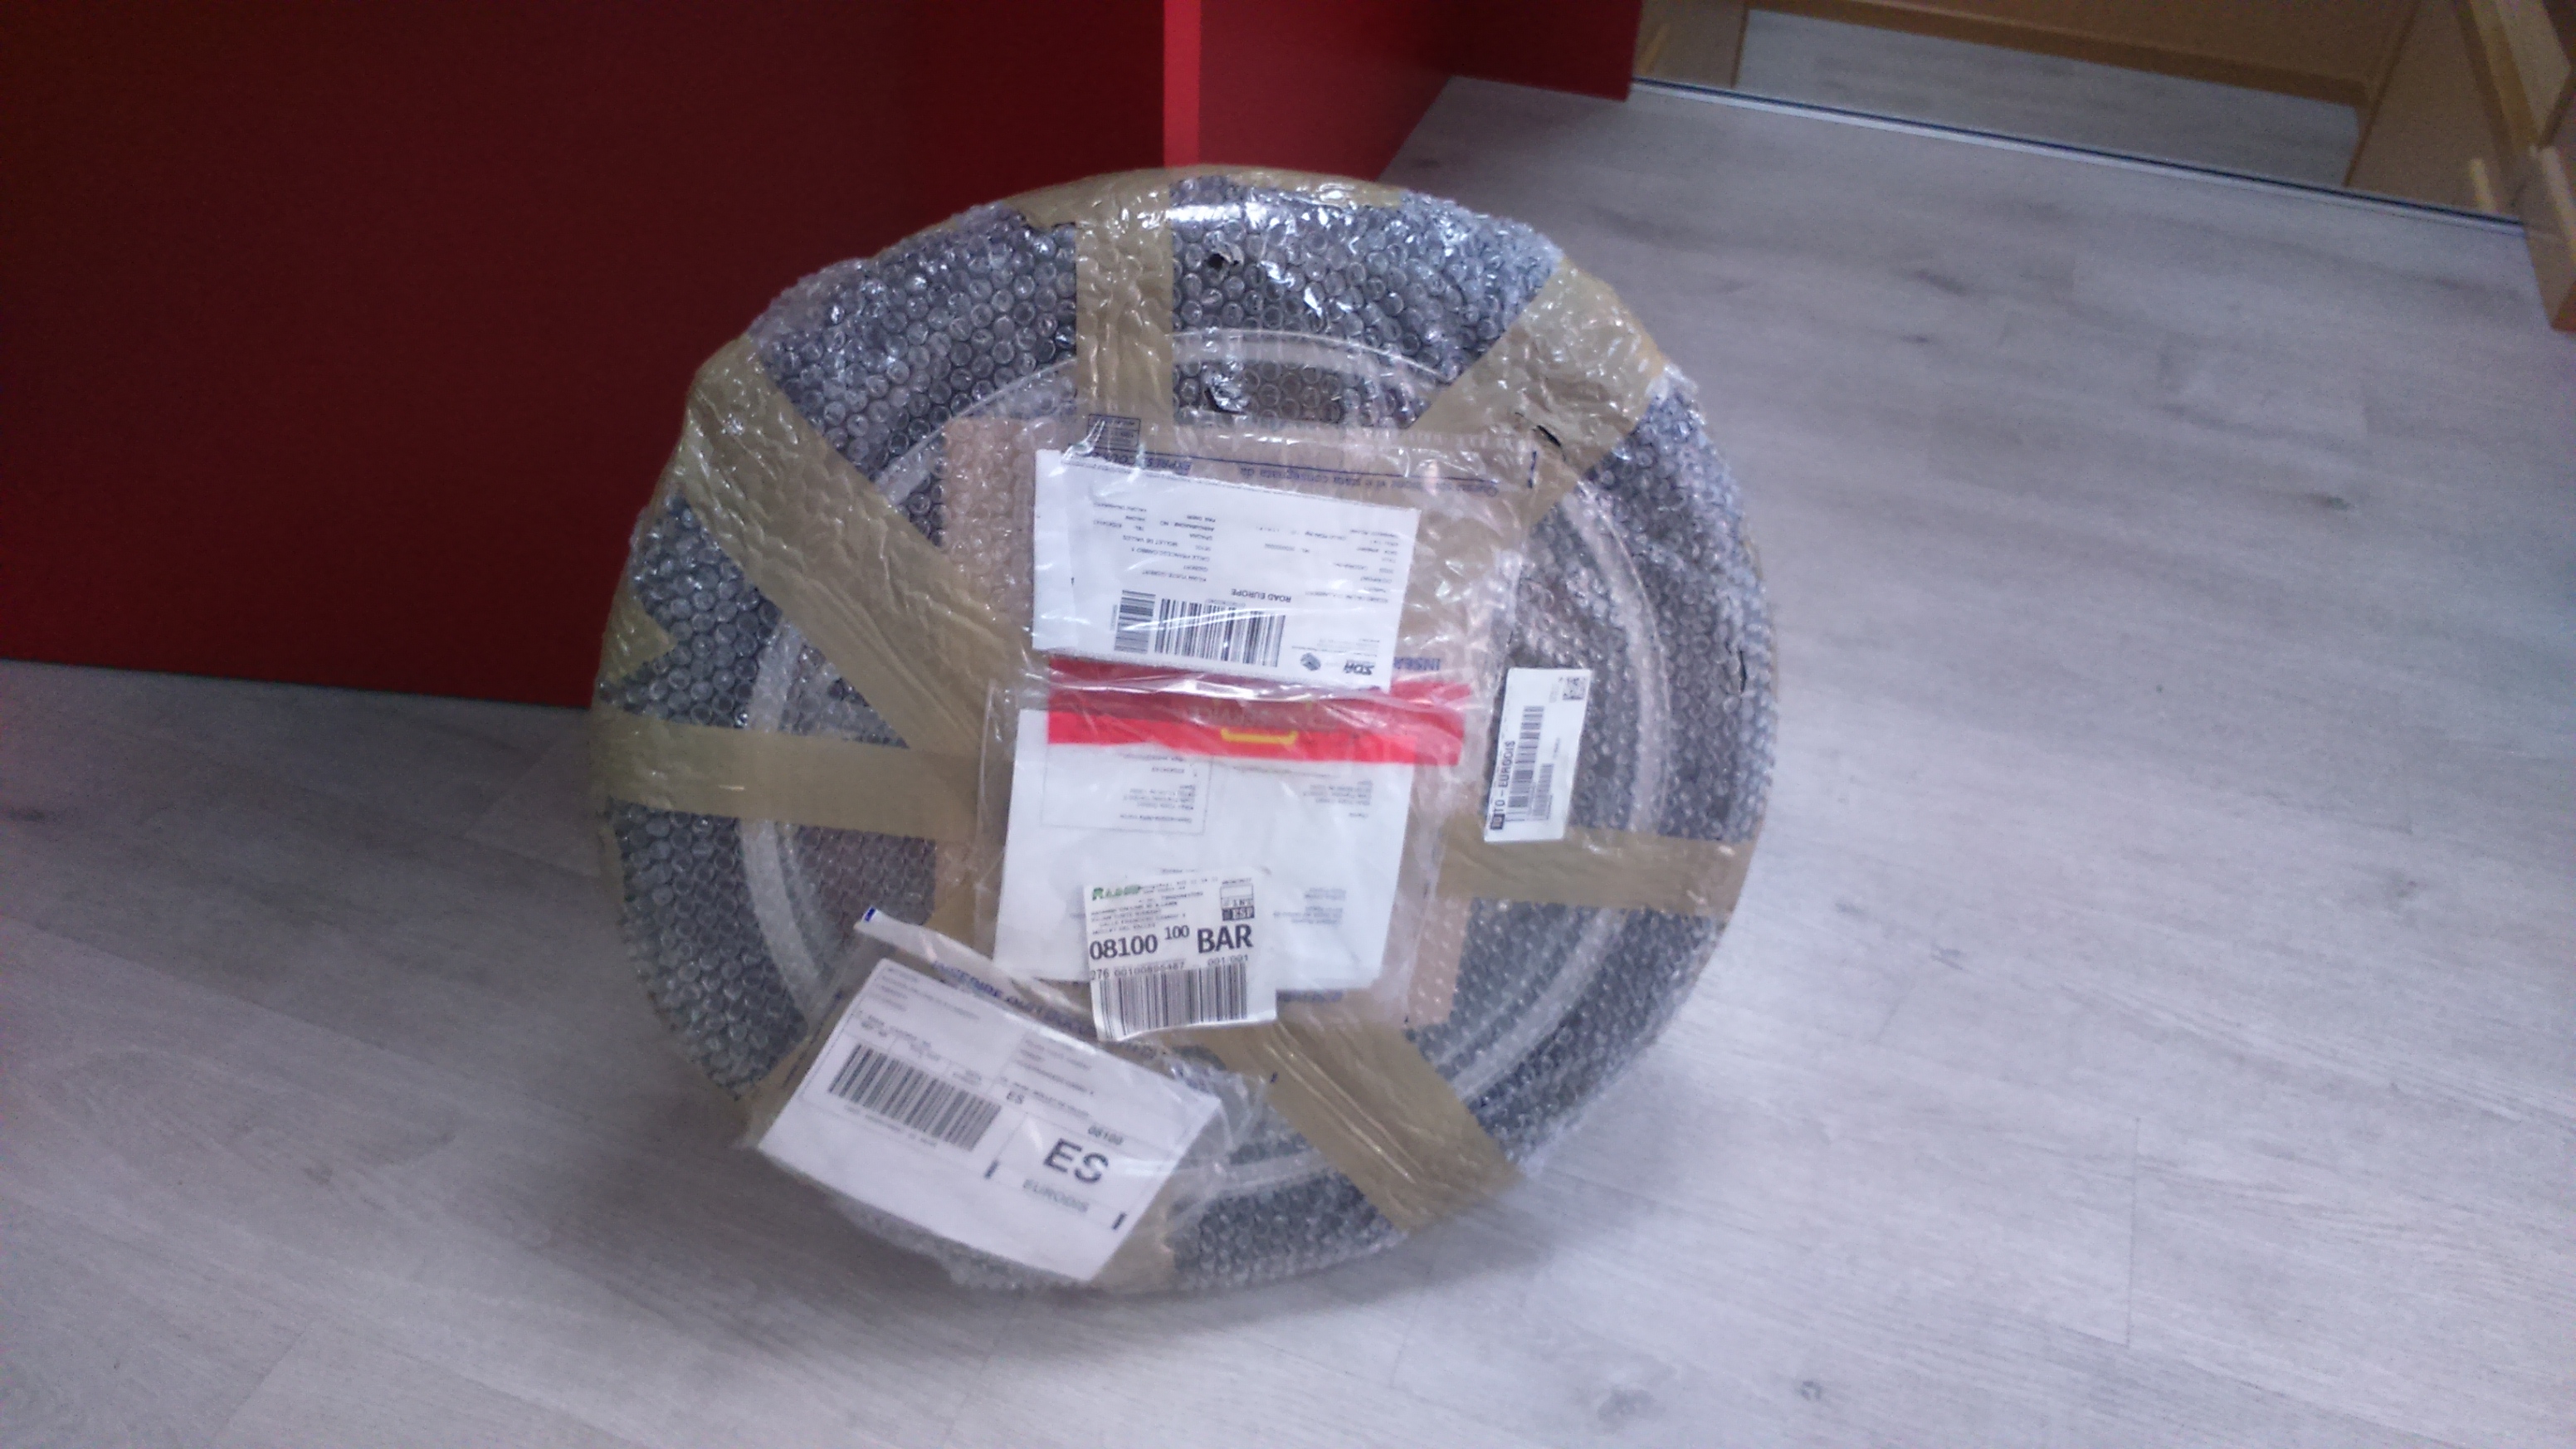
A week after receiving the rim, I finally found some time over the weekend to get down to it – it was final exams week at work and those days are always hectic.

I had to remove the brake discs from the damaged rim and install the onto the new one, which I expected would not be an easy task, since the five bolts holding each disk were glued to prevent them from coming loose. Then, there were the bearings. The rim I had bought had them fitted, but I did not know whether they would be in better or worse condition than the ones in the old rim.

So, the plan was to paint the rim over the weekend (it was silver, remember), as it required a coat of primer and 24 hours later at least one coat of matt black paint, and then on Monday take both rims and the tire to the shop and have the brake discs transferred, the bearings checked and swapped if necessary and the tire fitted.

Once I got to my parent’s place, however, my father, a retired mechanic, engineer and all-round DIY genius, checked the bearings and found that the ones in the new rim were in much better condition, so they did not need swapping, and he also said he felt confident that we could remove the bolts in the disks ourselves. Seeing a chance to get all the work done in one day, I started to have doubts about paining the rim and delaying things a further couple of days. On top of that, several people had told me that I should keep the rim in silver, as the V-Strom had had a long life and it was a fighter, so having mismatched rims would only add to its charm. The front left indicator is still held together with duct tape since the wind toppled the bike in a fjord in 2013, so I thought they had a point.

We set about removing the bolts, which required a long enough lever and a determined hand. Then I removed the ABS sensor disc, and when we were going to fit it on the new rim, we got an unpleasant surprise.

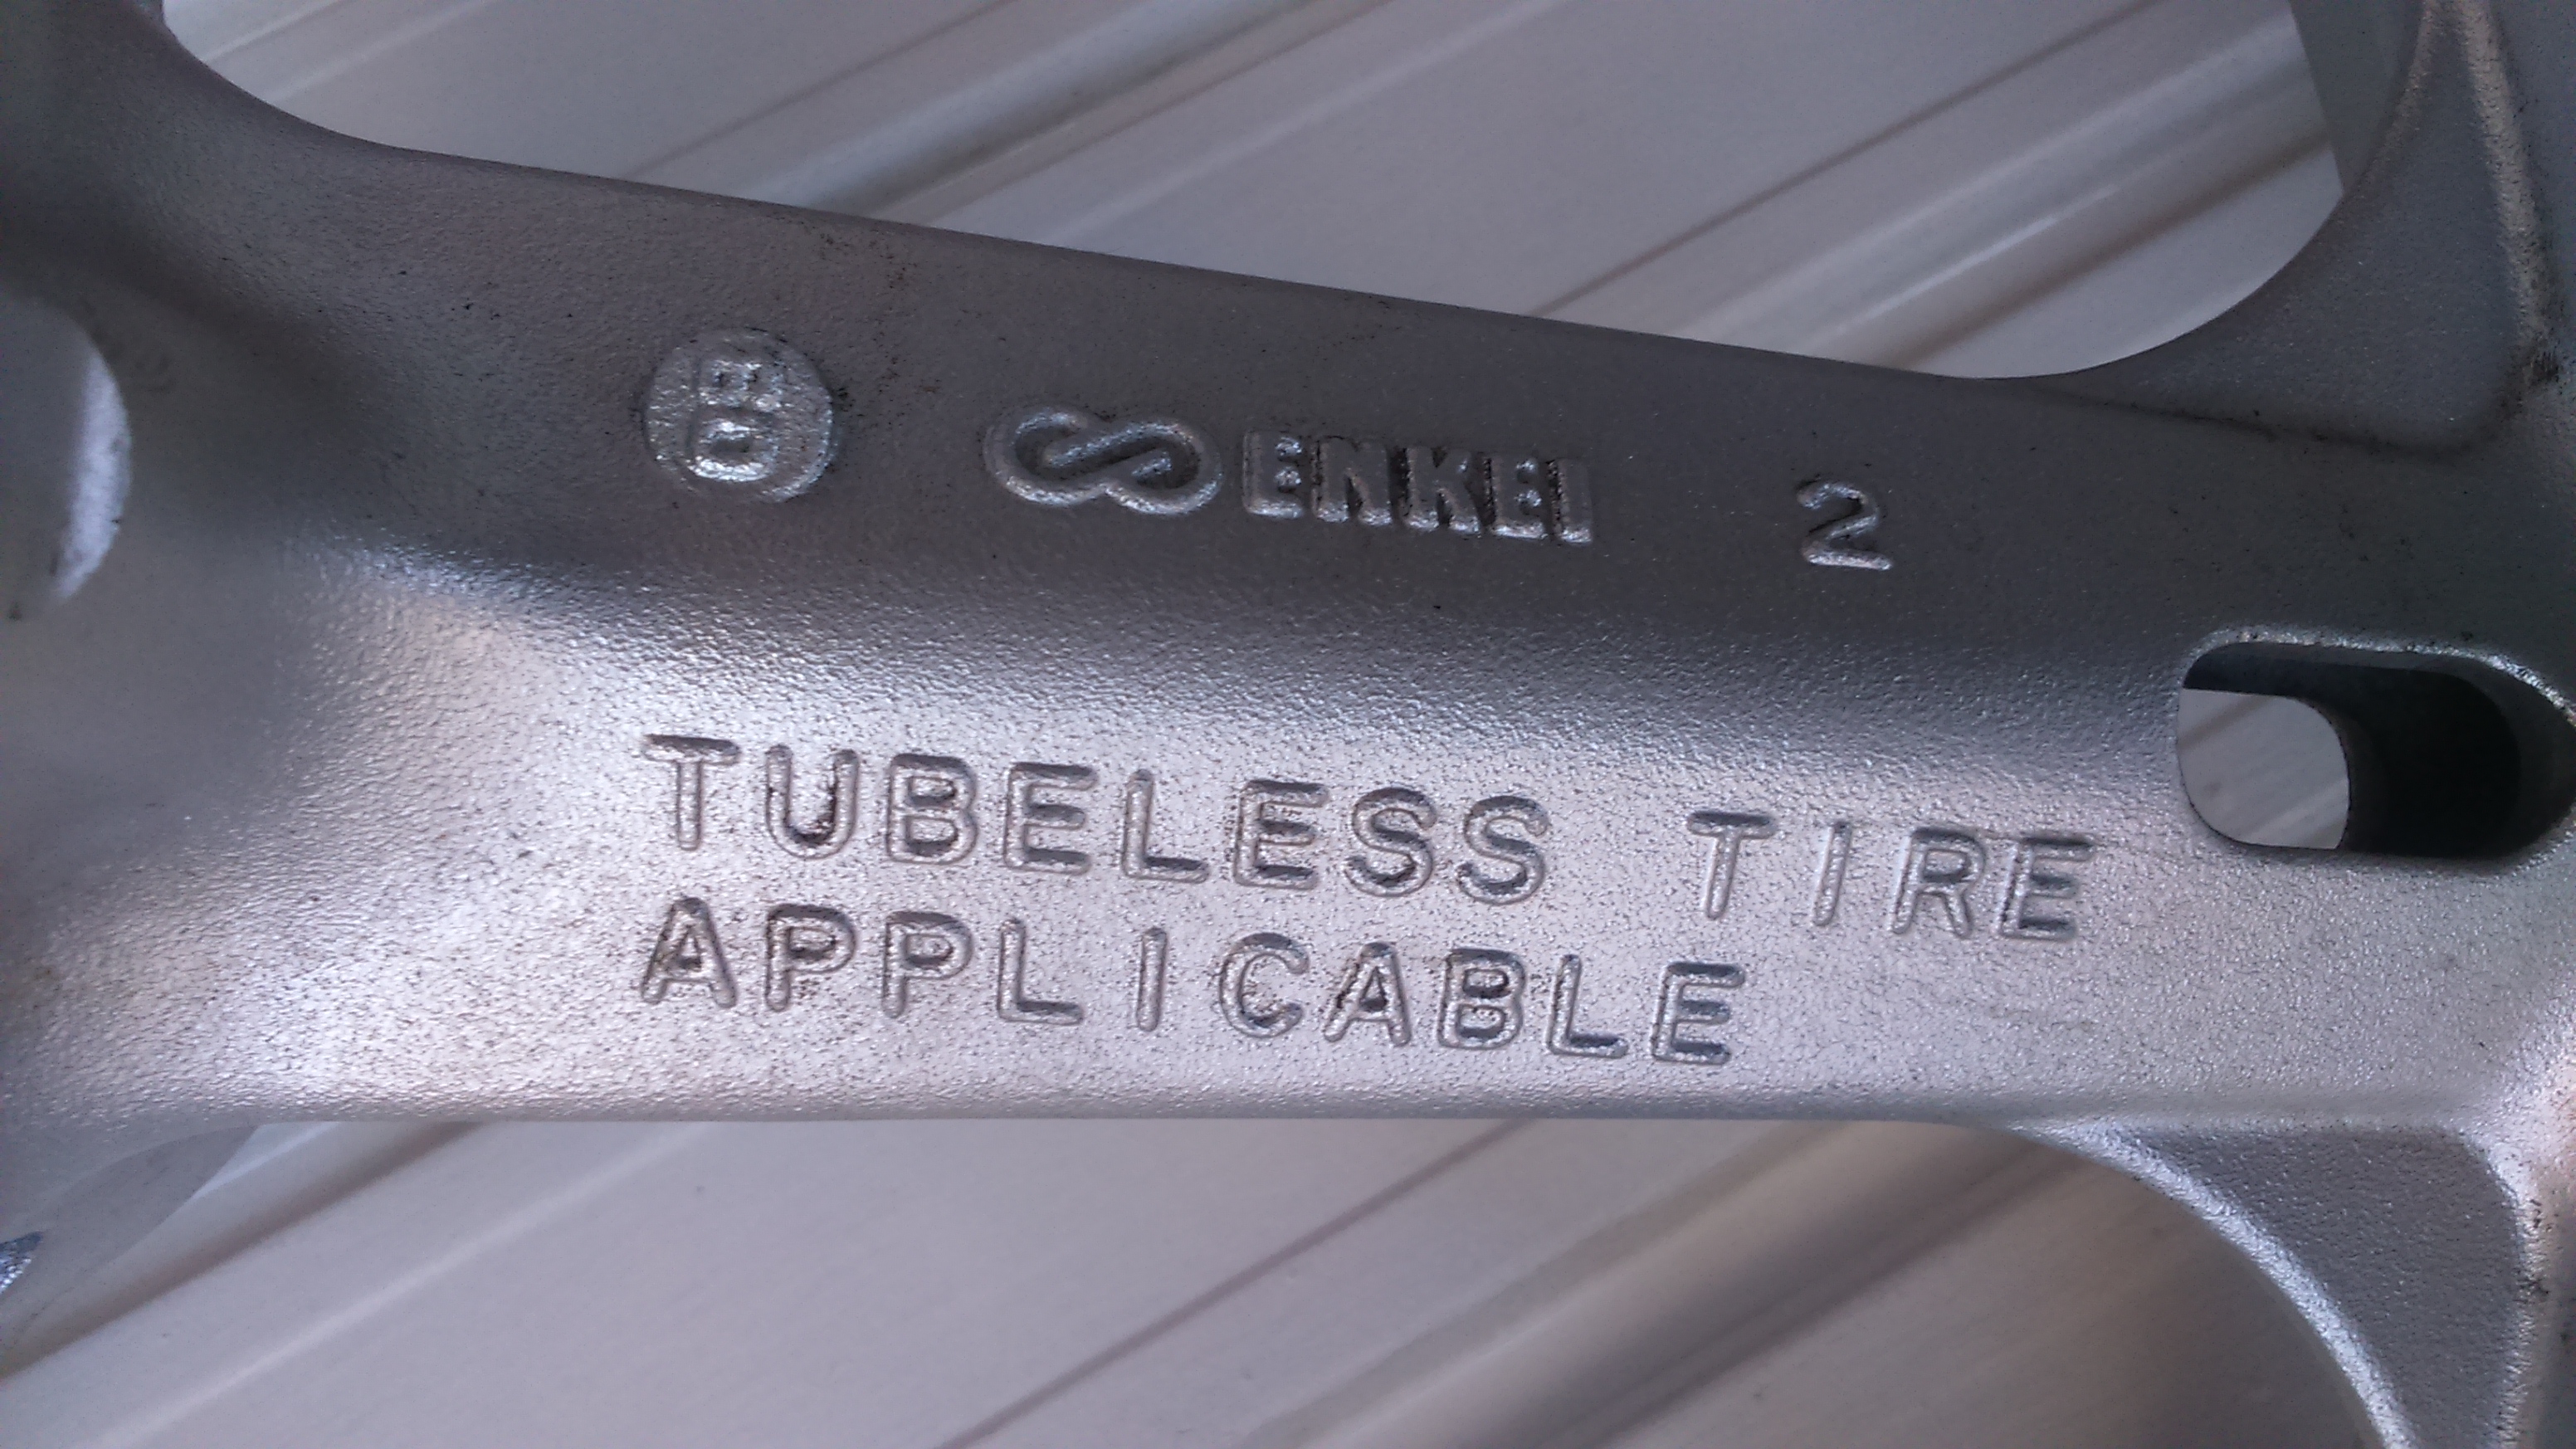
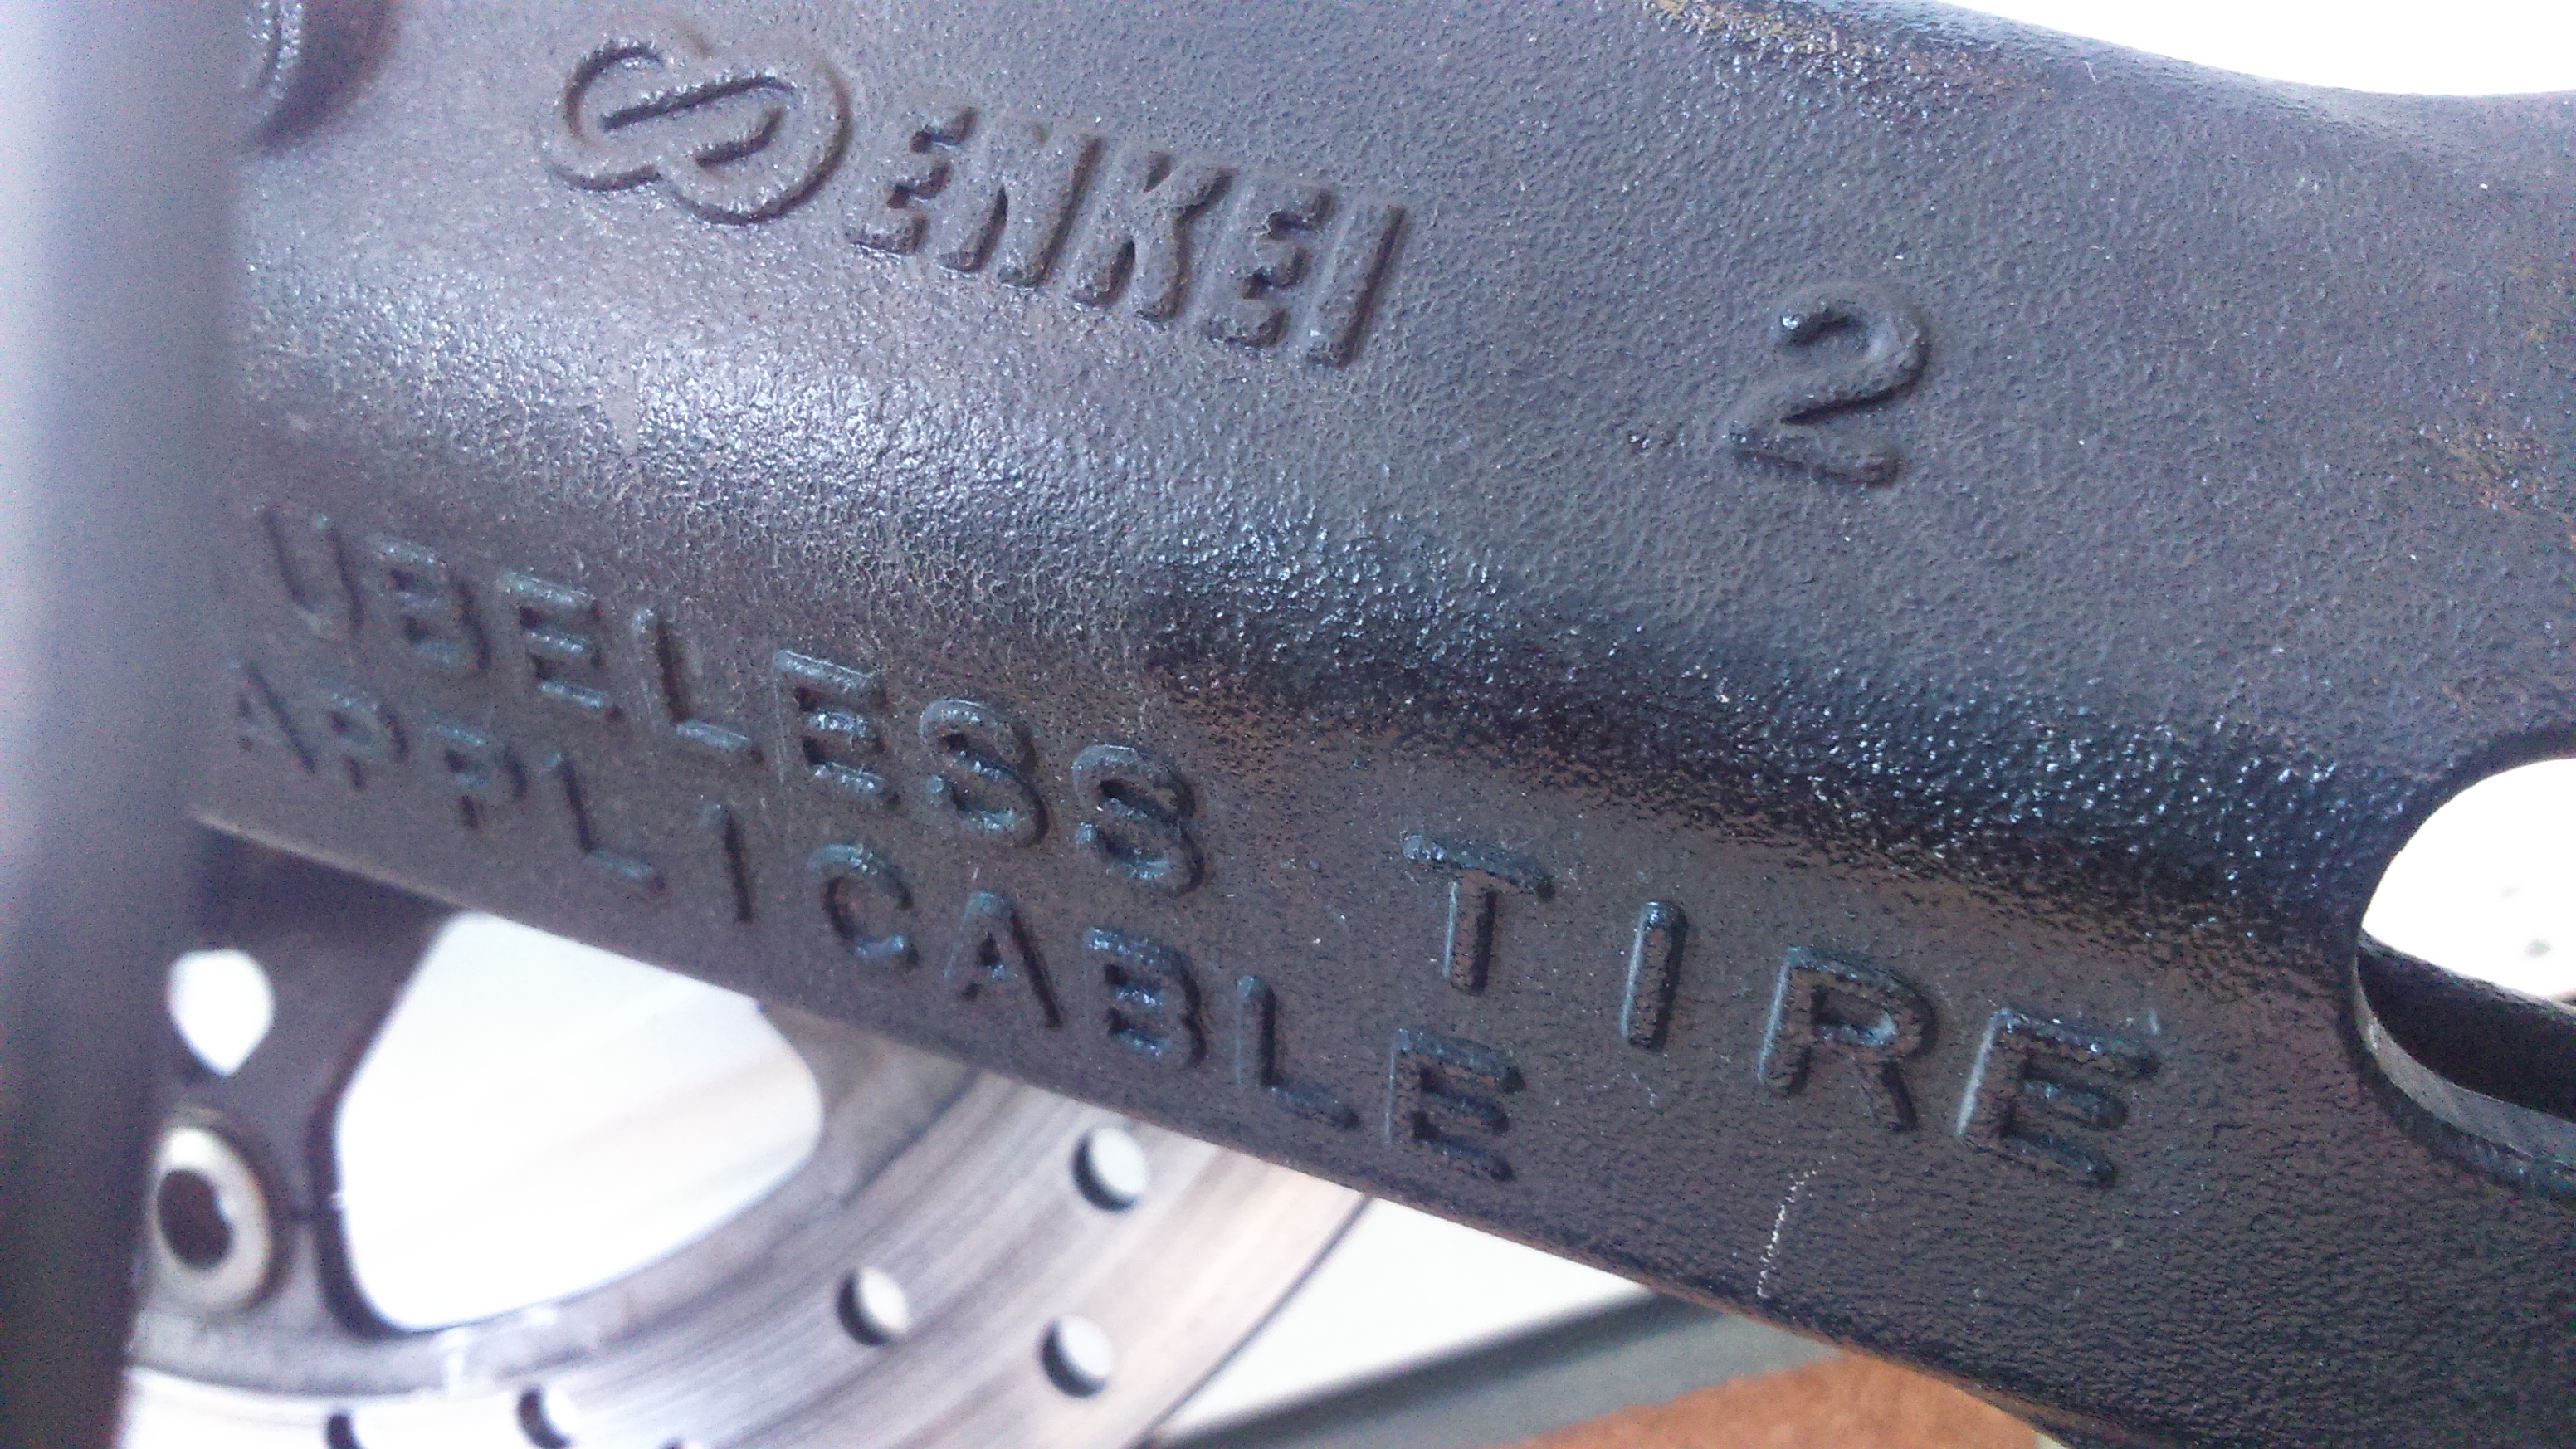
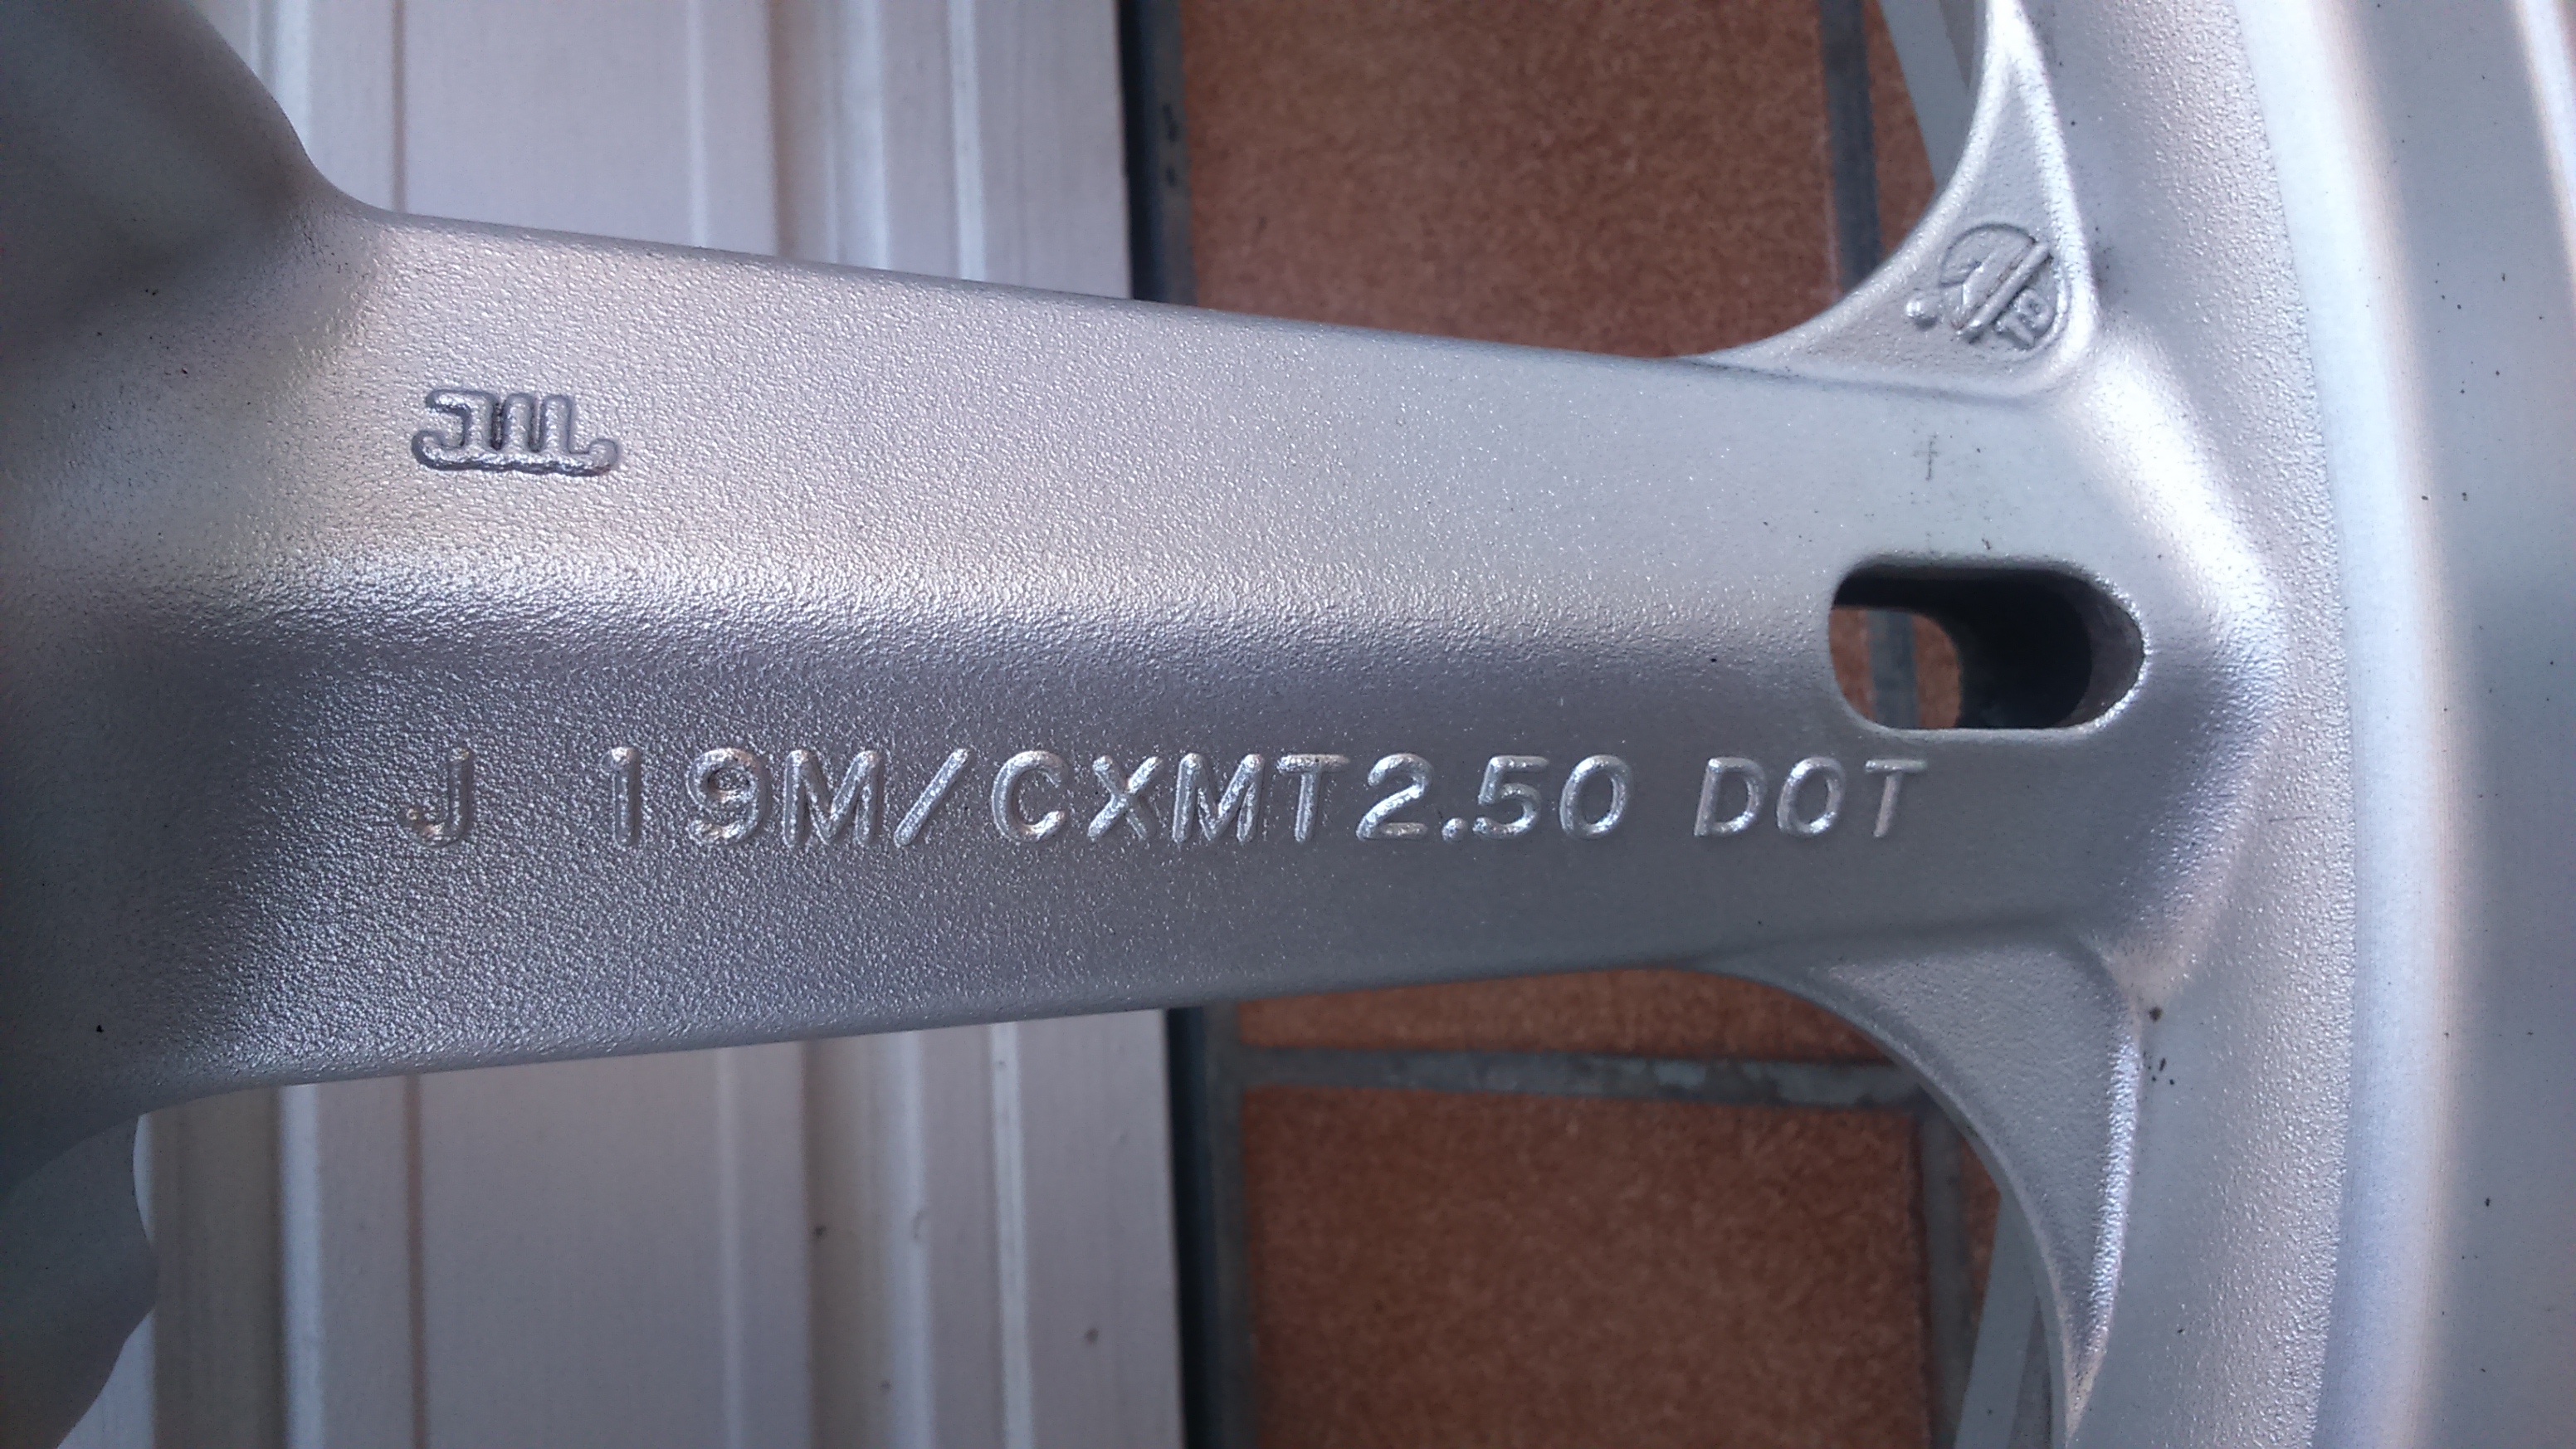
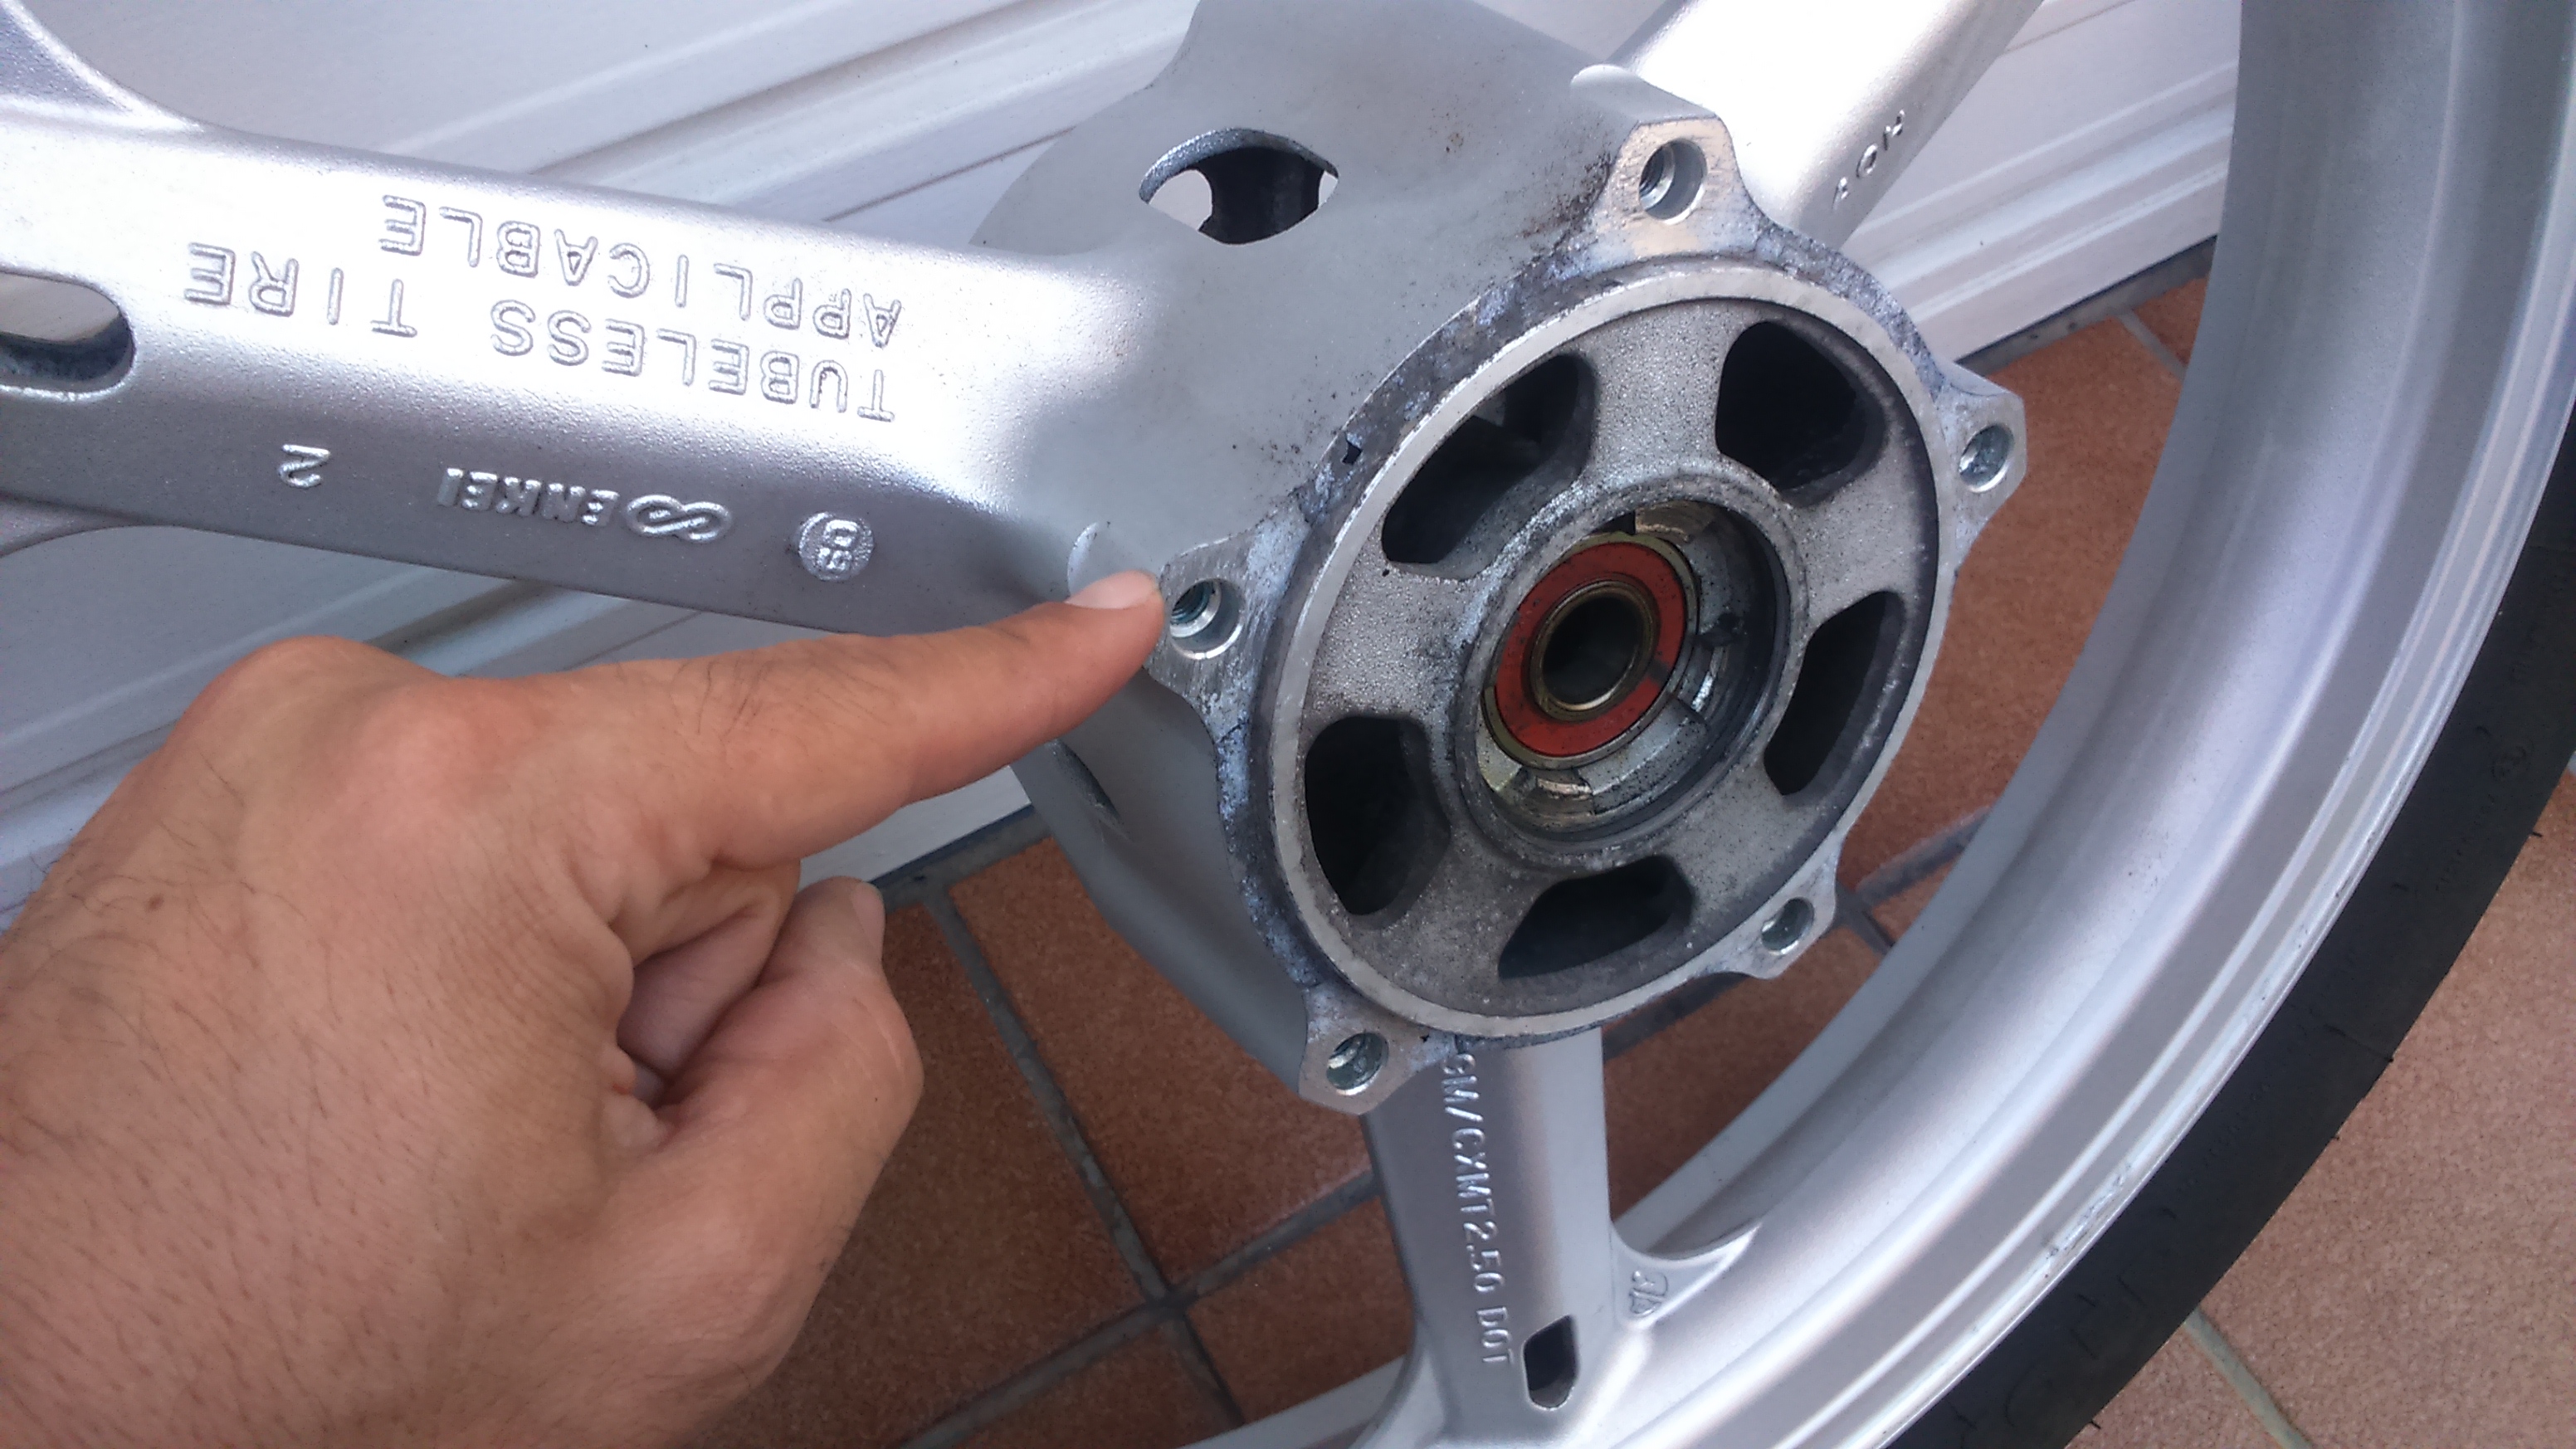
Even though the rim was for the 2007 to 2010 model, had the exact same codes as the one on my bike, had the disc brakes mounting points in the right place to make room for the ABS sensor disc, and the disc fitted snugly in the space provide for it… there were no mounting holes for the bolts that held it in place!

I could not believe it… Suzuki modified the rim then ABS became available in 2007, but apparently only drilled those holes on models equipped with it, which I personally think is an extra complication in the production line. Why not make all rims the same?

We were not going to let that drawback stop us now, so out came the tool collection that my father had built over decades and we tackled the problem.

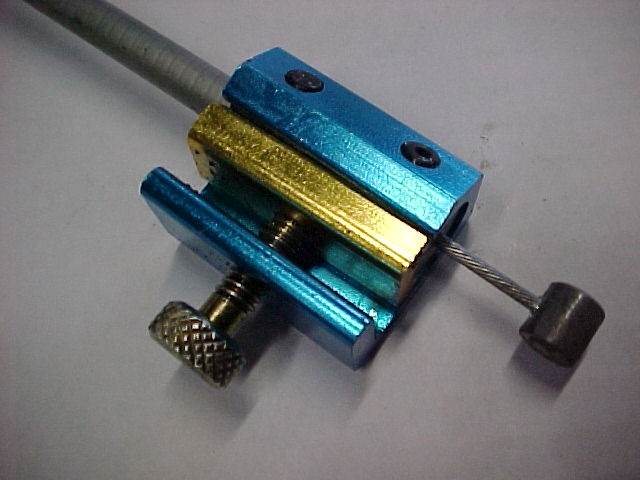
We drilled three holes and, with a specialised tool, cut the thread for the bolts in them. The ABS sensor disc was perfectly secured in position and then we mounted the brake discs.

I managed to find a tire shop that was open on a Saturday afternoon and got the tire fitted at the moment for 20€, and the whole wheel finally went back onto the motorbike! All in all, it has taken almost a month, but my pockets are much happier than if I had had to pay for a new rim!

Advertisement

Il cerchio

Having admitted defeat on trying to have the rim repaired here in Barcelona, I considered my options:

  1. Strap it to the back of the AT, ride all the way to Astrakhan and have it fixed there.

As tempting as that sounded, I did not have the time nor the money for it (yet, but I want to go back there in the future).

  1. Buy a new rim.

List price for a new front rim is over 500€, which must be about half as much as my 160,000-kilometre bike is now, so that was also out of the question.

  1. Find a second-hand rim.

Now, that was a more realistic option. I first went to see Fabio at Hamamatsu Motor and told him my story. He agreed that a used rim was the best alternative, and quickly found one online, but it was sold through a professional breaker and it was a bit too expensive.

The cheapest option might be to source one from a private seller through motorbike forums and online ads, so we agreed that I would try that and if I could not find anything, he would order the one we had seen.

The problem is that anything at the front of a motorbike (rim, forks, headlights, etc.) is what breaks first in most accidents, so finding a good rim would be complicated, especially if I wanted it fast. To make matters worse, despite looking practically identical, the wheels for the ABS and non-ABS model are not interchangeable, and the V-Strom 1000 wheel is not compatible either. I spent a week visiting different sites and managed to locate up to four different rims, but they were all from non-ABS bikes. I located one that looked promising in southern Spain – it was in good condition and it was cheap, but for some reason the guy selling it kept me waiting for four days before confirming that it was for a non-ABS model. Argh!

I called Fabio to order the one we had seen, but it had already been sold. These things go fast! I went back online and finally managed to find the right one: ABS, 2007 model. The problem was that it was silver, not black. And in Italy. And more expensive than the other ones I had found… But at this point I could not afford to go on trying to find a good deal, and it was still way cheaper than a new one, so I ordered it.

A week later, it was delivered. I took it home, opened the package and checked that it was the right one.

The codes were the same:

And also the mounting points for the brake discs, which are the main difference between ABS and non-ABS models. The later mount in the hub, while the former have mounting points around the hub to make room for the ABS sensor disc:

Great! The only setback was that despite the fact that the picture in the ad showed the wheel without a tire, it had arrived with an old one fitted, I assume to protect the edge during transport. It was properly fitted and inflated, which meant that I had to go through the hassle of breaking the bead and removing it again… And this time I did not have an extra pair of hands to help me. Oh, and it was the hottest week in the year so far. Yay! Well, once more, good practice for the future. Here you can see how to break the bead with the side stand if you are alone:

Rim repair – Barcelona vs. Astrakhan

So, time to get the rim repaired! I thought it would be a good opportunity for some Top Gear-style useful consumer advice. Where is it easier to have a rim fixed? In Astrakhan, a 500,000-inhabitant city in the Volga delta I was completely unfamiliar with and with a language I did not speak, or in Barcelona, my hometown? Let’s compare experiences!

Finding a workshop that would repair the rim proved to be a lot easier than in Astrakhan. I just had to Google it, check out some opinions on bikers forums and choose one. In Astrakhan I had to wander round the centre until I found a biker gang, enlist the help of one of its members, Arkan, and trust he would know what he was doing because he did not speak a single word of English. So, the first point goes to Barcelona.

I contacted XR Llantas, which build and repair wheels of all kinds, both for individuals and competition teams. They have a very good reputation and trusted they could do a proper job.

I sent them pictures of the damage to the rim to see whether it was repairable or not. They said that they needed to see the rim to confirm, but it looked possible. Once I had removed the tire from the rim, I took it to their workshop in Barcelona on a Monday morning.

The place was smaller than I expected,there were rims of all kinds in every available inch of space in the shop, but it seemed they clearly knew their business. I gave the rim to a guy who inspected it carefully and said that they would need to carry out some tests (he mentioned infrared light and ultrasound) to see if they could repair it. Compared to the junkyard Arkan took me to in Astrakhan, this looked like a NASA lab, so Barcelona 2 – Astrakhan 0.

They said that they were very busy and would not be able to get it done until at least Thursday.  I was using the AT in the meantime, so it sounded reasonable to me. At least I was not stuck in the stifling heat of summer in Astrakhan.

A  week later I still had not had any news from them, so I called. They mentioned that they had started looking at it, but had had to stop because they had more urgent business. The guy I talked to on the phone was not the one in the workshop apparently, but he said that he thought that the wheel would be ready the following day, and that they would call to confirm. That was eight days, while in Astrakhan it only took from Monday to Friday morning. Barcelona 2 – Astrakhan 1.

Tuesday came and went with no news, and I was too busy with classes to call. Back in Astrakhan Arkan had called when we said he would. Barcelona 2 – Astrakhan 2.

I called the shop on Wednesday morning and the guy on the phone sounded surprised that they had not called me the day before, as he thought the rim was already repaired. He promised to talk to the workshop and call me later.

Half an hour later I got the promised phone call, but not with the news I was expecting. They had run their tests and determined that he wheel was too badly dented and bending it back into shape would weaken the aluminium too much and there was a risk that it might crack and cause an accident. So, it was not repairable. In Astrakhan they took a wheel in much worse shape than this one, fixed it with no objections in four days and it remained usable for two more years and thousands of kilometres, after which it developed a microscopic leak and I had to have replaced. Barcelona 2 – Astrakhan 3.

There you go, then – if you want something fixed, get a Russian mechanic to do it.

Learning to break the bead on a tire

I went on my first adventure trip on a bike that had tubeless tires, so I was only carrying a puncture repair kit of the kind that plug a hole in the tire without having to remove it from the rim (not that it helped much when I dented the rim…)

The new bike has tube type tires, which mean that when I get a puncture I will need to remove the tube and either patch it or replace it. I have had the bike for over a year now, and although I do carry a couple of spare tubes, a set of tire irons and the tools needed to remove the wheel from the bike, I have never actually practised how to remove the tire. I kept telling myself that I had to learn how to do it before I find myself facing a puncture while travelling, at night, under the rain and in the middle of nowhere, but I never found the moment to do it.

Now that I had to take the V-Strom rim to have it repaired after this incident it was the perfect moment to see if I would be capable of breaking the bead and removing the tire. The V-Strom wheels are tubeless, meaning that the tire walls are reinforced and it is more difficult to break the bead. If I could do it on this wheel, I should be able to do it on the AT.

With the help of a friend, I set about it. We removed the wheel from the bike, laid it on the floor and tried with the tire irons first. I used a rim protector to prevent damage to the wheel, and even though the tire irons went in easily, it was impossible to break the bead with them, as I was expecting.

There are several ways of breaking the bead out on the road. The one I wanted to try did not involve any blocks of wood, clamps or specialist tools – it consists of using the sidestand and the weight of the bike to break the bead.

We put the wheel next to my friend’s bike (mine was too close to the wall to lean it properly), leant it to the right, slid the tire under the sidestand, leaned the bike back over to the left and, easily enough, the sidestand popped the tire from the bead. So, the method works.

A close shave on the motorway

A few days ago, as I was riding to work on the C-17 motorway, I changed lanes to overtake a car and suddenly saw a block of wood that must have fallen from a truck.

I could not avoid it, and the front wheel hit it at about 100km/h. The block was rather big, and I felt the motorbike lift off the tarmac and the block graze the back wheel. I was airborne for an instant only, but I had time to be perfectly aware of the situation and think that if the bike went into a tank slapper when it landed, things could end up really, really bad for me, so I held tight onto the handlebars and prepared for the worst.

The hit the ground and wiggled a bit, but it kept going straight almost immediately. Knowing that such an impact could have destroyed the front tire, I let the throttle go and braked gently with the back wheel to shed speed without loading the front wheel. The handlebars seemed to vibrate a little, but that was about it, the front tire had not gone flat. As the traffic was heavy and mi exit was the next one, I decided not to stop on the hard shoulder, as it might be dangerous. Out of the motorway and with the bike parked, I took a look at the front wheel and found this:

The impact had been only on the right side, and even though the rim had visibly bent, it still held the air, unlike the time this happened in Kazakhstan.

I called my insurance to see if that was covered, but didn’t held much hope, as this was my commuter bike and had a rather simple policy.

As I suspected, I was not covered against own damage and if I had not seen which truck the block fell from or had a written police report stating that there was a dangerous object on the road, I had to pay for the repairs myself. So, lesson learned: if you happen to be in a similar situation, stop right there and call the police to report the presence of the object on the road. If necessary, take pictures, and do not leave without having obtained a written copy of the police report. Only with that do you have a chance to claim the repair costs from whichever authority is responsible for that road, but even so, there is no guarantee…

Back in Black

Almost 20,000km in 8 months. That has been the result of commuting daily, going away at weekends and one long summer trip since I took delivery of my AT at the end of March.

It hasn’t taken me long to work out that, at this rate, I will have put 100,000km on it in four years, and I can’t afford to change bikes so fast (I still don’t have a YouTube channel popular enough for BMW to give me free bikes…), so I have decided to use the AT at weekends and for adventure trips and put the V-Strom back in daily commuting service.

The bike had been stored for the 8 months I had had the AT, and this time I didn’t even bother unplugging the battery because I wanted to take it out every now and then at weekends to keep it running, but didn’t really have the time. In spite of this, the engine started first time and the bike went straight back into daily use a couple of weeks ago.

This weekend I finally had some time, so I gave it a major service to keep it running smoothly. I changed the oil and filter and the spark plugs, and poured some Metal Lube into the tank. Maybe it’s just psychological, but I would swear the bike is already running smoother. I also lubricated the clutch cable with this contraption I had bought for 4€ and some WD40.

I didn’t know how effective it would be, but I have to say I’m pleasantly surprised – the clutch is now much easier to operate, which makes a welcome difference in everyday traffic.

Here’s a video (not mine) showing how it works.

Having clocked over 150,000km, I am now just curious to see how many more this bike can take with daily use and regular servicing.

150,000km and other happy coincidences

Life sometimes surprises you with little coincidences, and after picking up my new Africa Twin yesterday, today my old V-Strom reached the 150.000-kilometre mark while on duty. Best motorbike ever.

20160408080556

And as if the welcoming of the new machine with such an important milestone (no pun intended) was not enough, this morning my Facebook account had another suprise in store for me. Do you know how from time to time it suggests certain posts from X years ago? I got this one today:

485255_503634913031393_558061945_n

Yep, it has been three years to the day since I signed in to the course to get my unrestricted motorbike license! To think it was just a few months before heading to Mongolia…