
Having admitted defeat on trying to have the rim repaired here in Barcelona, I considered my options:
- Strap it to the back of the AT, ride all the way to Astrakhan and have it fixed there.
As tempting as that sounded, I did not have the time nor the money for it (yet, but I want to go back there in the future).
- Buy a new rim.
List price for a new front rim is over 500€, which must be about half as much as my 160,000-kilometre bike is now, so that was also out of the question.
- Find a second-hand rim.
Now, that was a more realistic option. I first went to see Fabio at Hamamatsu Motor and told him my story. He agreed that a used rim was the best alternative, and quickly found one online, but it was sold through a professional breaker and it was a bit too expensive.
The cheapest option might be to source one from a private seller through motorbike forums and online ads, so we agreed that I would try that and if I could not find anything, he would order the one we had seen.
The problem is that anything at the front of a motorbike (rim, forks, headlights, etc.) is what breaks first in most accidents, so finding a good rim would be complicated, especially if I wanted it fast. To make matters worse, despite looking practically identical, the wheels for the ABS and non-ABS model are not interchangeable, and the V-Strom 1000 wheel is not compatible either. I spent a week visiting different sites and managed to locate up to four different rims, but they were all from non-ABS bikes. I located one that looked promising in southern Spain – it was in good condition and it was cheap, but for some reason the guy selling it kept me waiting for four days before confirming that it was for a non-ABS model. Argh!
I called Fabio to order the one we had seen, but it had already been sold. These things go fast! I went back online and finally managed to find the right one: ABS, 2007 model. The problem was that it was silver, not black. And in Italy. And more expensive than the other ones I had found… But at this point I could not afford to go on trying to find a good deal, and it was still way cheaper than a new one, so I ordered it.
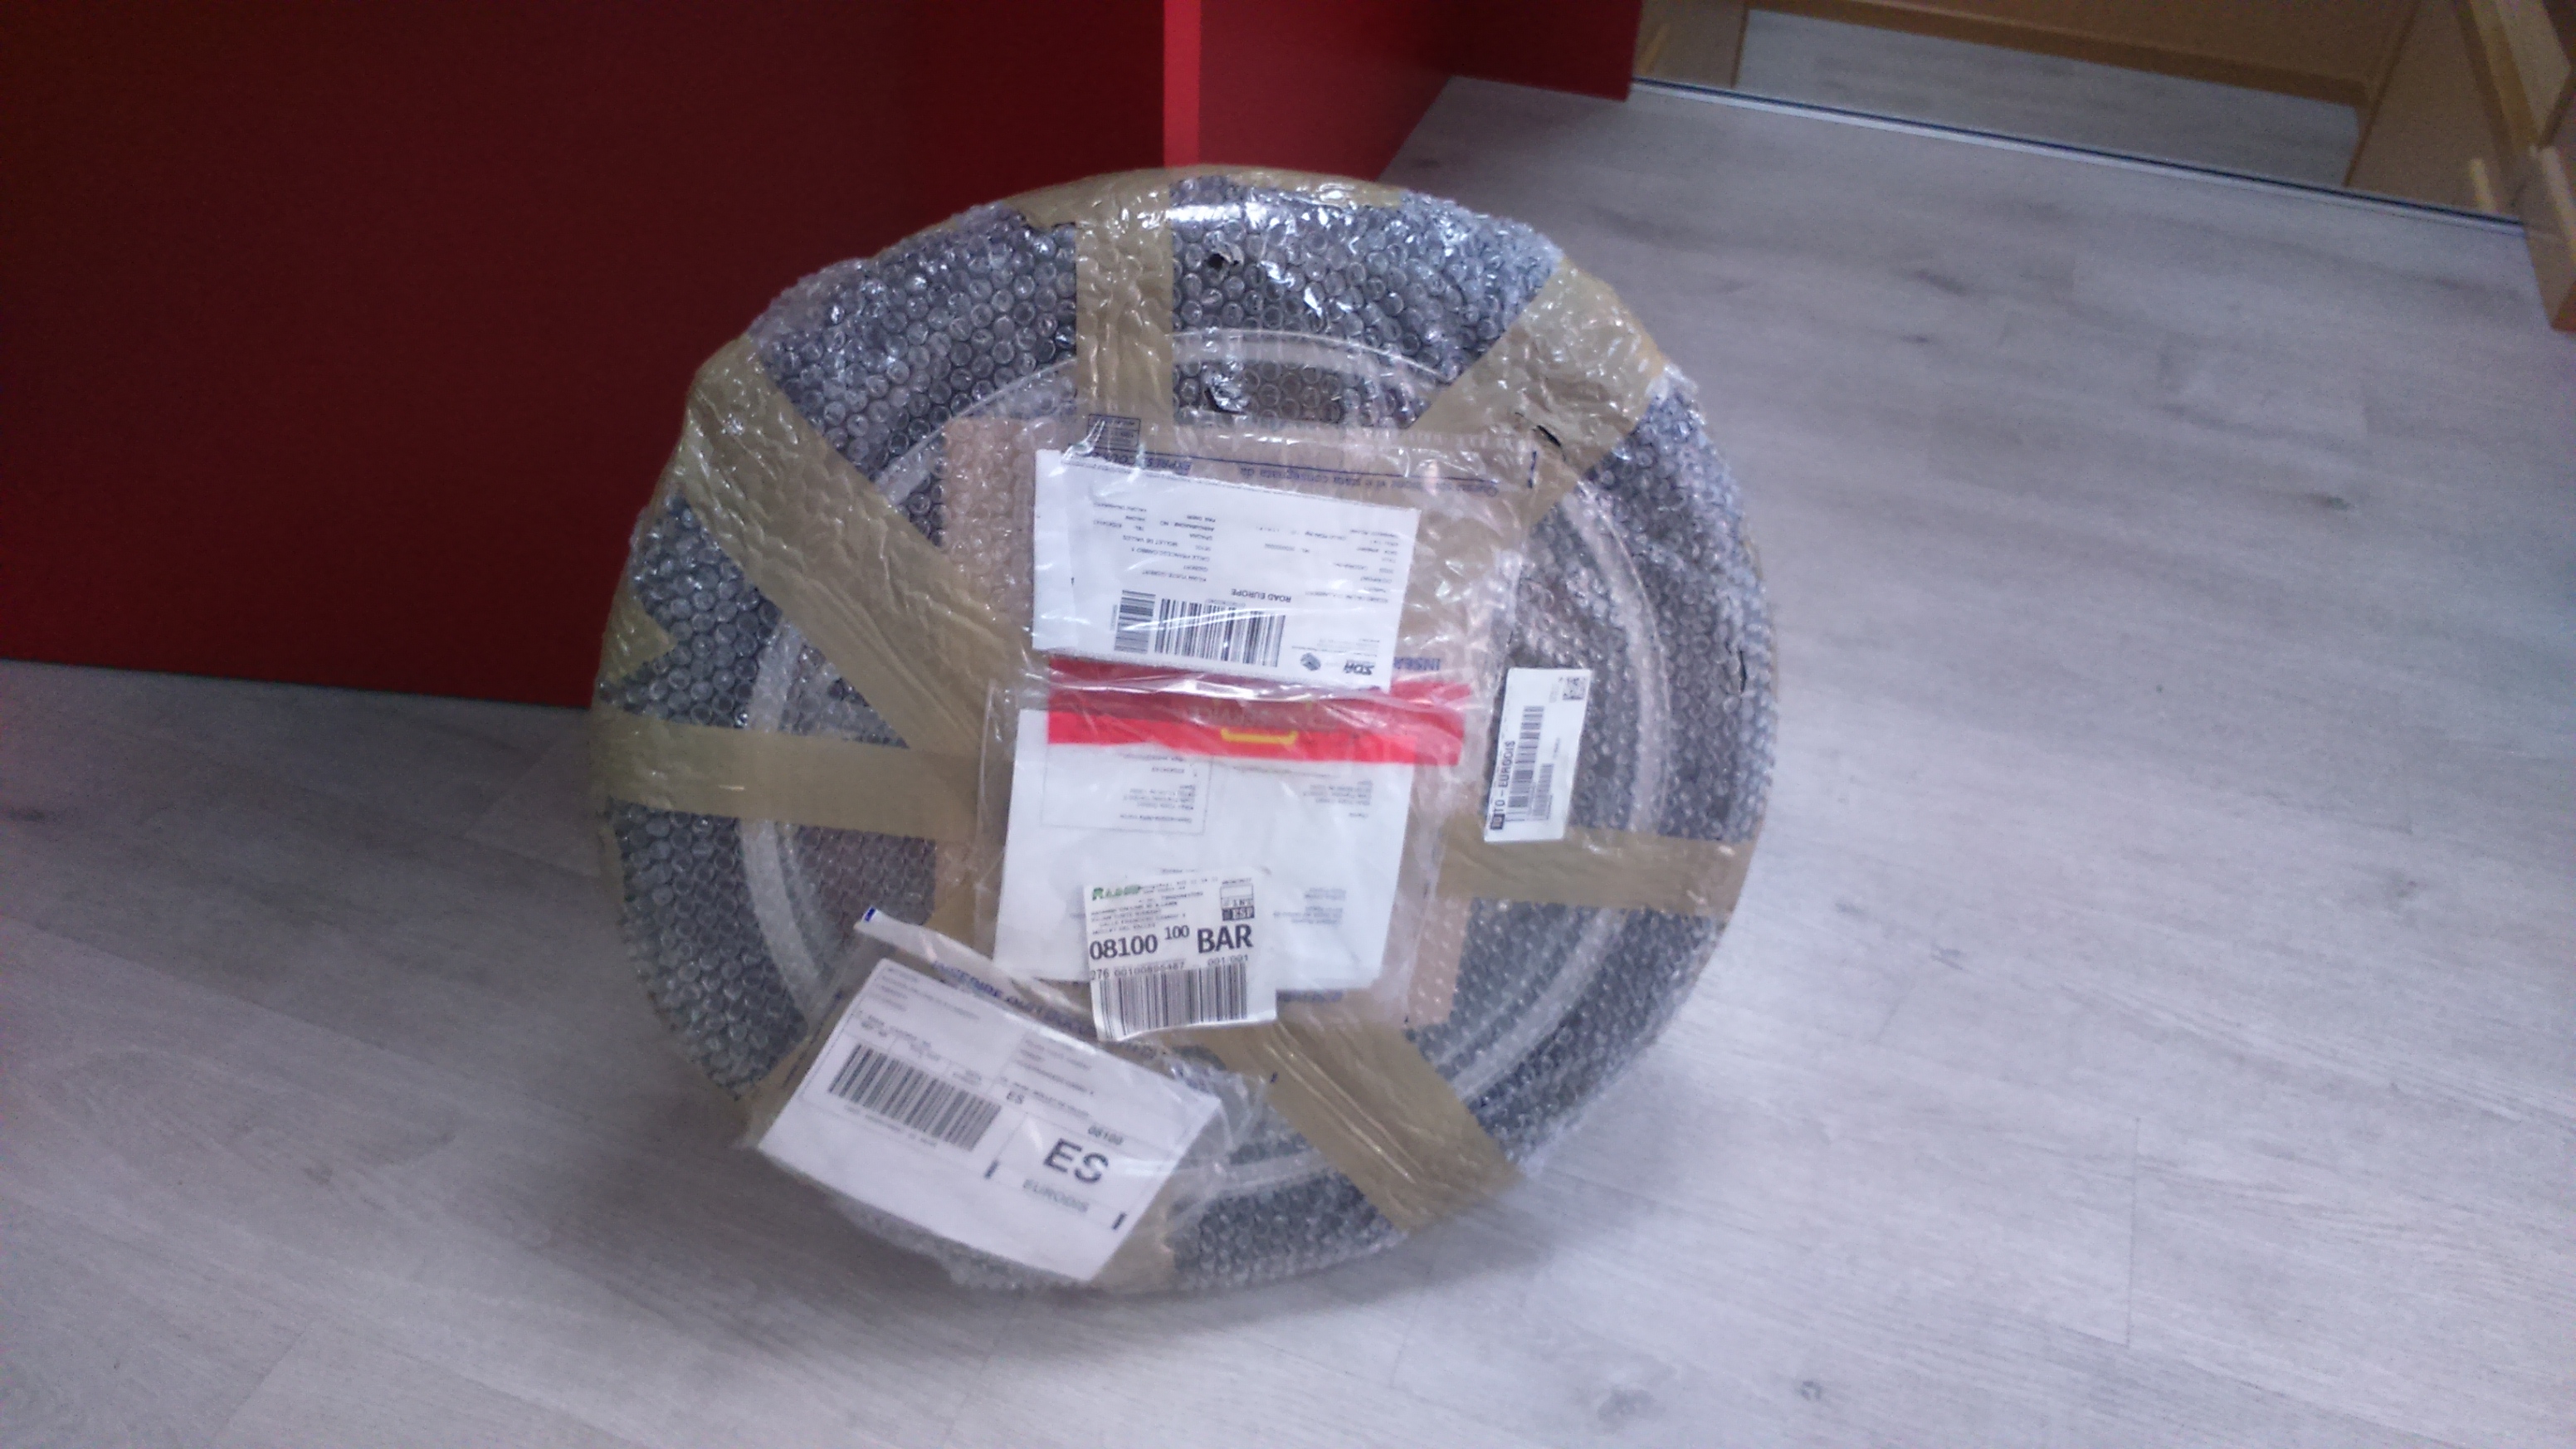
A week later, it was delivered. I took it home, opened the package and checked that it was the right one.
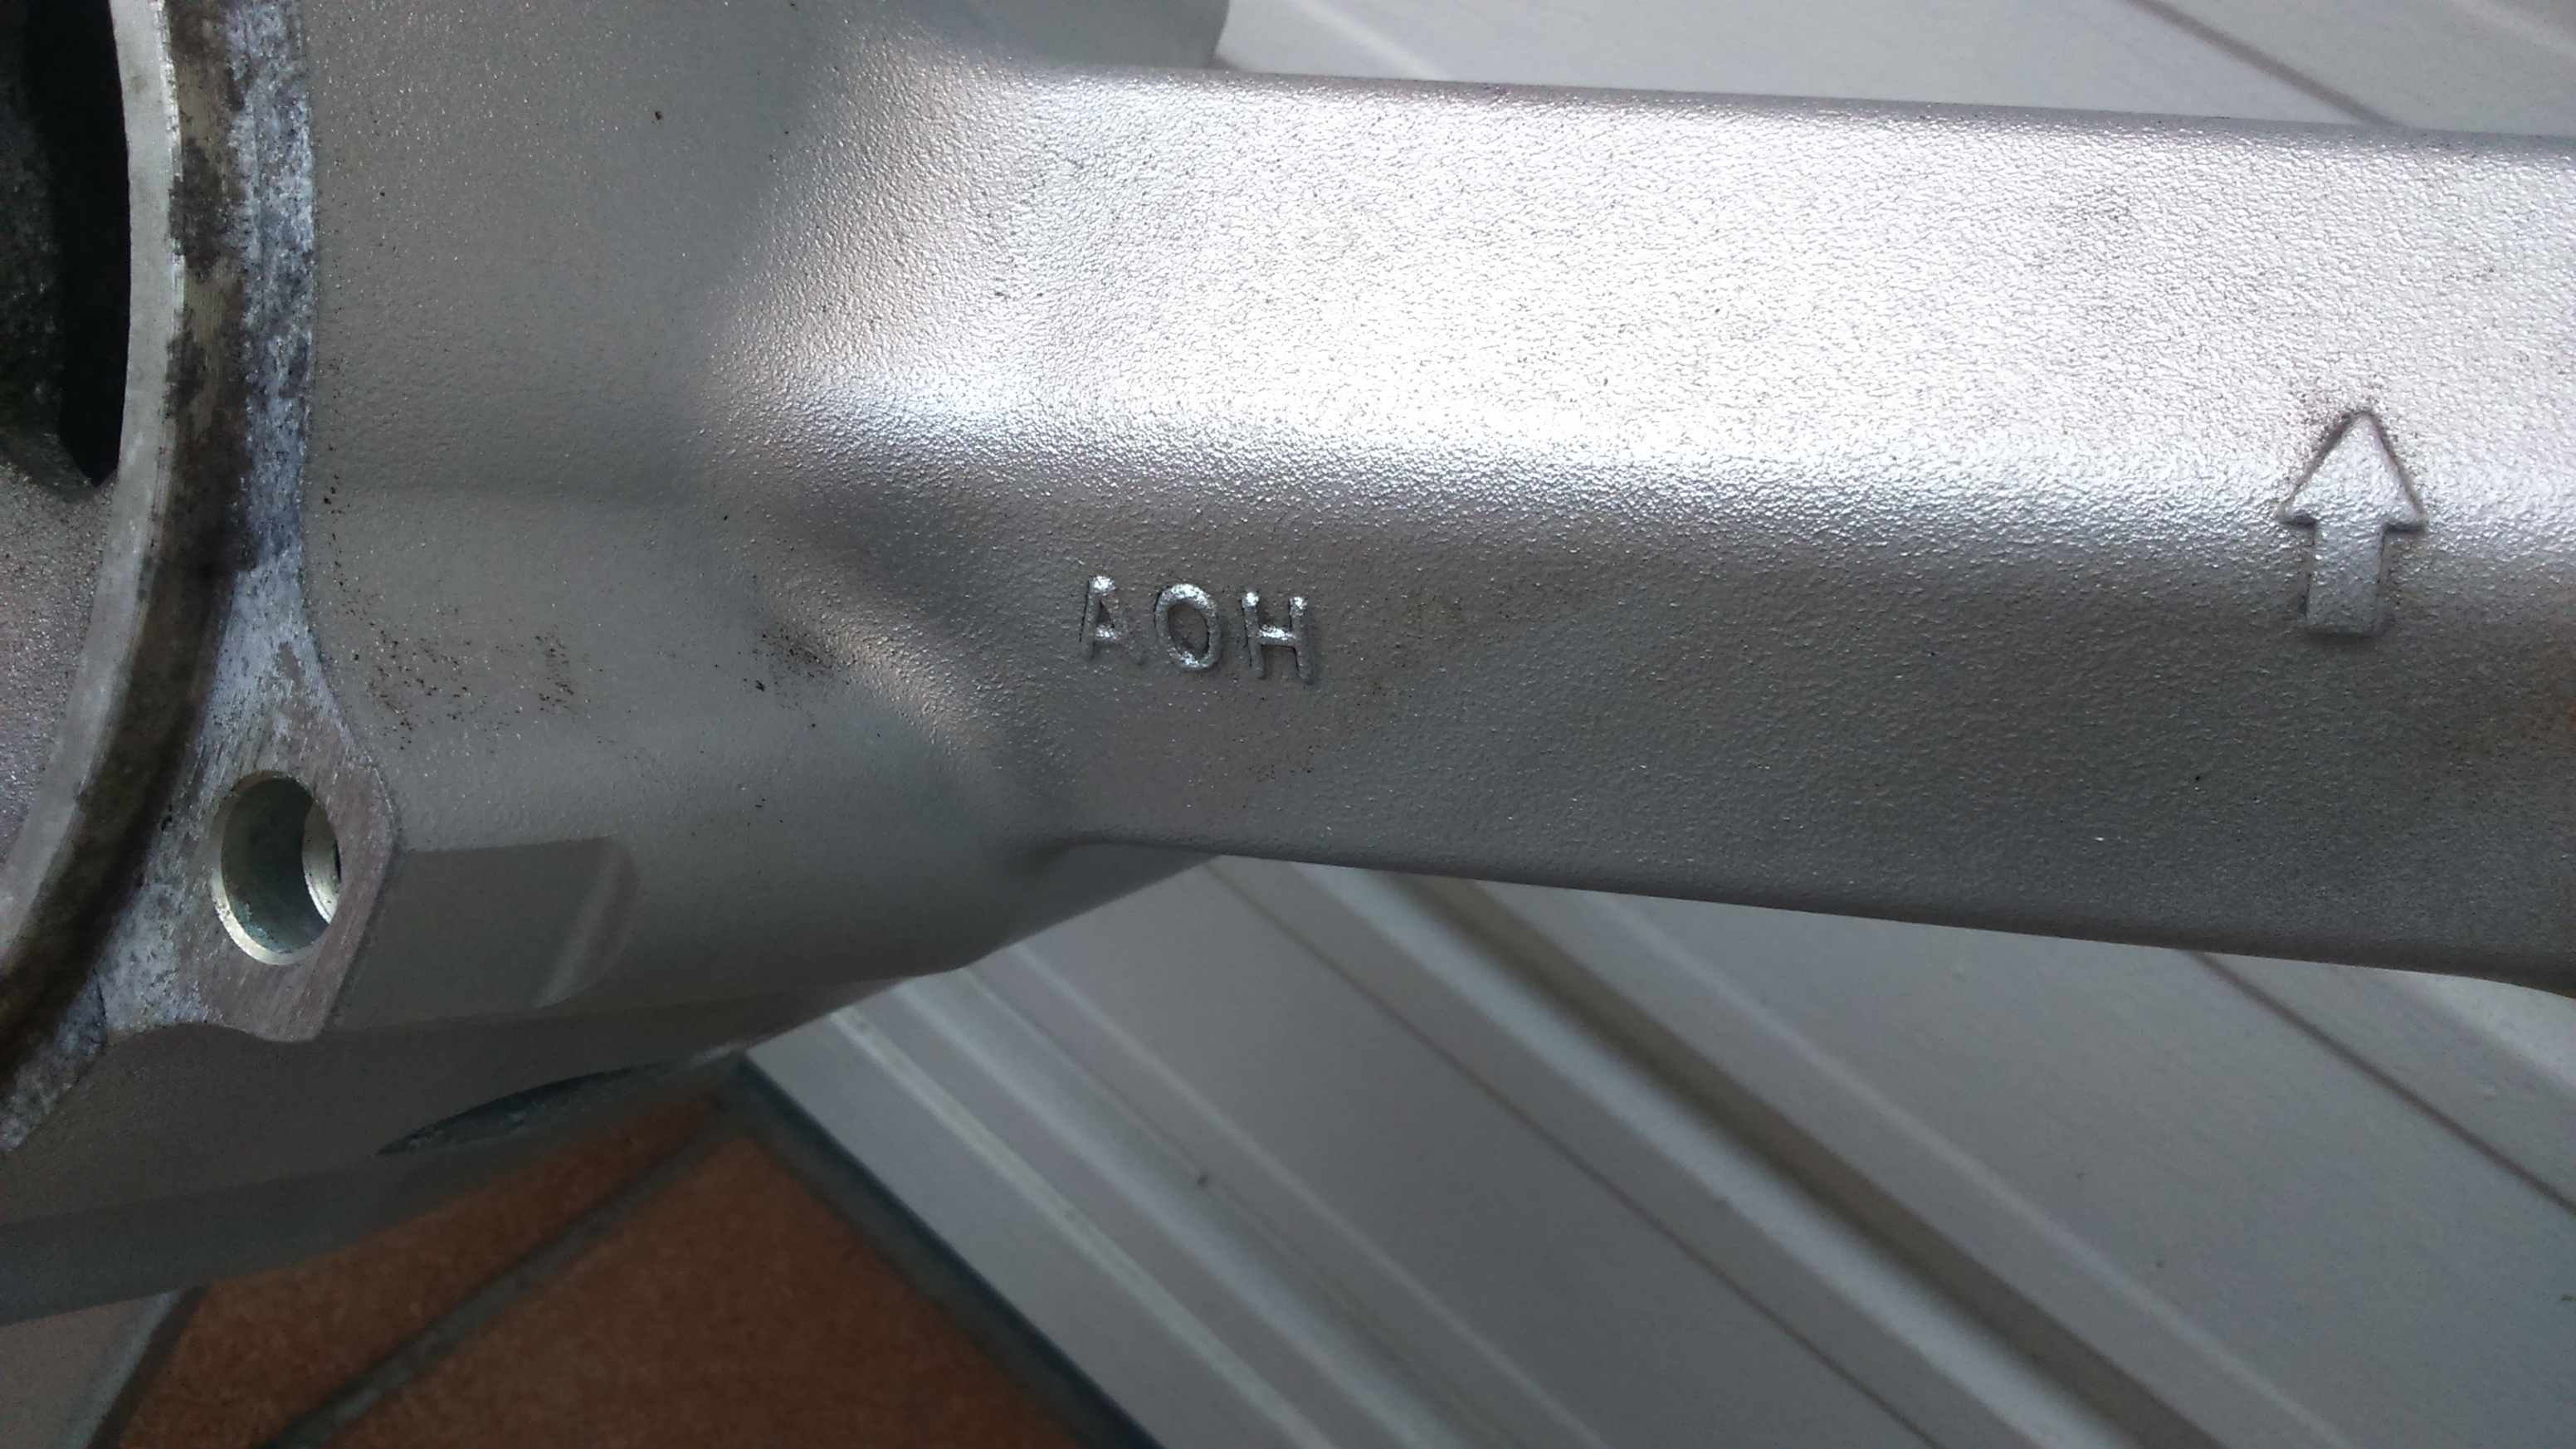
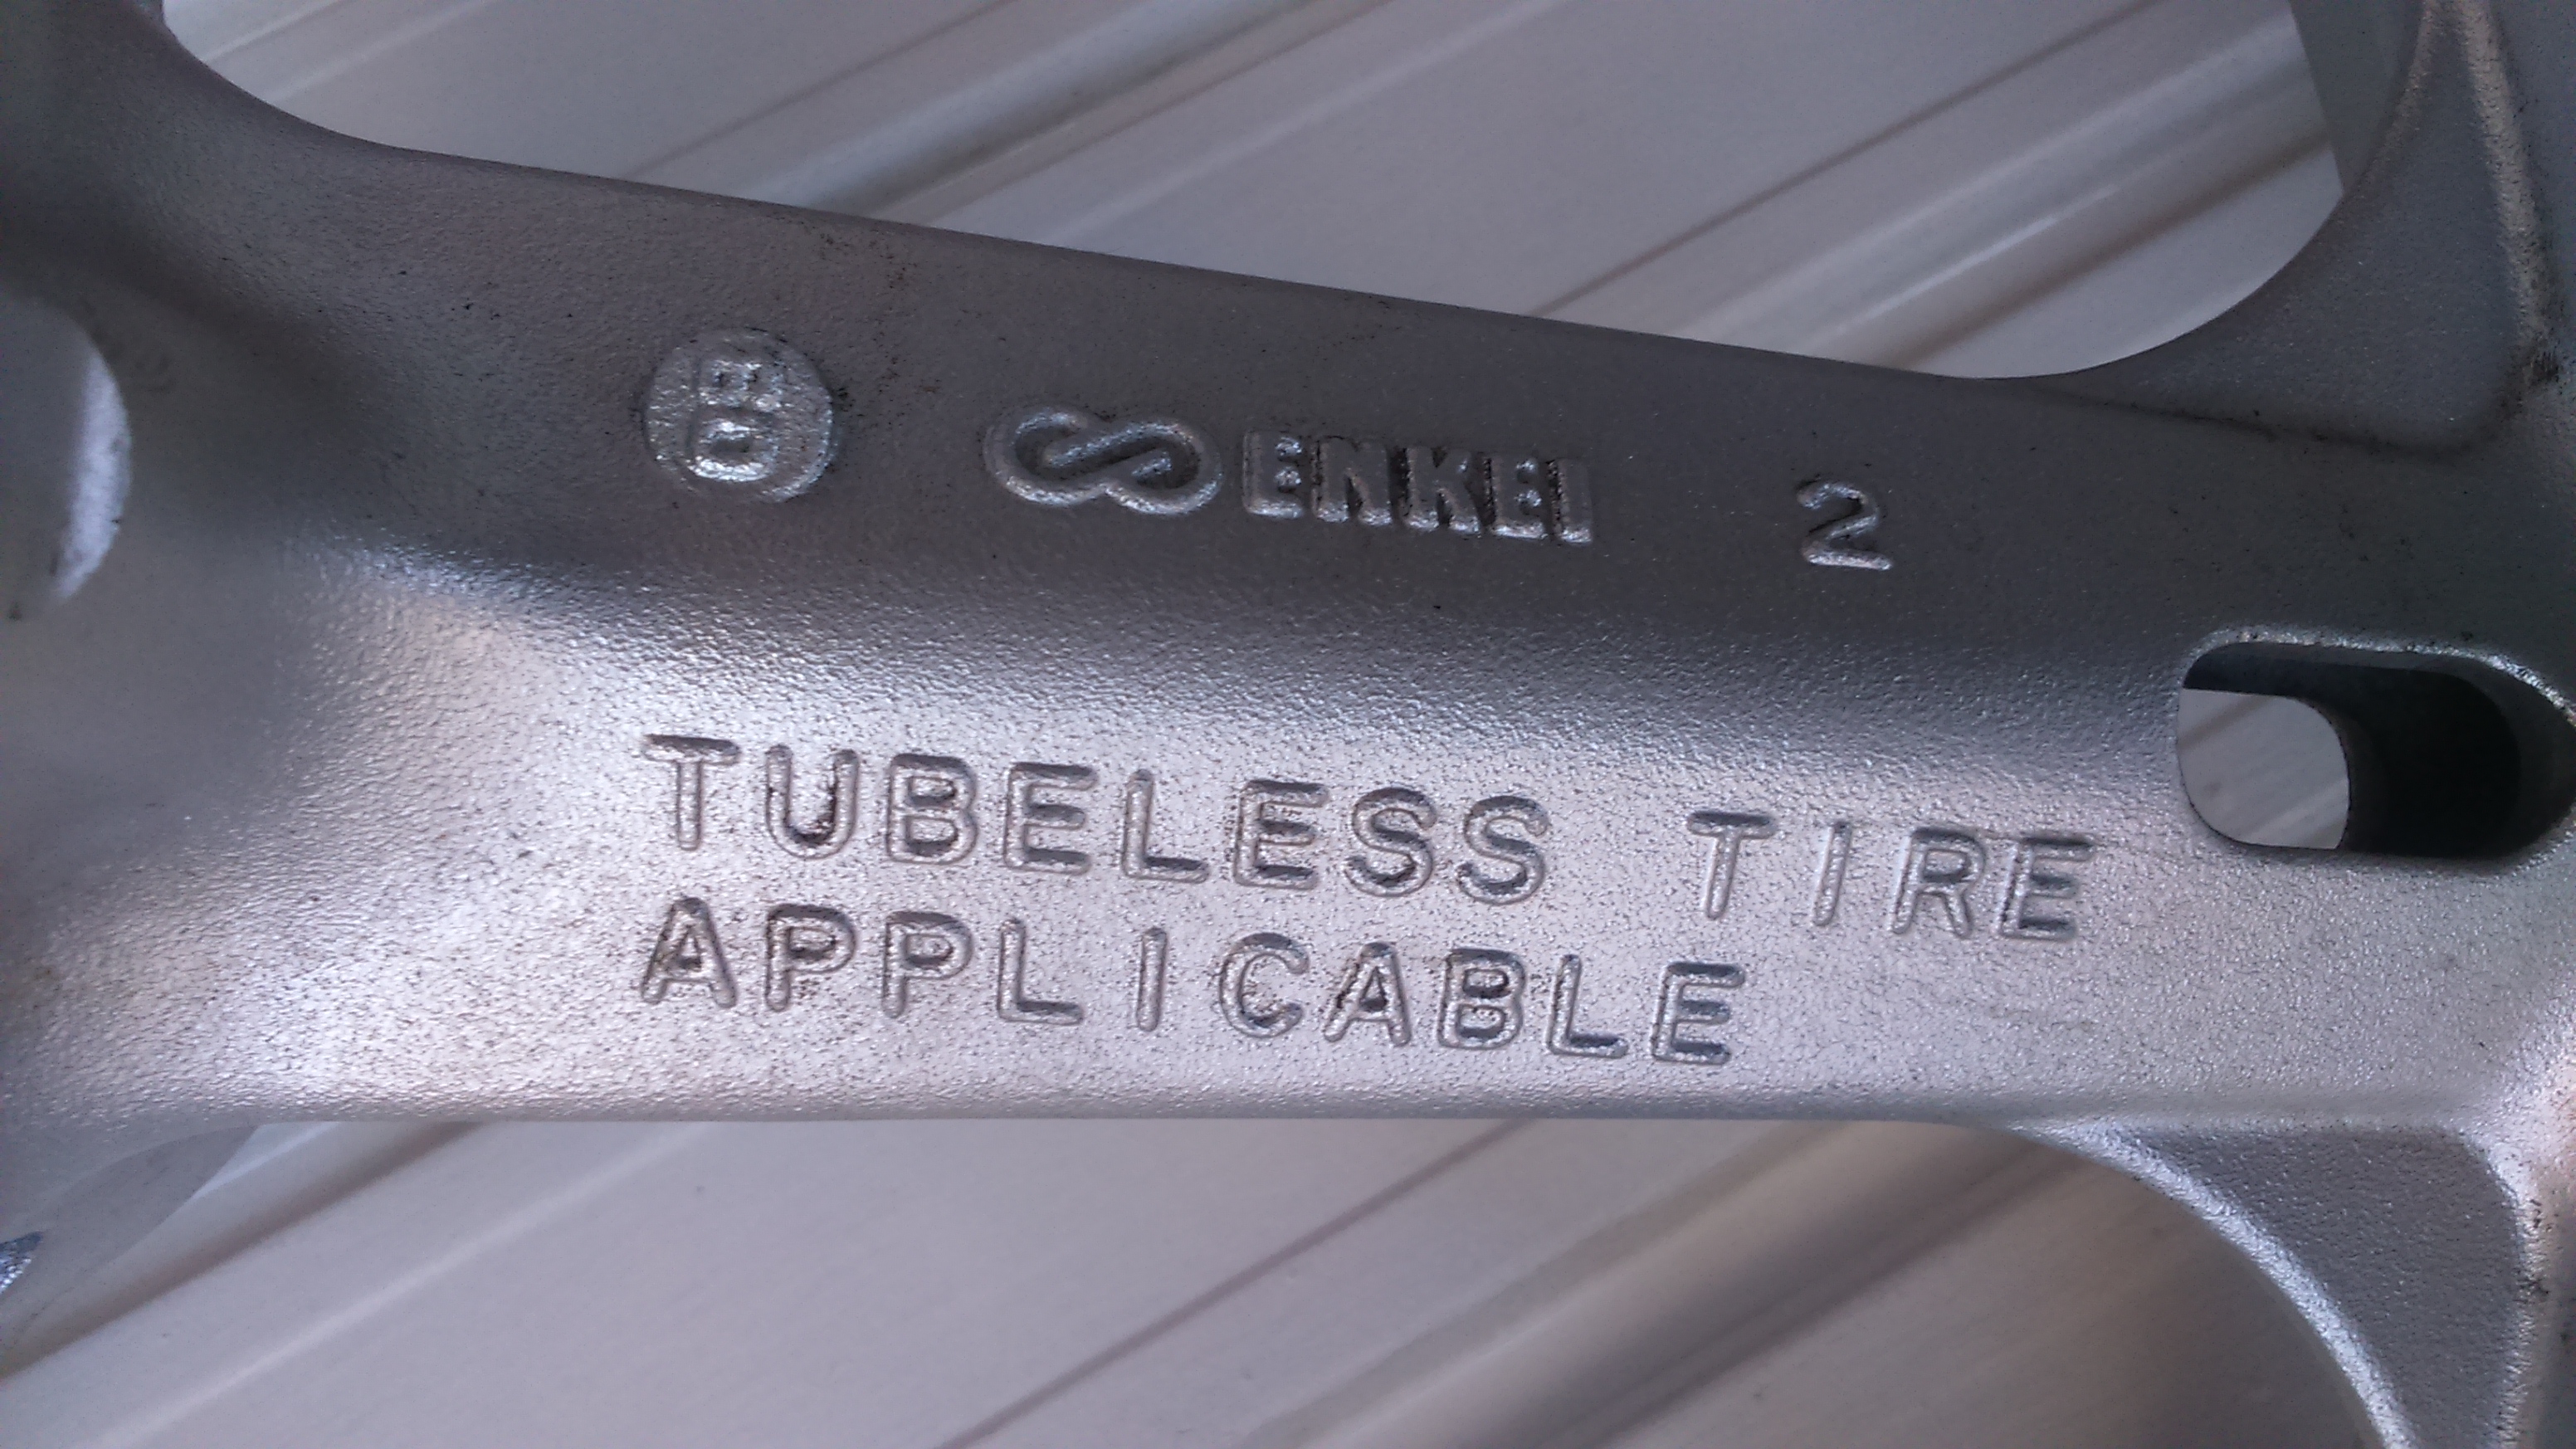
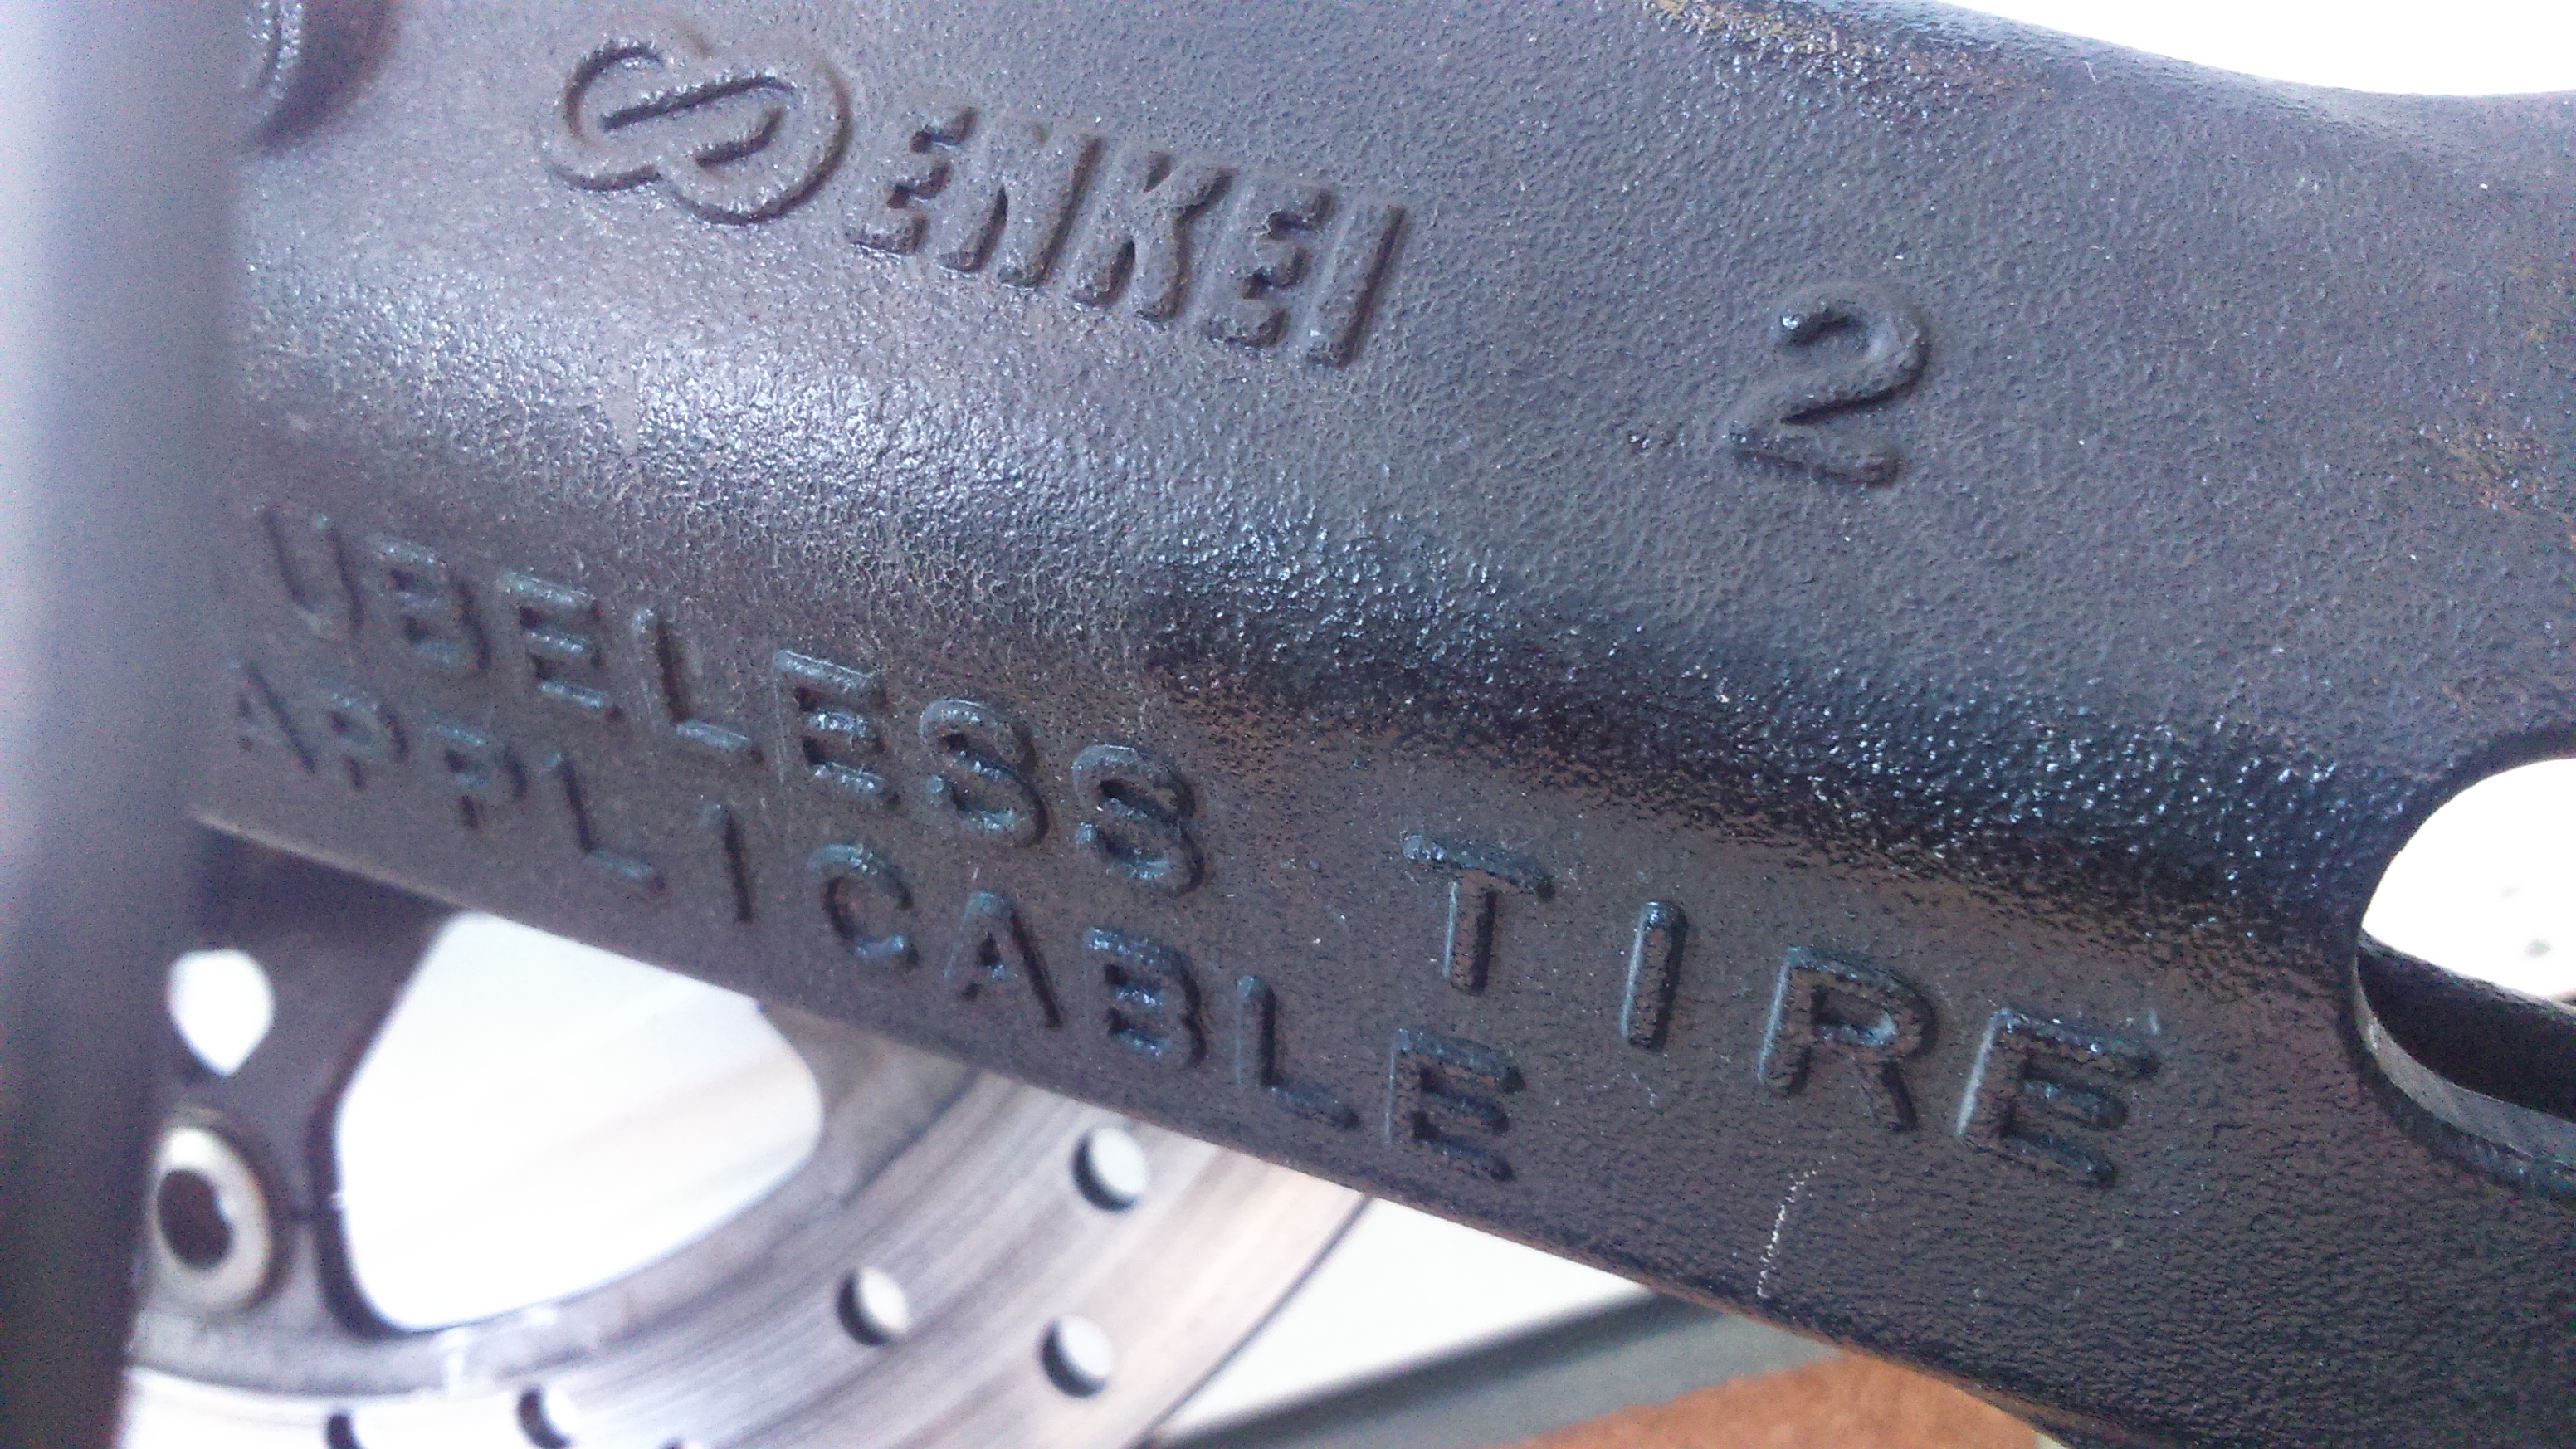
The codes were the same:


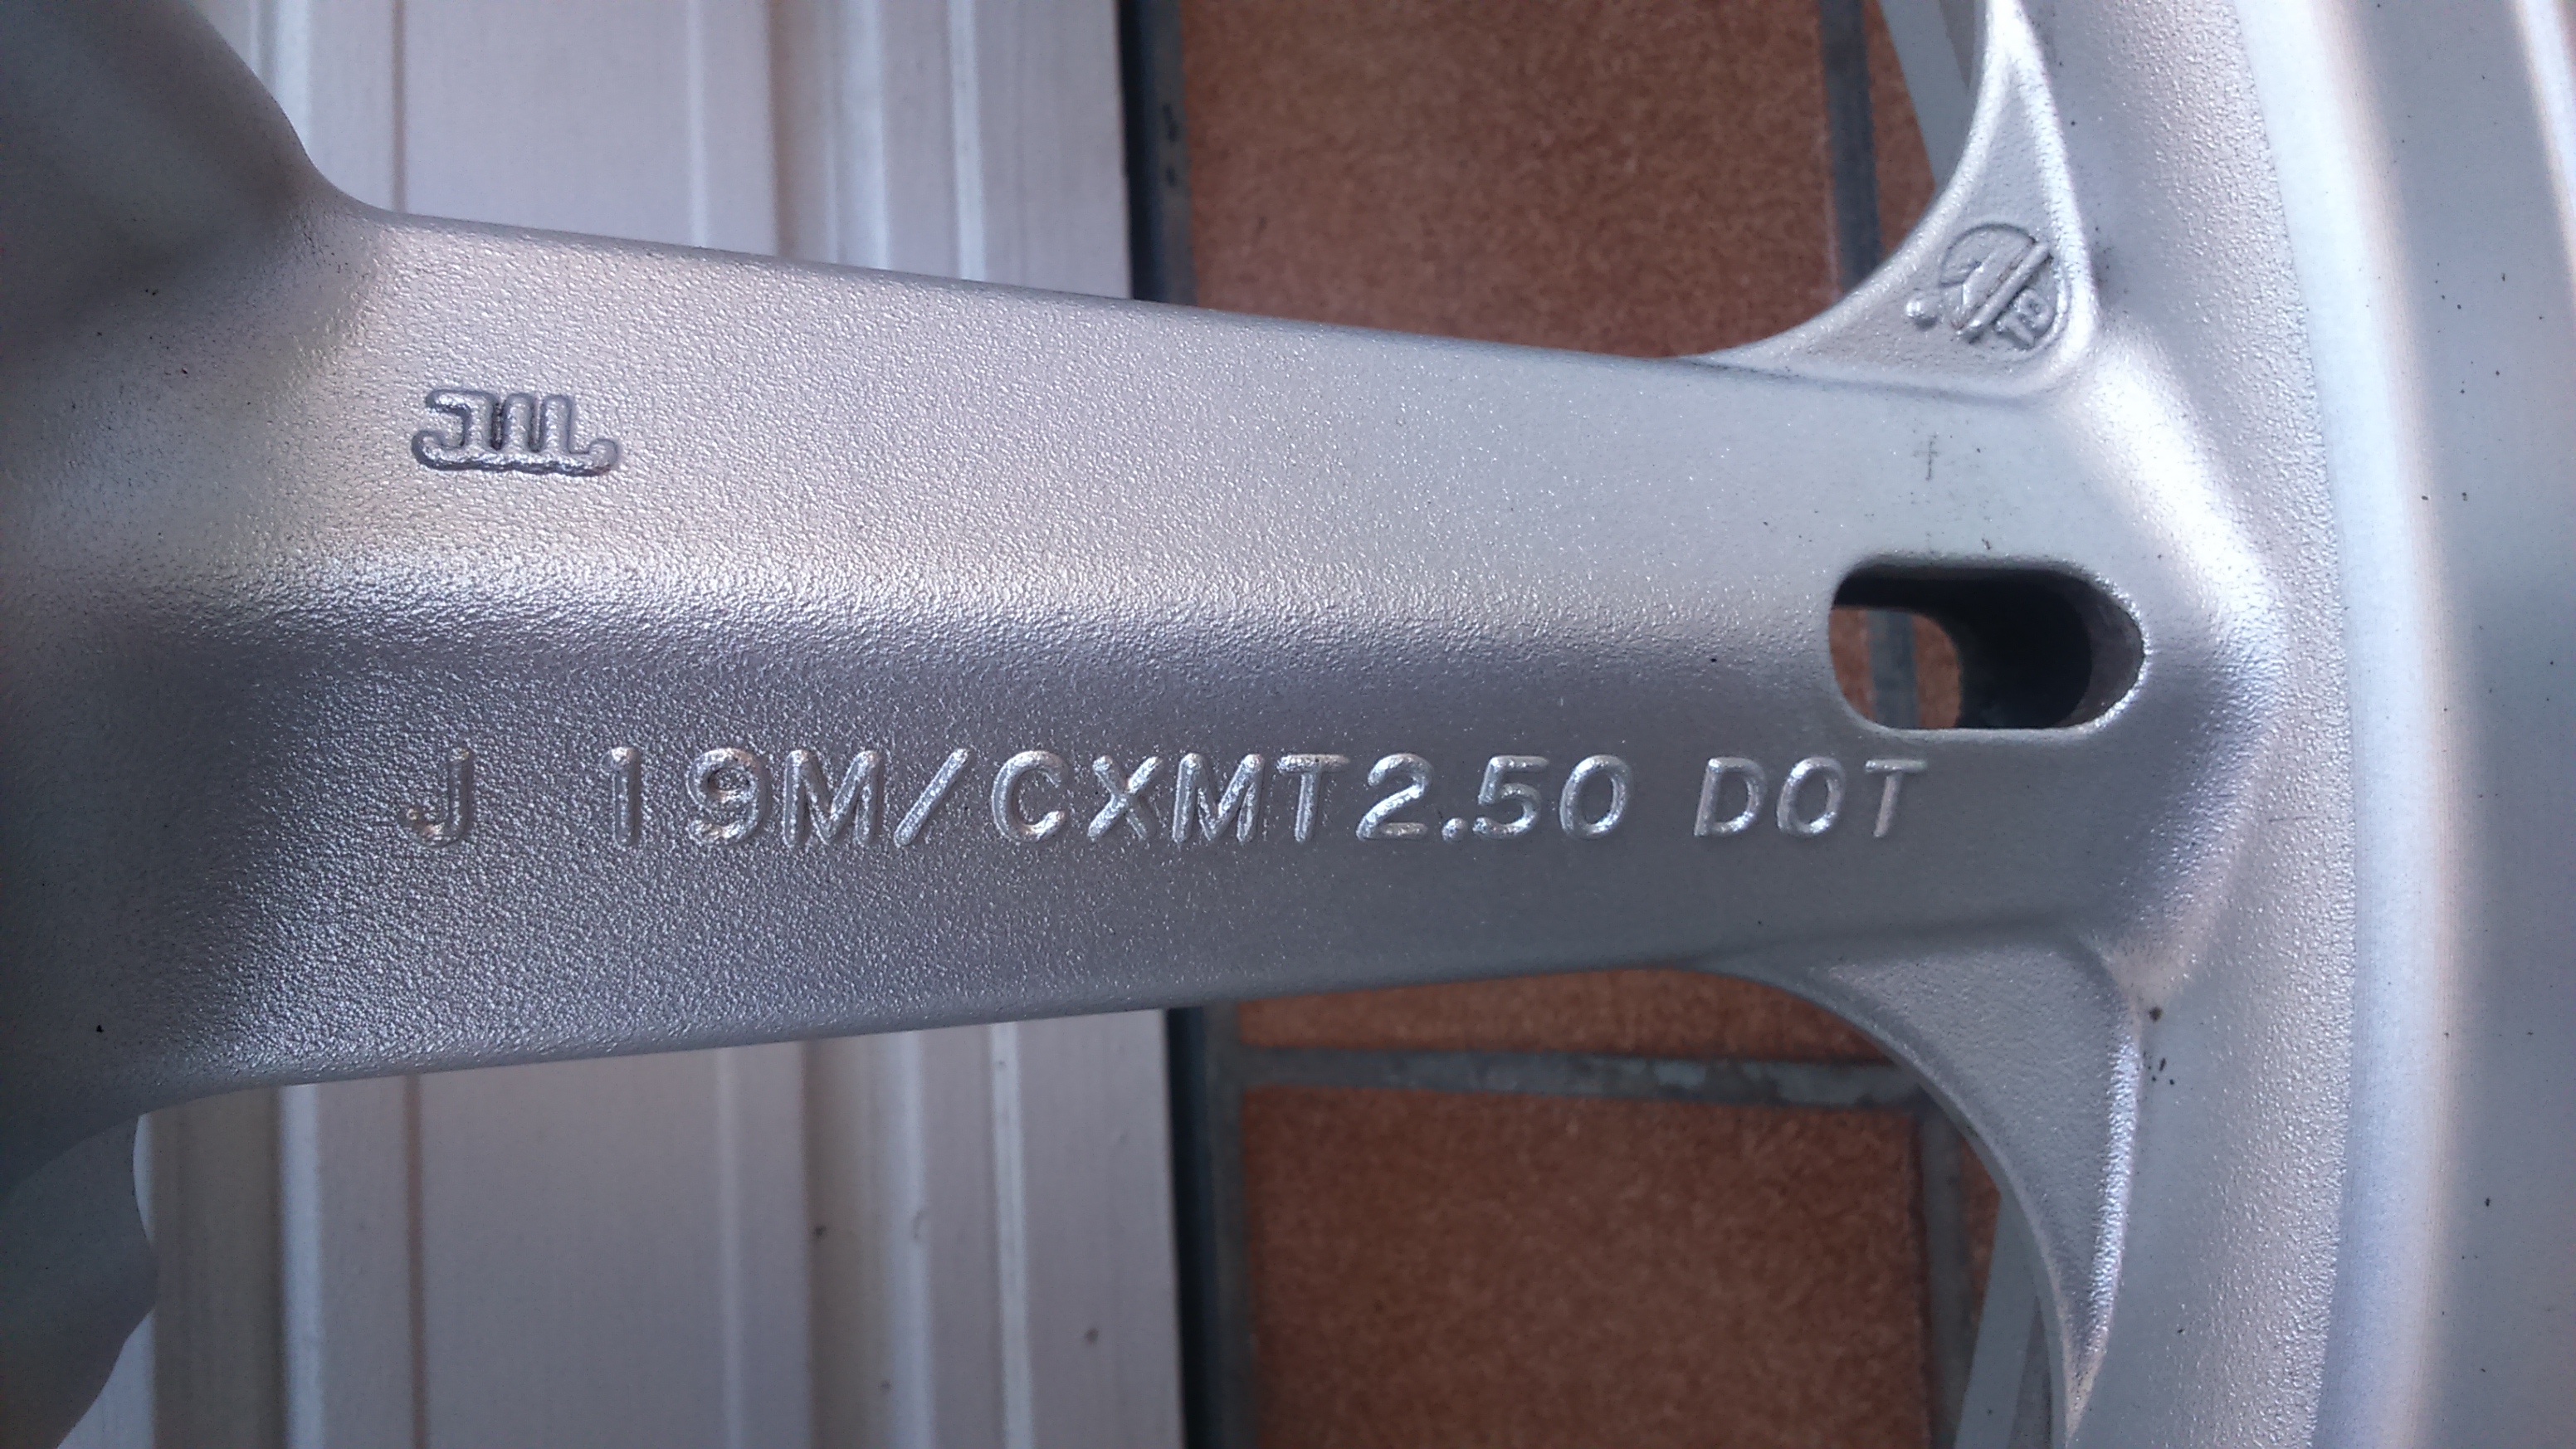
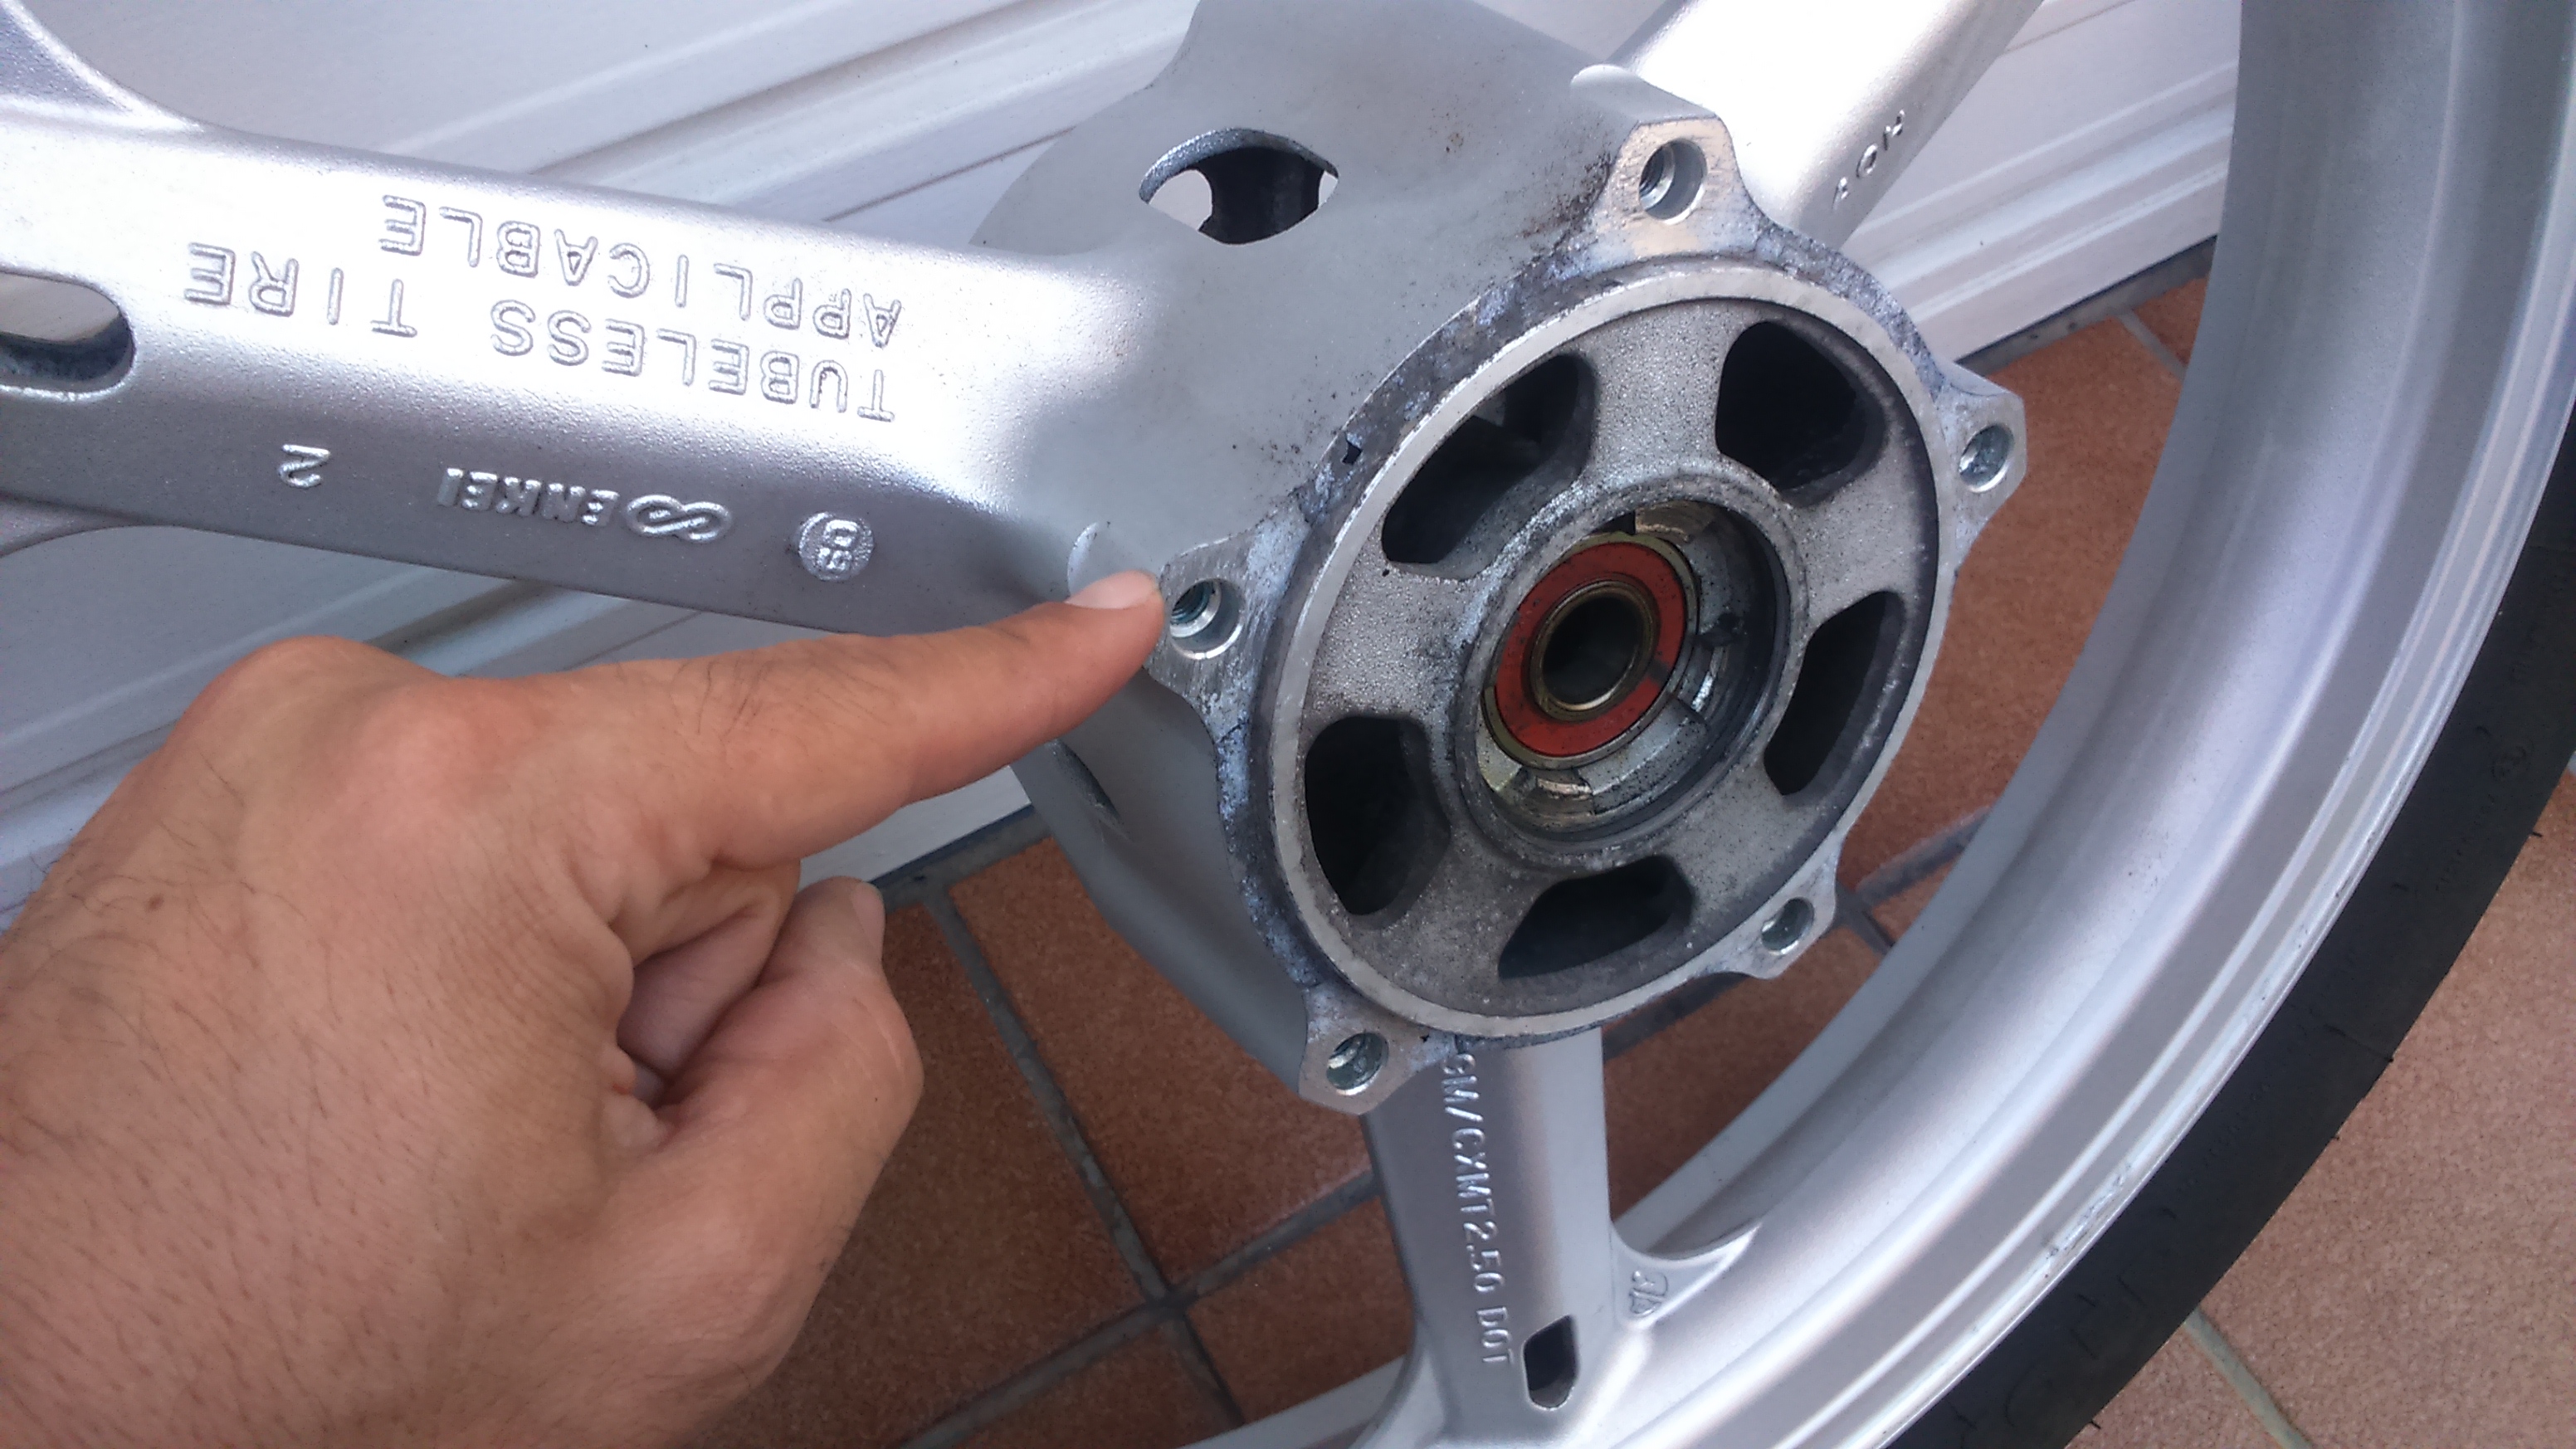
And also the mounting points for the brake discs, which are the main difference between ABS and non-ABS models. The later mount in the hub, while the former have mounting points around the hub to make room for the ABS sensor disc:
Great! The only setback was that despite the fact that the picture in the ad showed the wheel without a tire, it had arrived with an old one fitted, I assume to protect the edge during transport. It was properly fitted and inflated, which meant that I had to go through the hassle of breaking the bead and removing it again… And this time I did not have an extra pair of hands to help me. Oh, and it was the hottest week in the year so far. Yay! Well, once more, good practice for the future. Here you can see how to break the bead with the side stand if you are alone:
