Most OEM handguards tend to do a very good job protecting from the wind and the rain, but do not usually offer much protection if any at all in the event of a fall, so you are more than likely to end up with a broken gear or clutch lever even if you drop the bike while moving it around (years ago some idiot knocked my V-Strom off while parking and the brake lever snapped).
The handguards on the AT look great, but offer the same level of crash protection as the ones on the V-Strom or the ST. The problem is that those ones were good at keeping your hand relatively dry and warm, but the ones on the AT are too small for that, so they are merely cosmetic additions to make the bike look more rugged.
Even before taking delivery of the AT I knew that I was going to fit it with a pair of Barkbusters like the ones I had on my V-Strom, which had proven themselves to be very efficient in a number of falls/drops. However, as I was comparing prices and trying to find a shop that had a specific kit for the AT, I saw some people on Adventure Rider and the Spanish AT forum that had fitted the Acerbis X-Factor ones.
I thought they would be more expensive, as the aluminum back bone they use is huge, but it turned out that not only were they cheaper than the Barkbusters, but they were available immediately, as no specific mounting kit is required for the AT.
I may not have considered Acerbis handguards for the V-Strom, as they look too ‘enduro’ for that bike, but on the pictures I had seen, they seem to suit the AT fine, so I got a pair.
 I went for the black and white combination, as the OEM were also black and I was afraid the red ones might not match the shade of the bike. I got them in a week, and today I got down to fitting them, which is a very straightforward process.
Here it is:
First step is to remove the OEM handguards, including the weights both at the ends of the handlebars and the long ones inside.
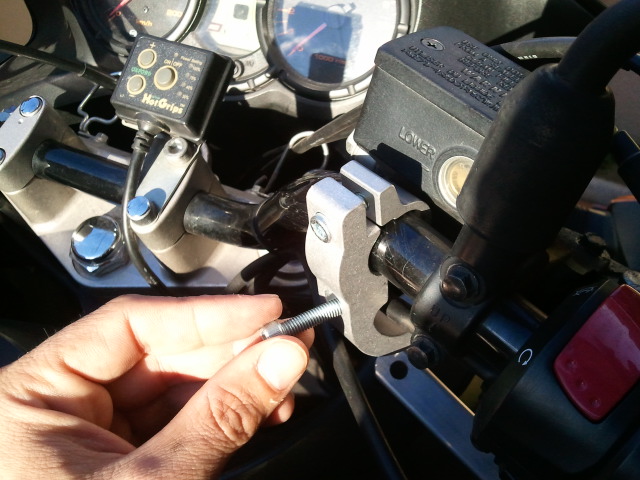
Loosen the 5mm Allen bolts that hold the handlebar weights and pull the handguards mounts away from the weights.
 Remove the bolts that hold the handguards to the brake and clutch lever mounts. Both nuts and bolts are 10mm, except the brake bolt, which is 12mm, annoyingly.
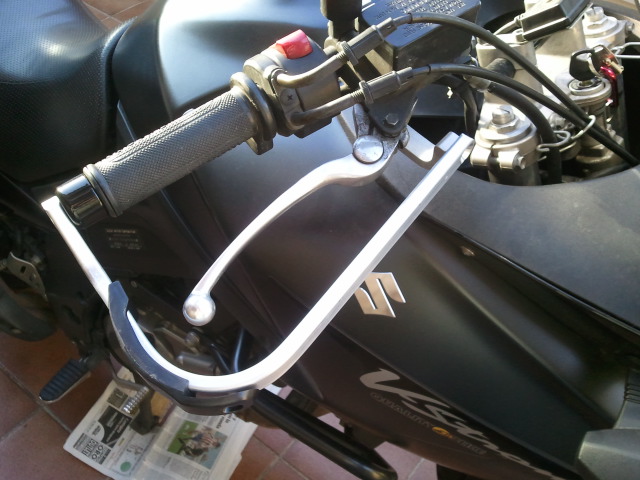
 Remove the OEM handguards and put the lever bolts back in place. With the handguards removed they are a bit too long, but you can use the spacers that came with the handguards.
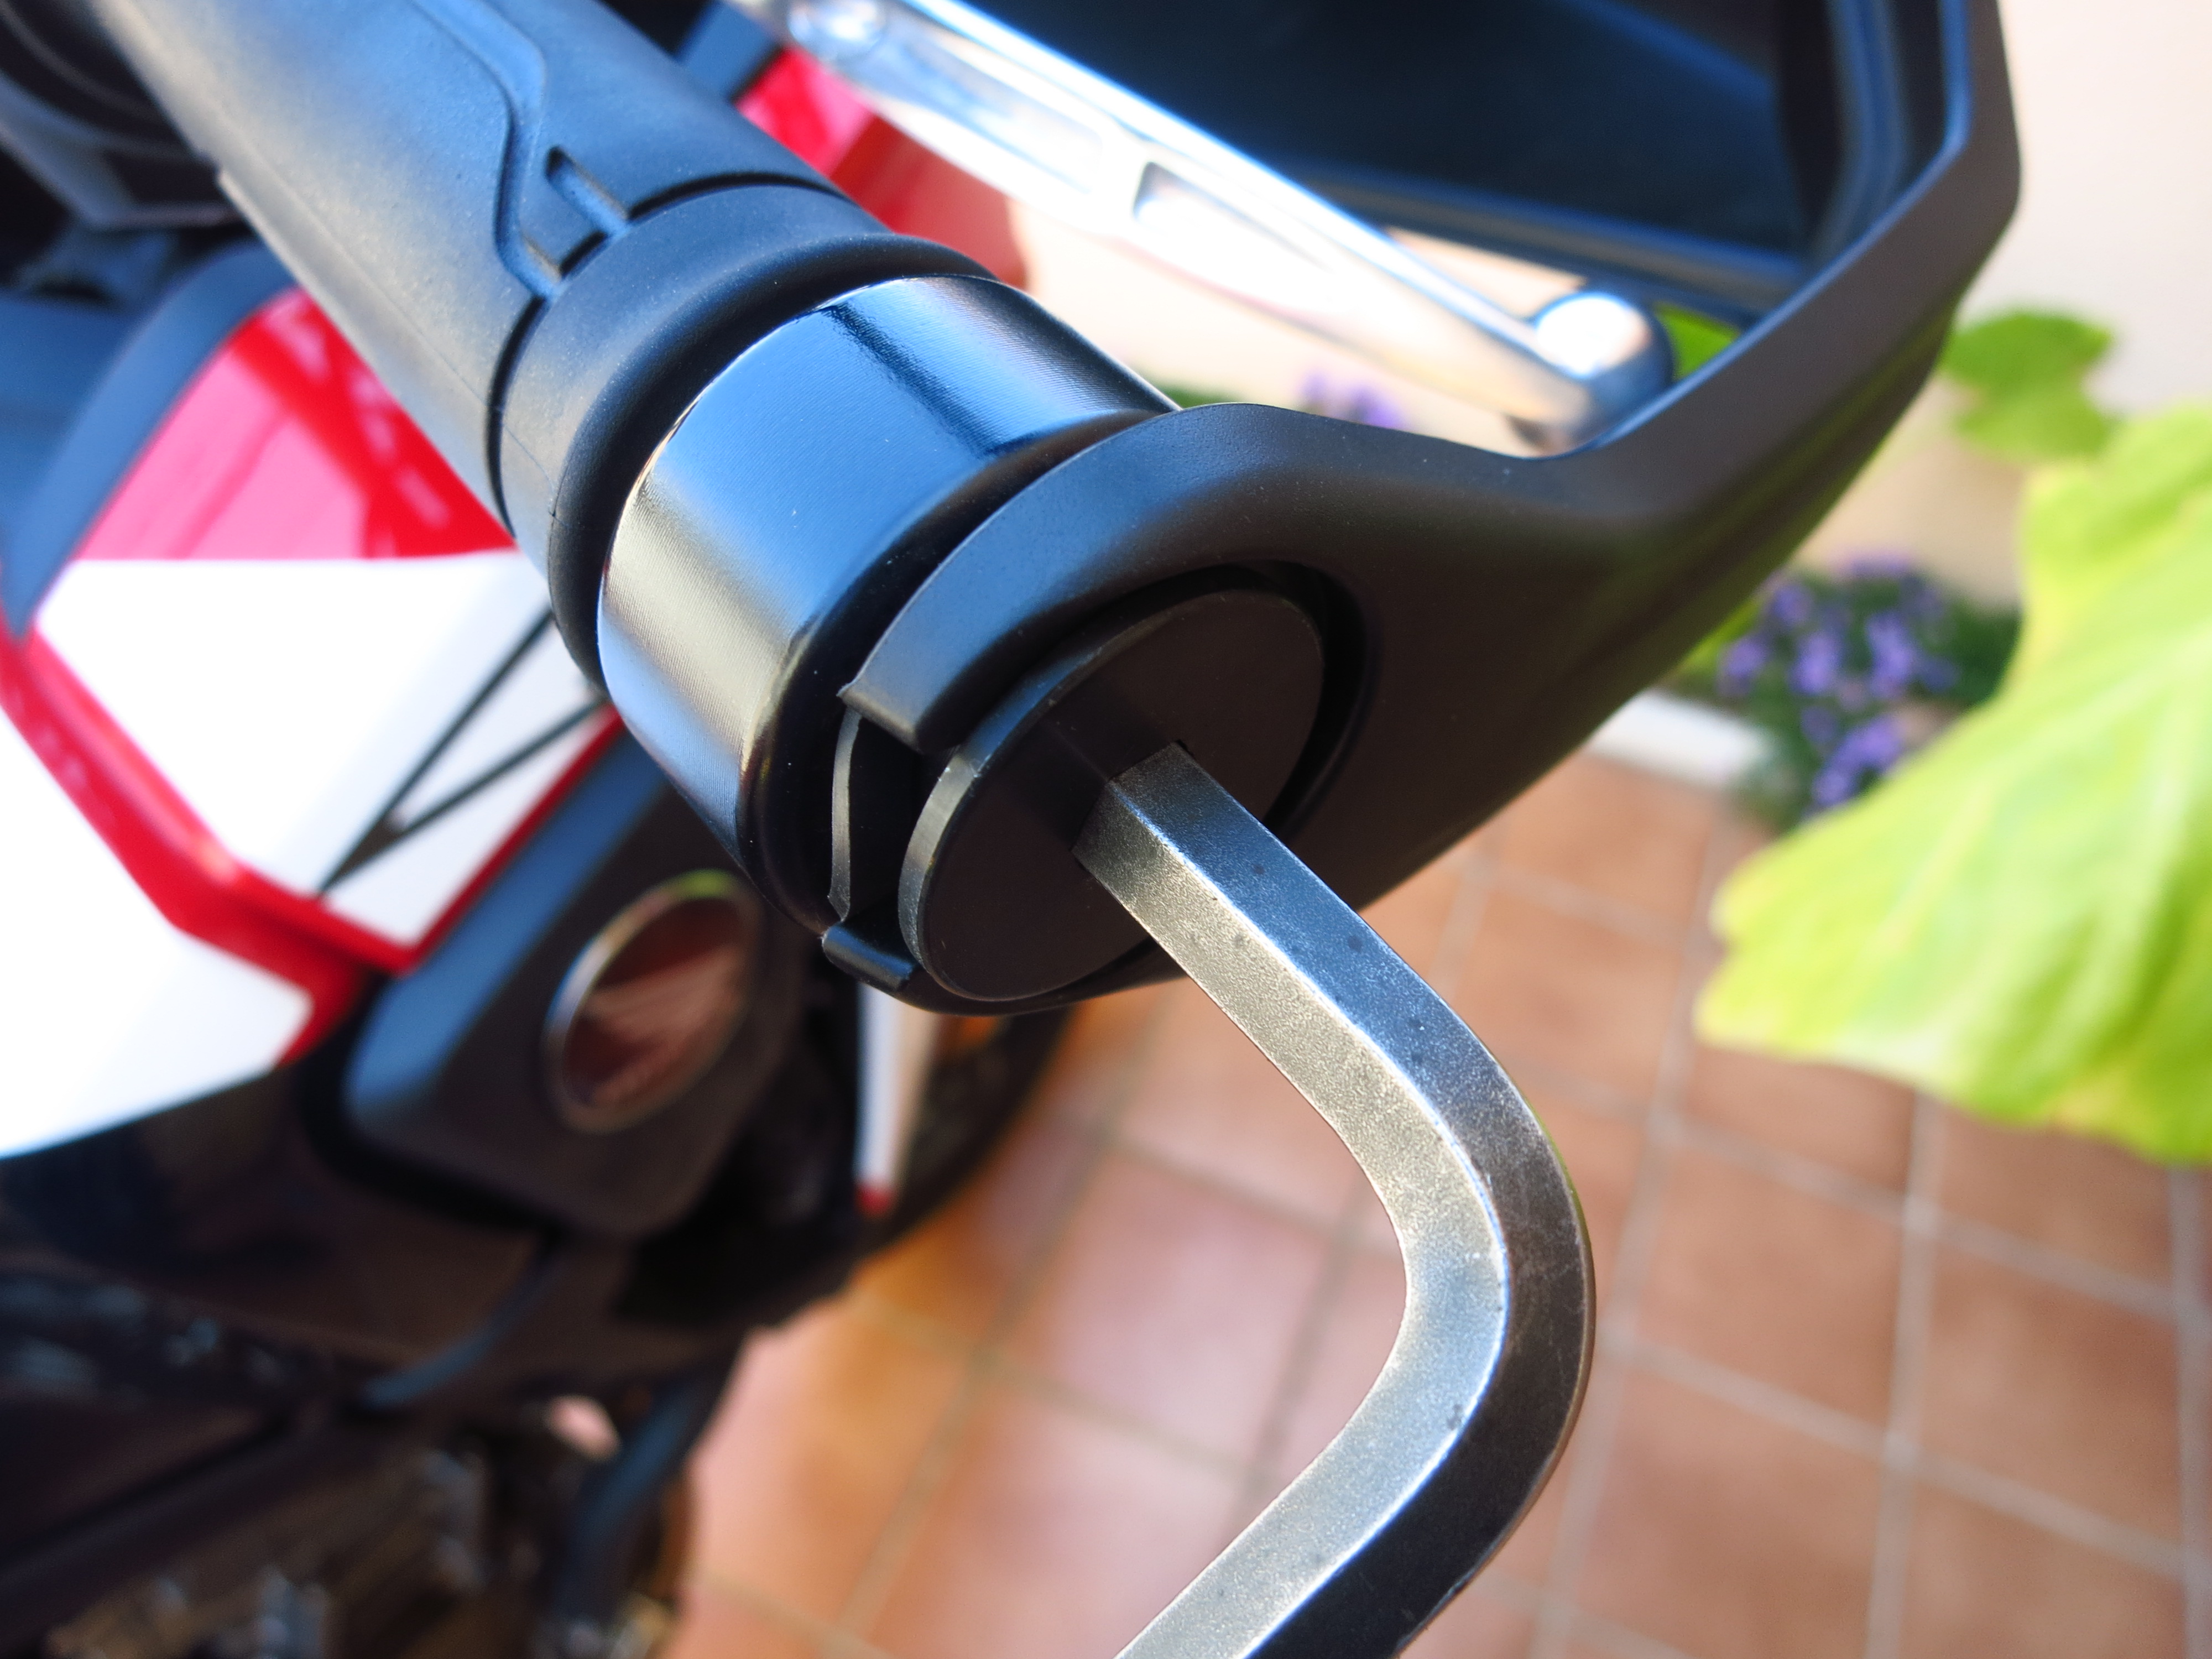
Now comes the difficult part – pulling out the inner weights. They are very long and have a couple of rubber rings, so they do not slide out easily. There is a small cylindrical plate that holds them to the handlebar weights bolts, but it is very easy for those to come apart. In fact, I pulled out the first one and then saw that the plate and the weight were still about 1cm inside the handlebar.
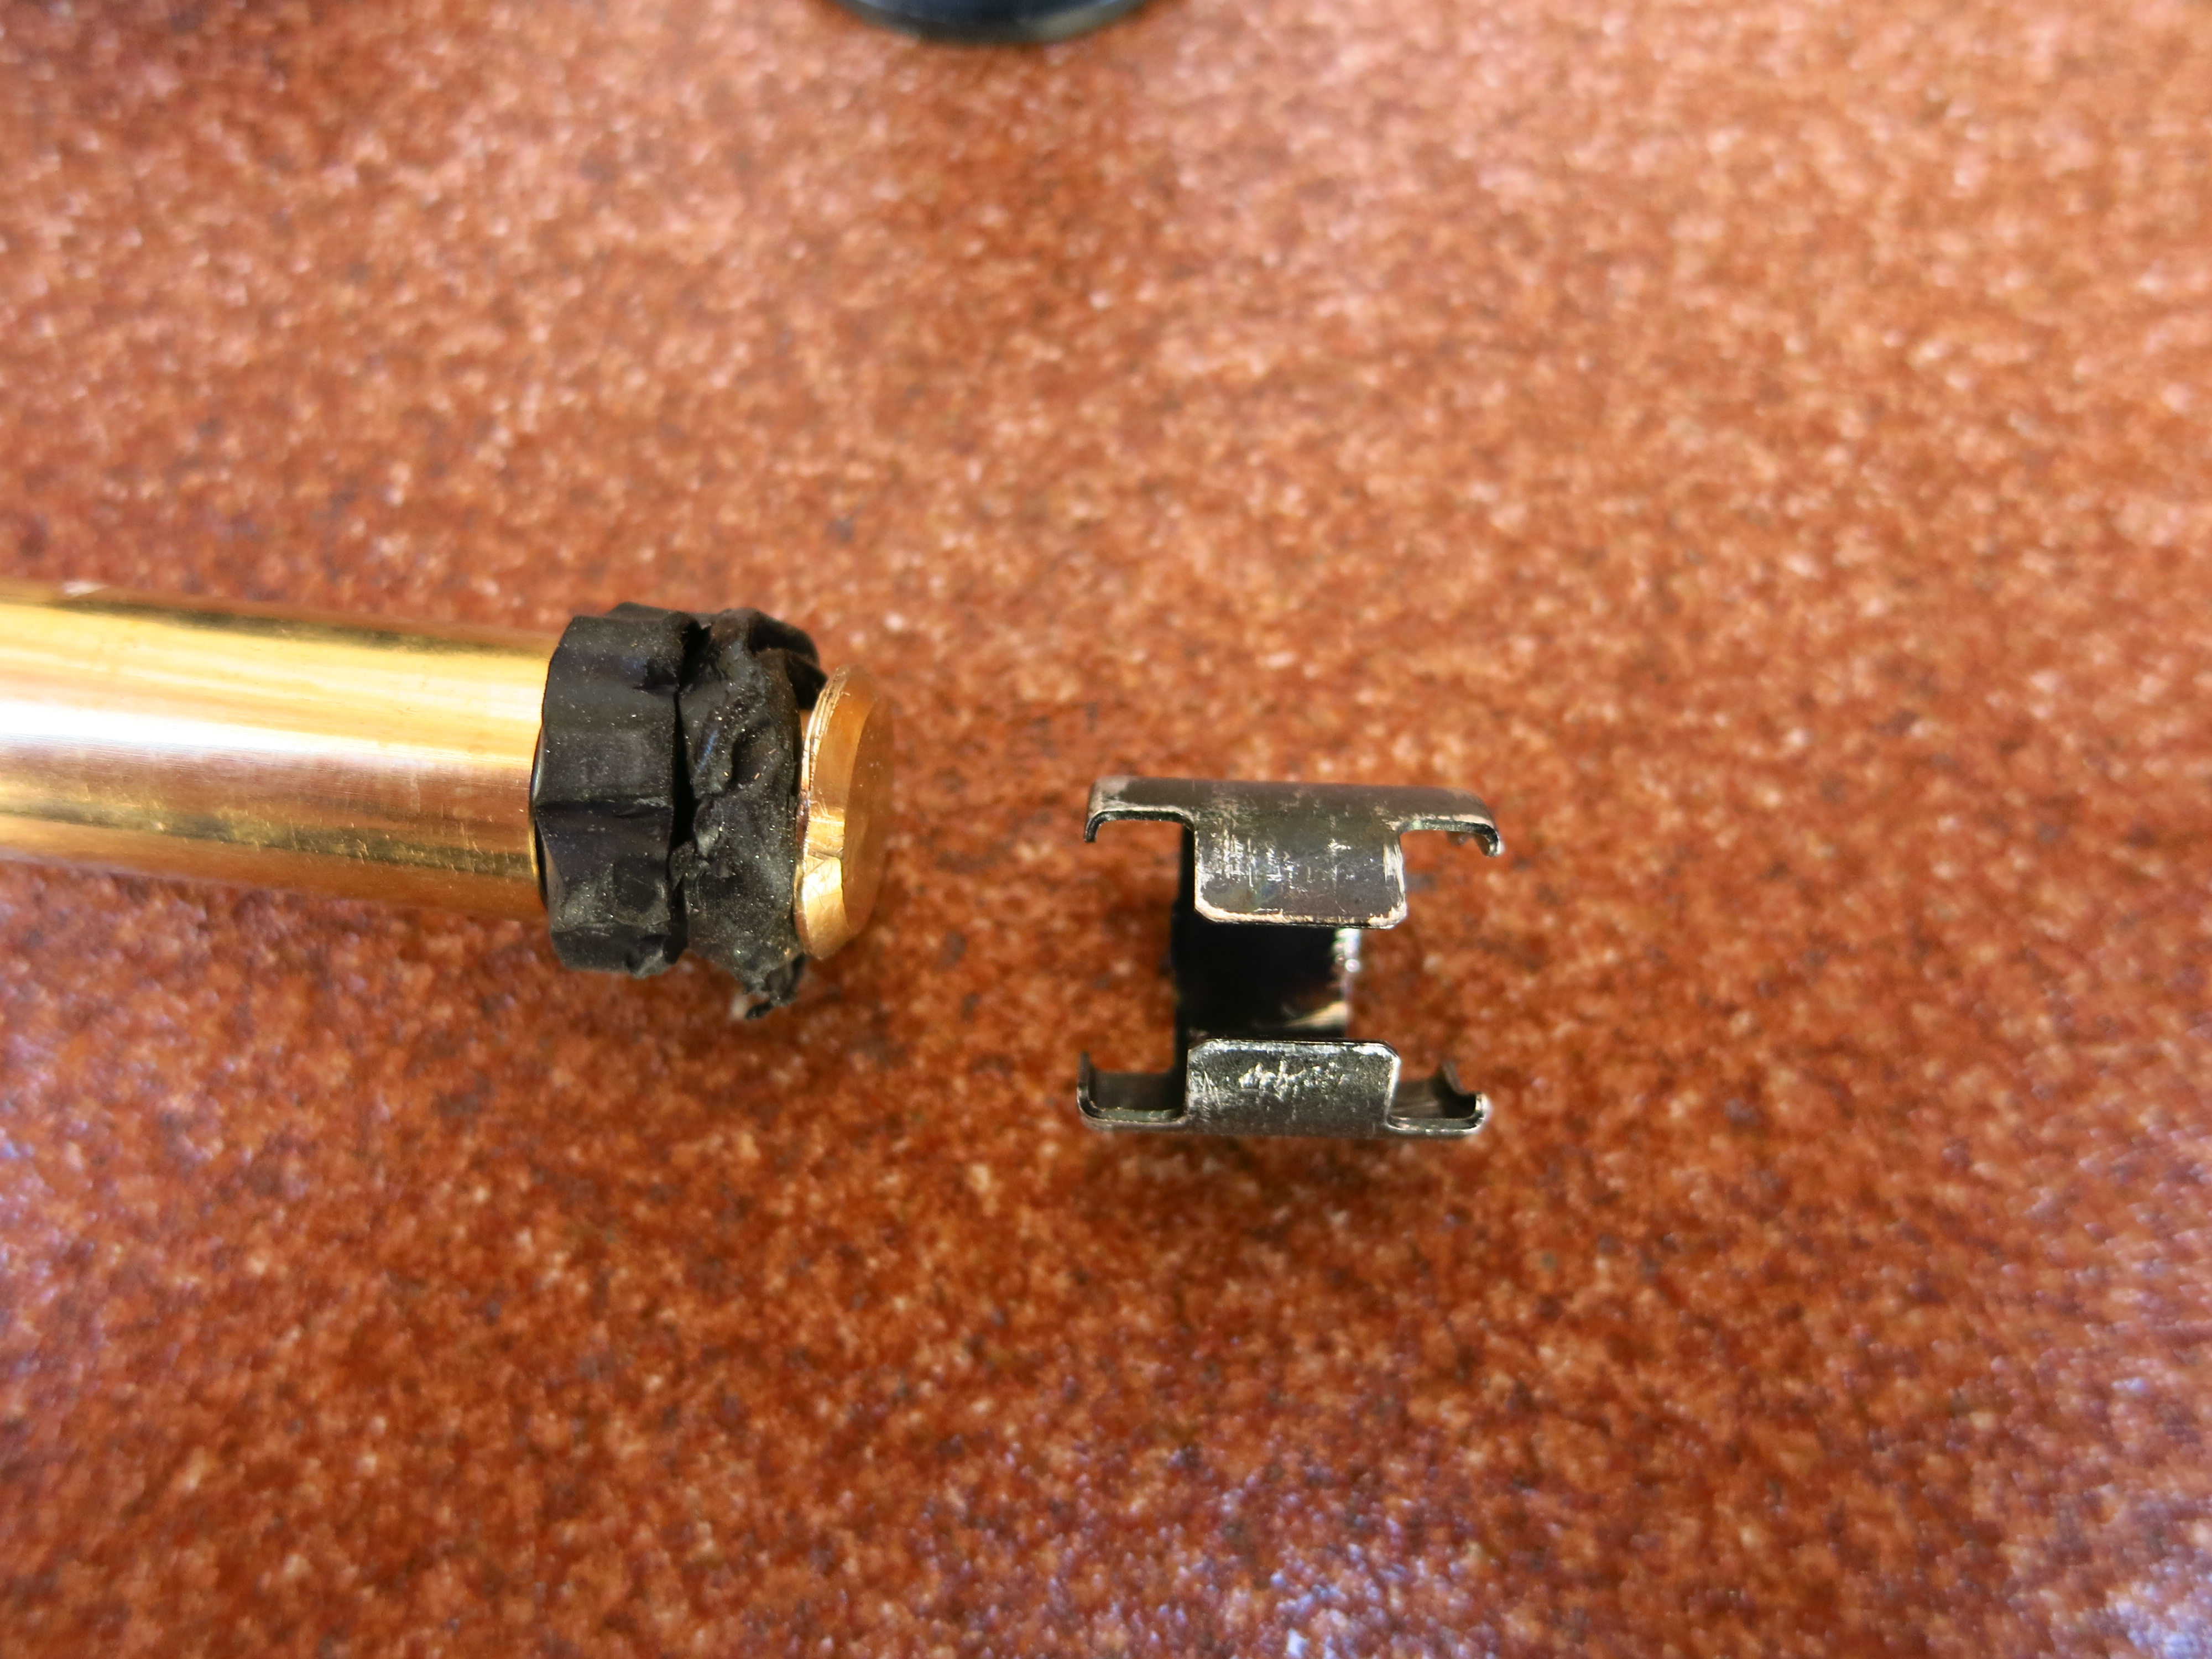
 These cylindrical plates are fragile and can come out easily, be careful with them because of they do come out it is practically impossible to grab hold of the inner weight to pull it out. Having suffered this, when I removed the second one I unscrewed the handlebar weight bolt, then pulled gently but firmly until about 1cm of the inner weight emerged and then pulled it out with a pair of pliers.
To get the first one out, I used a pair of long thin pliers to hold the plate and pressed it with a screwdriver to prevent it from opening and coming apart from the weight.
With the most difficult part out of the way, it is time to fit the new handguards.
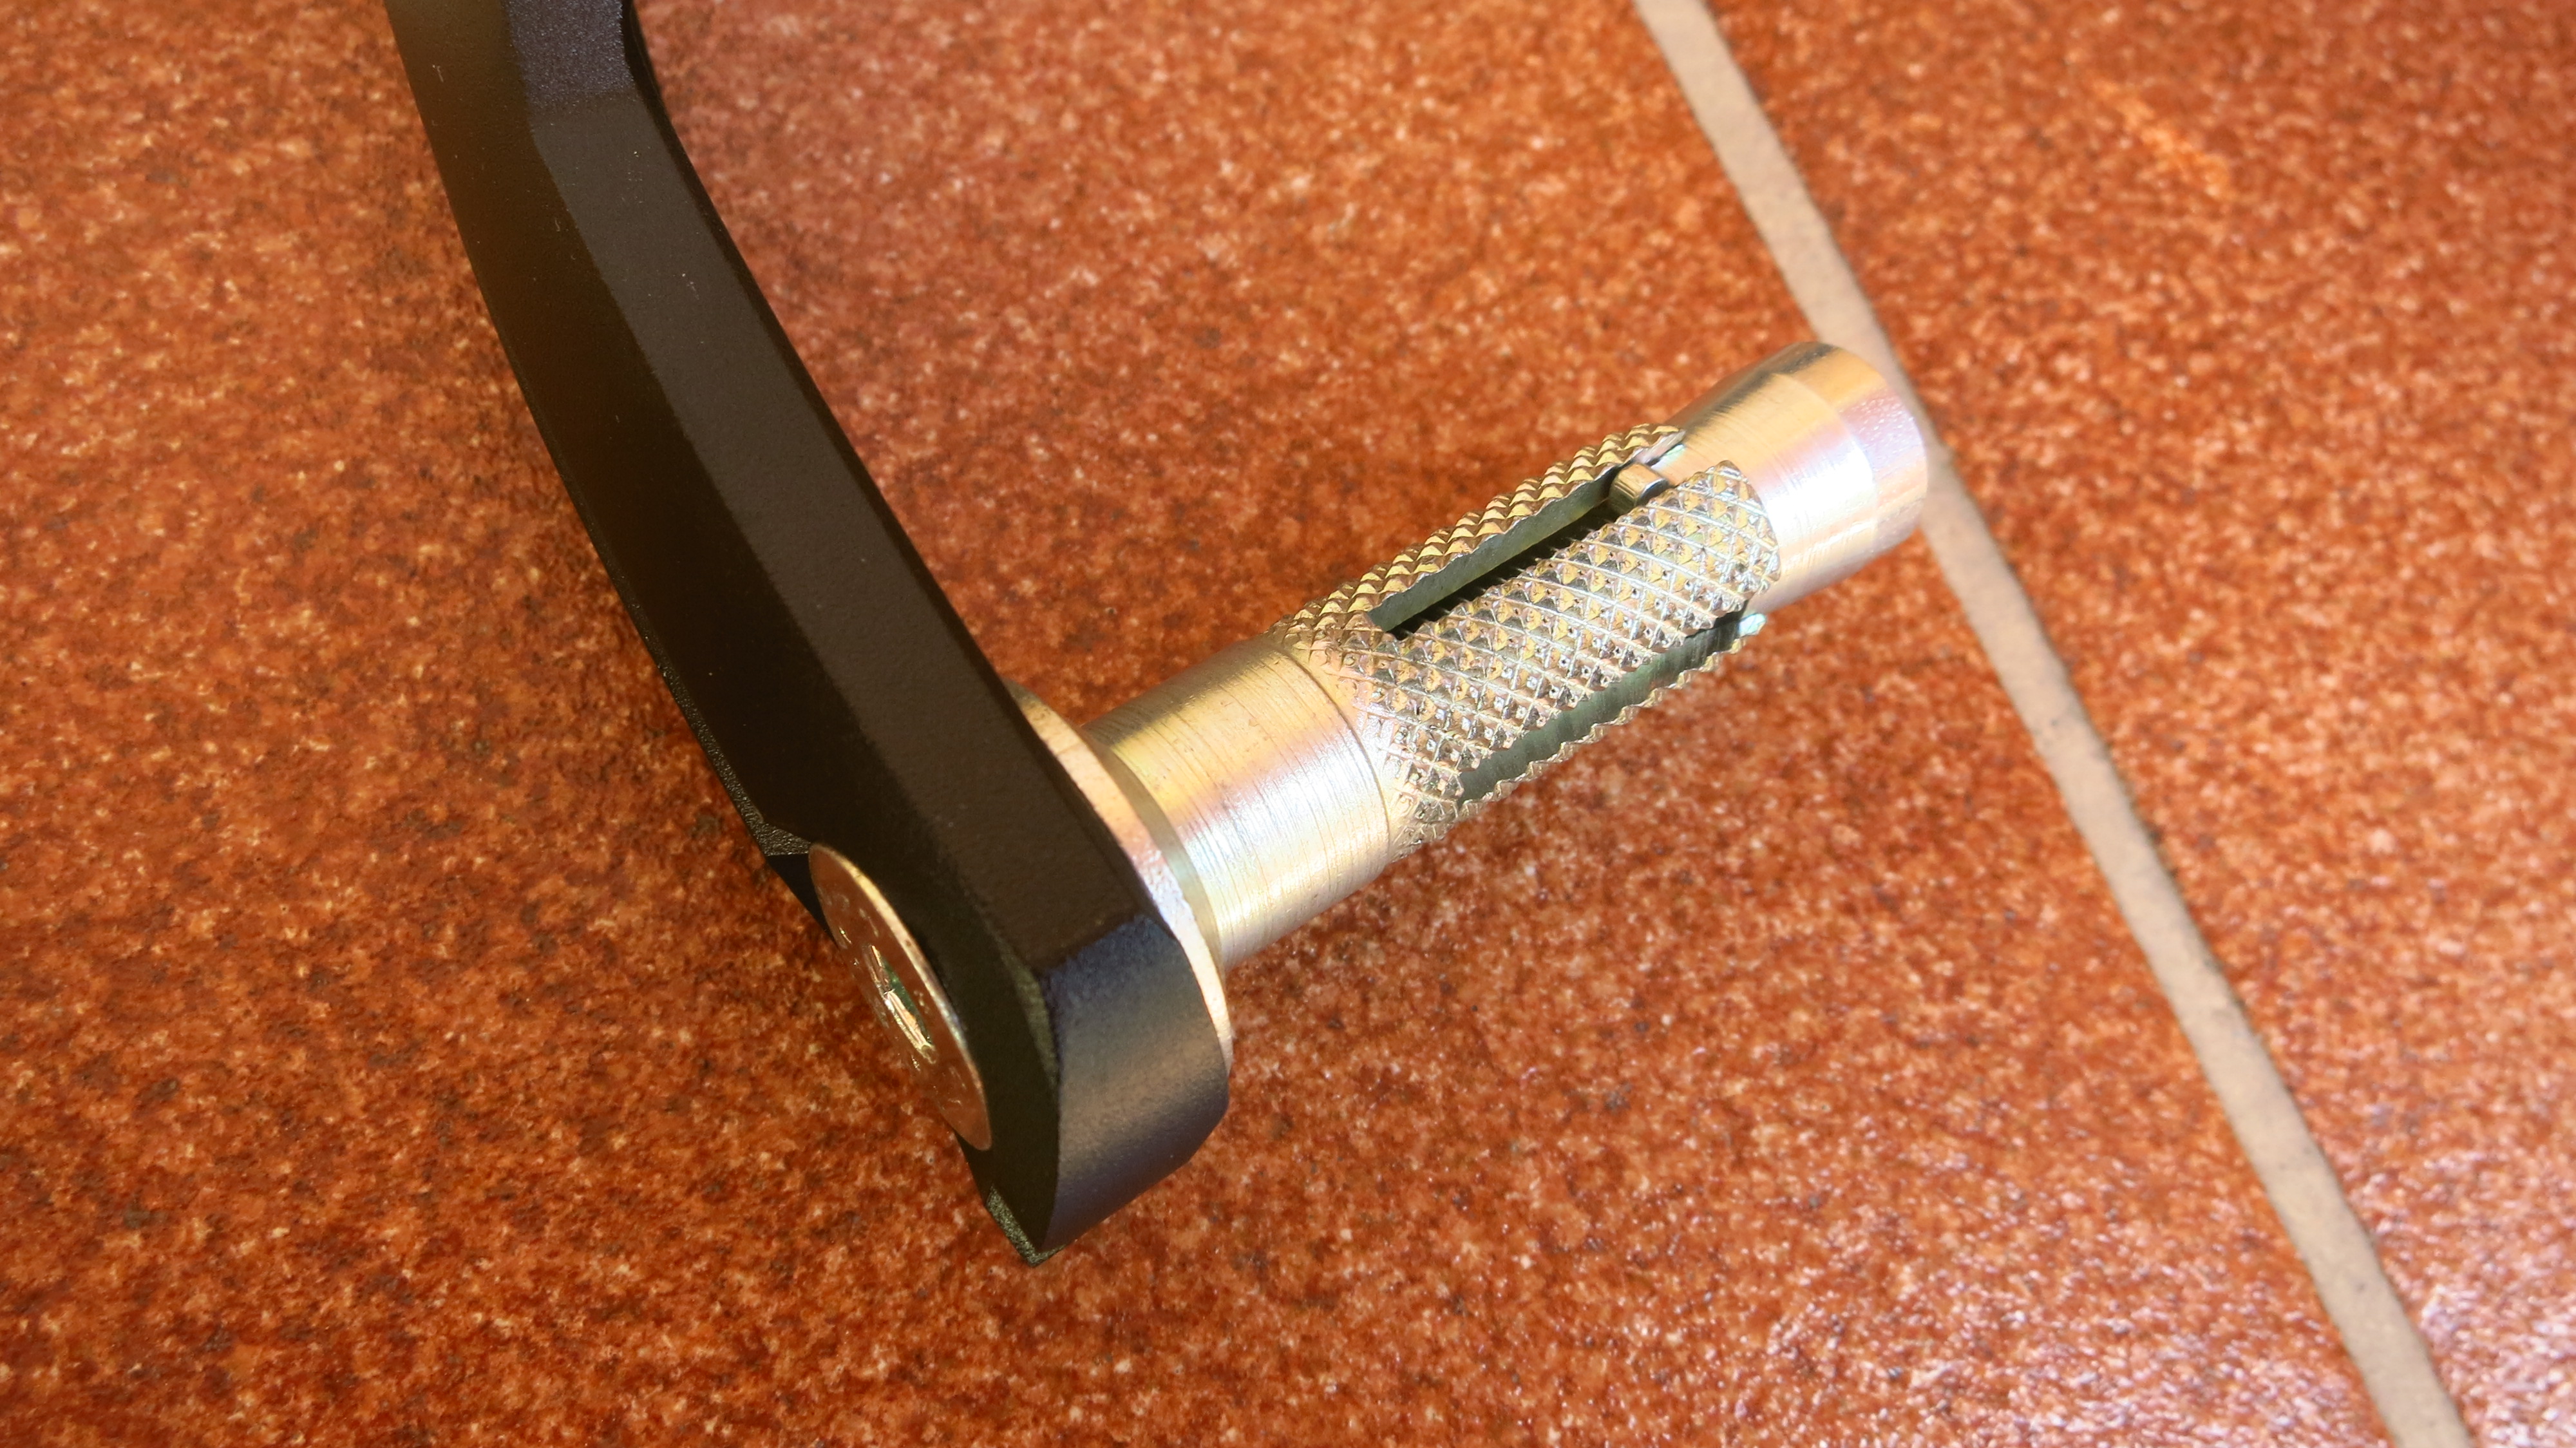
 Do not try to put the expansion shell directly into the handlebars first, as there is a risk that the nut at the end comes loose from the shell and then you might push it further inside when inserting the bolt, making it very difficult to recover. Fit the shell to the aluminum backbone and then insert it in the handlebar.
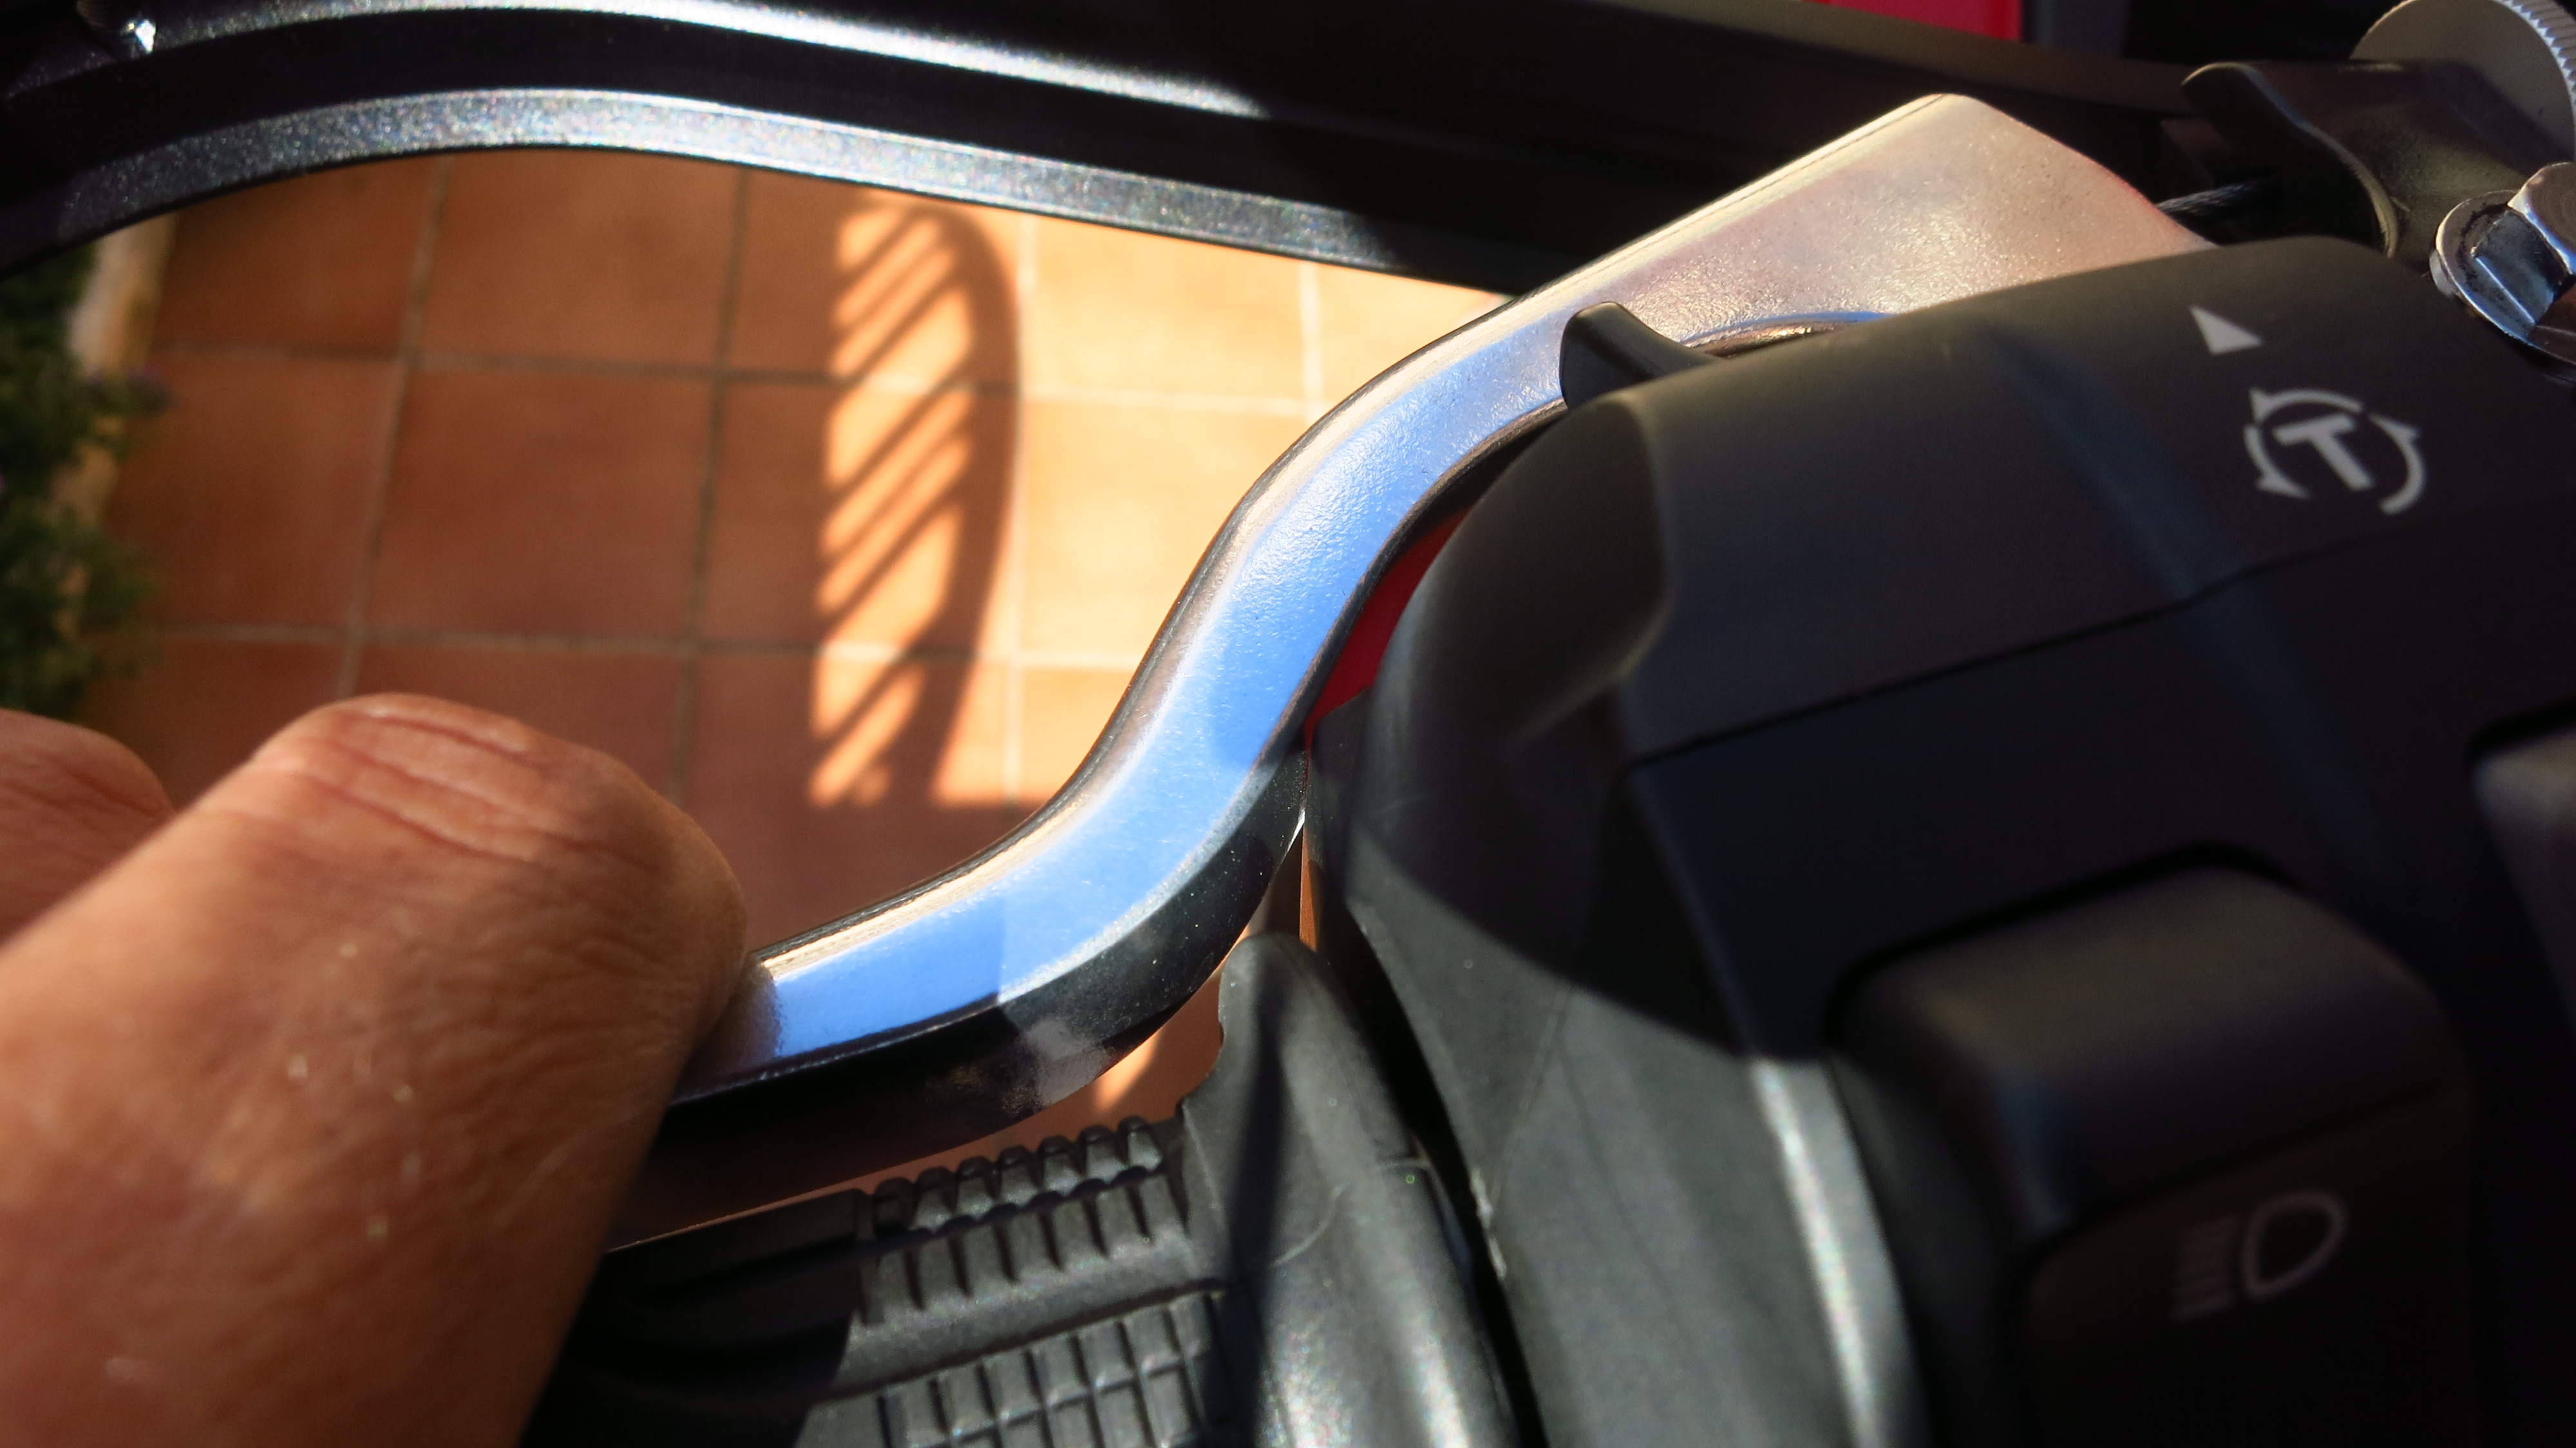
 Then fit the support arms to the handlebar but do not tighten, as you’ll need to adjust the levers. It is necessary to move both brake and clutch lever assembly about 1.5cm to the inside to prevent them from touching the backbone when released. Be careful with the clutch lever, too far in and it will touch the switch assembly, too far out and it will touch the backbone. You need to find the sweet spot.

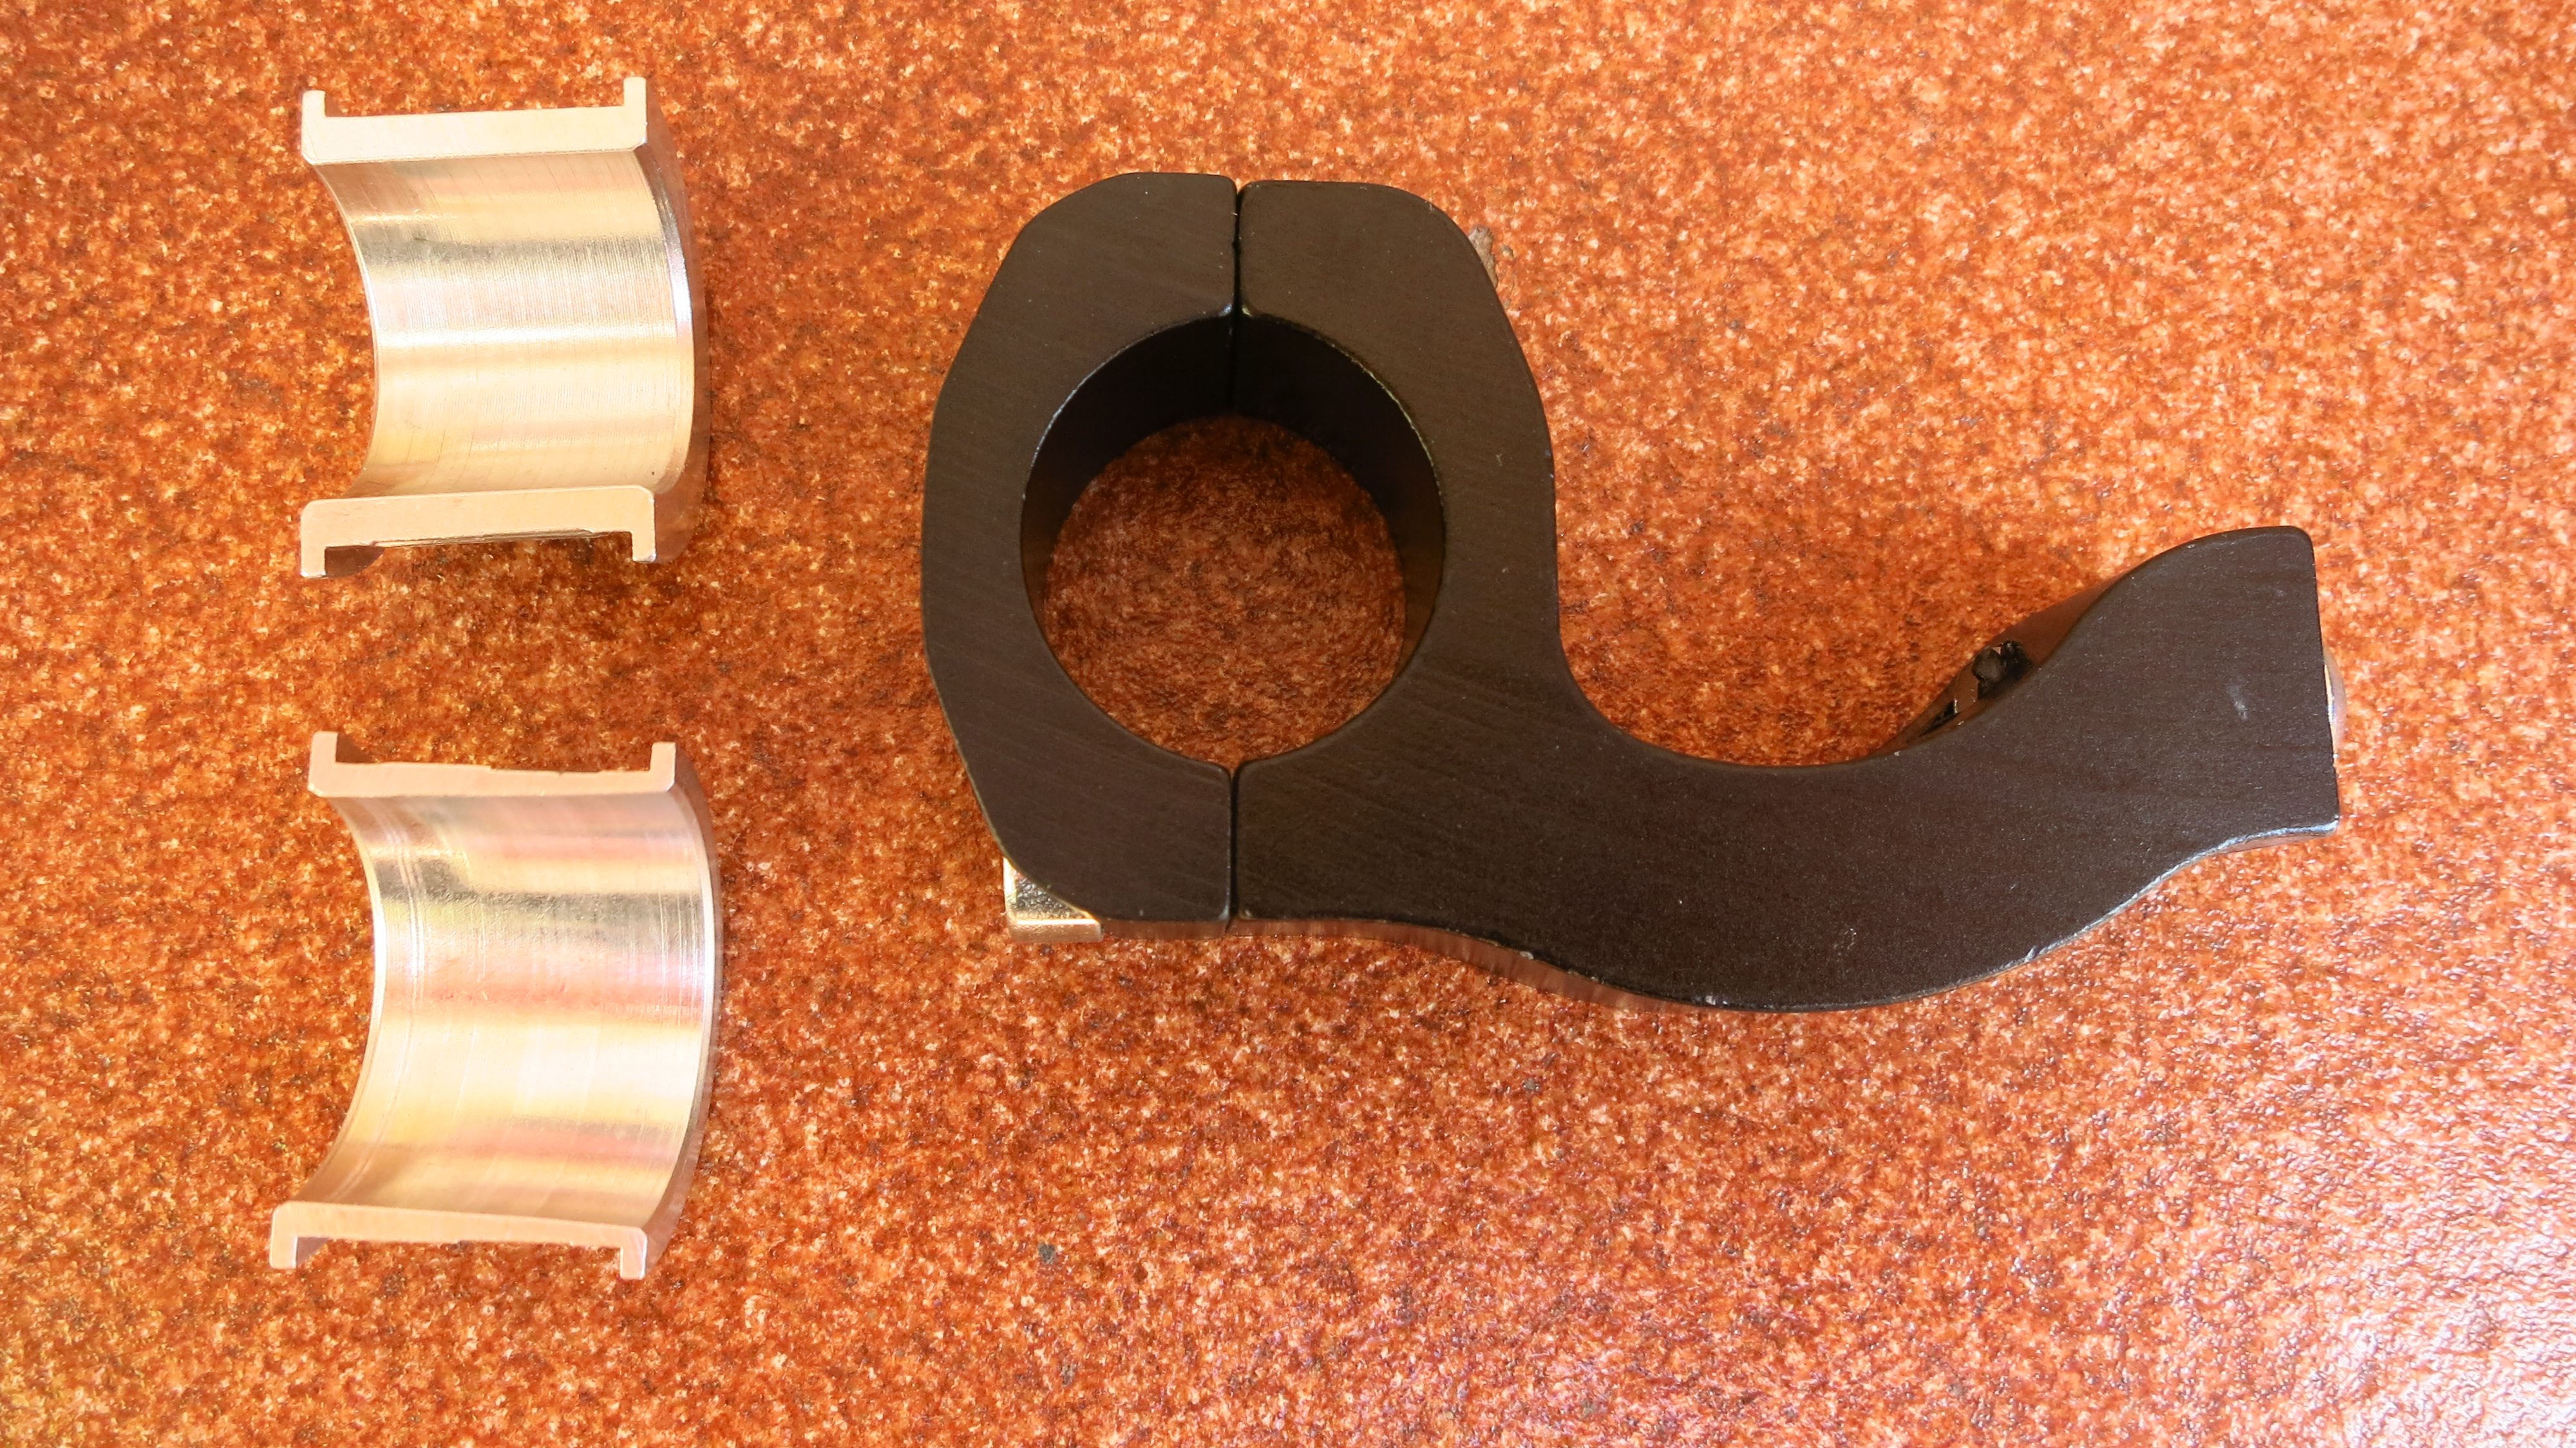
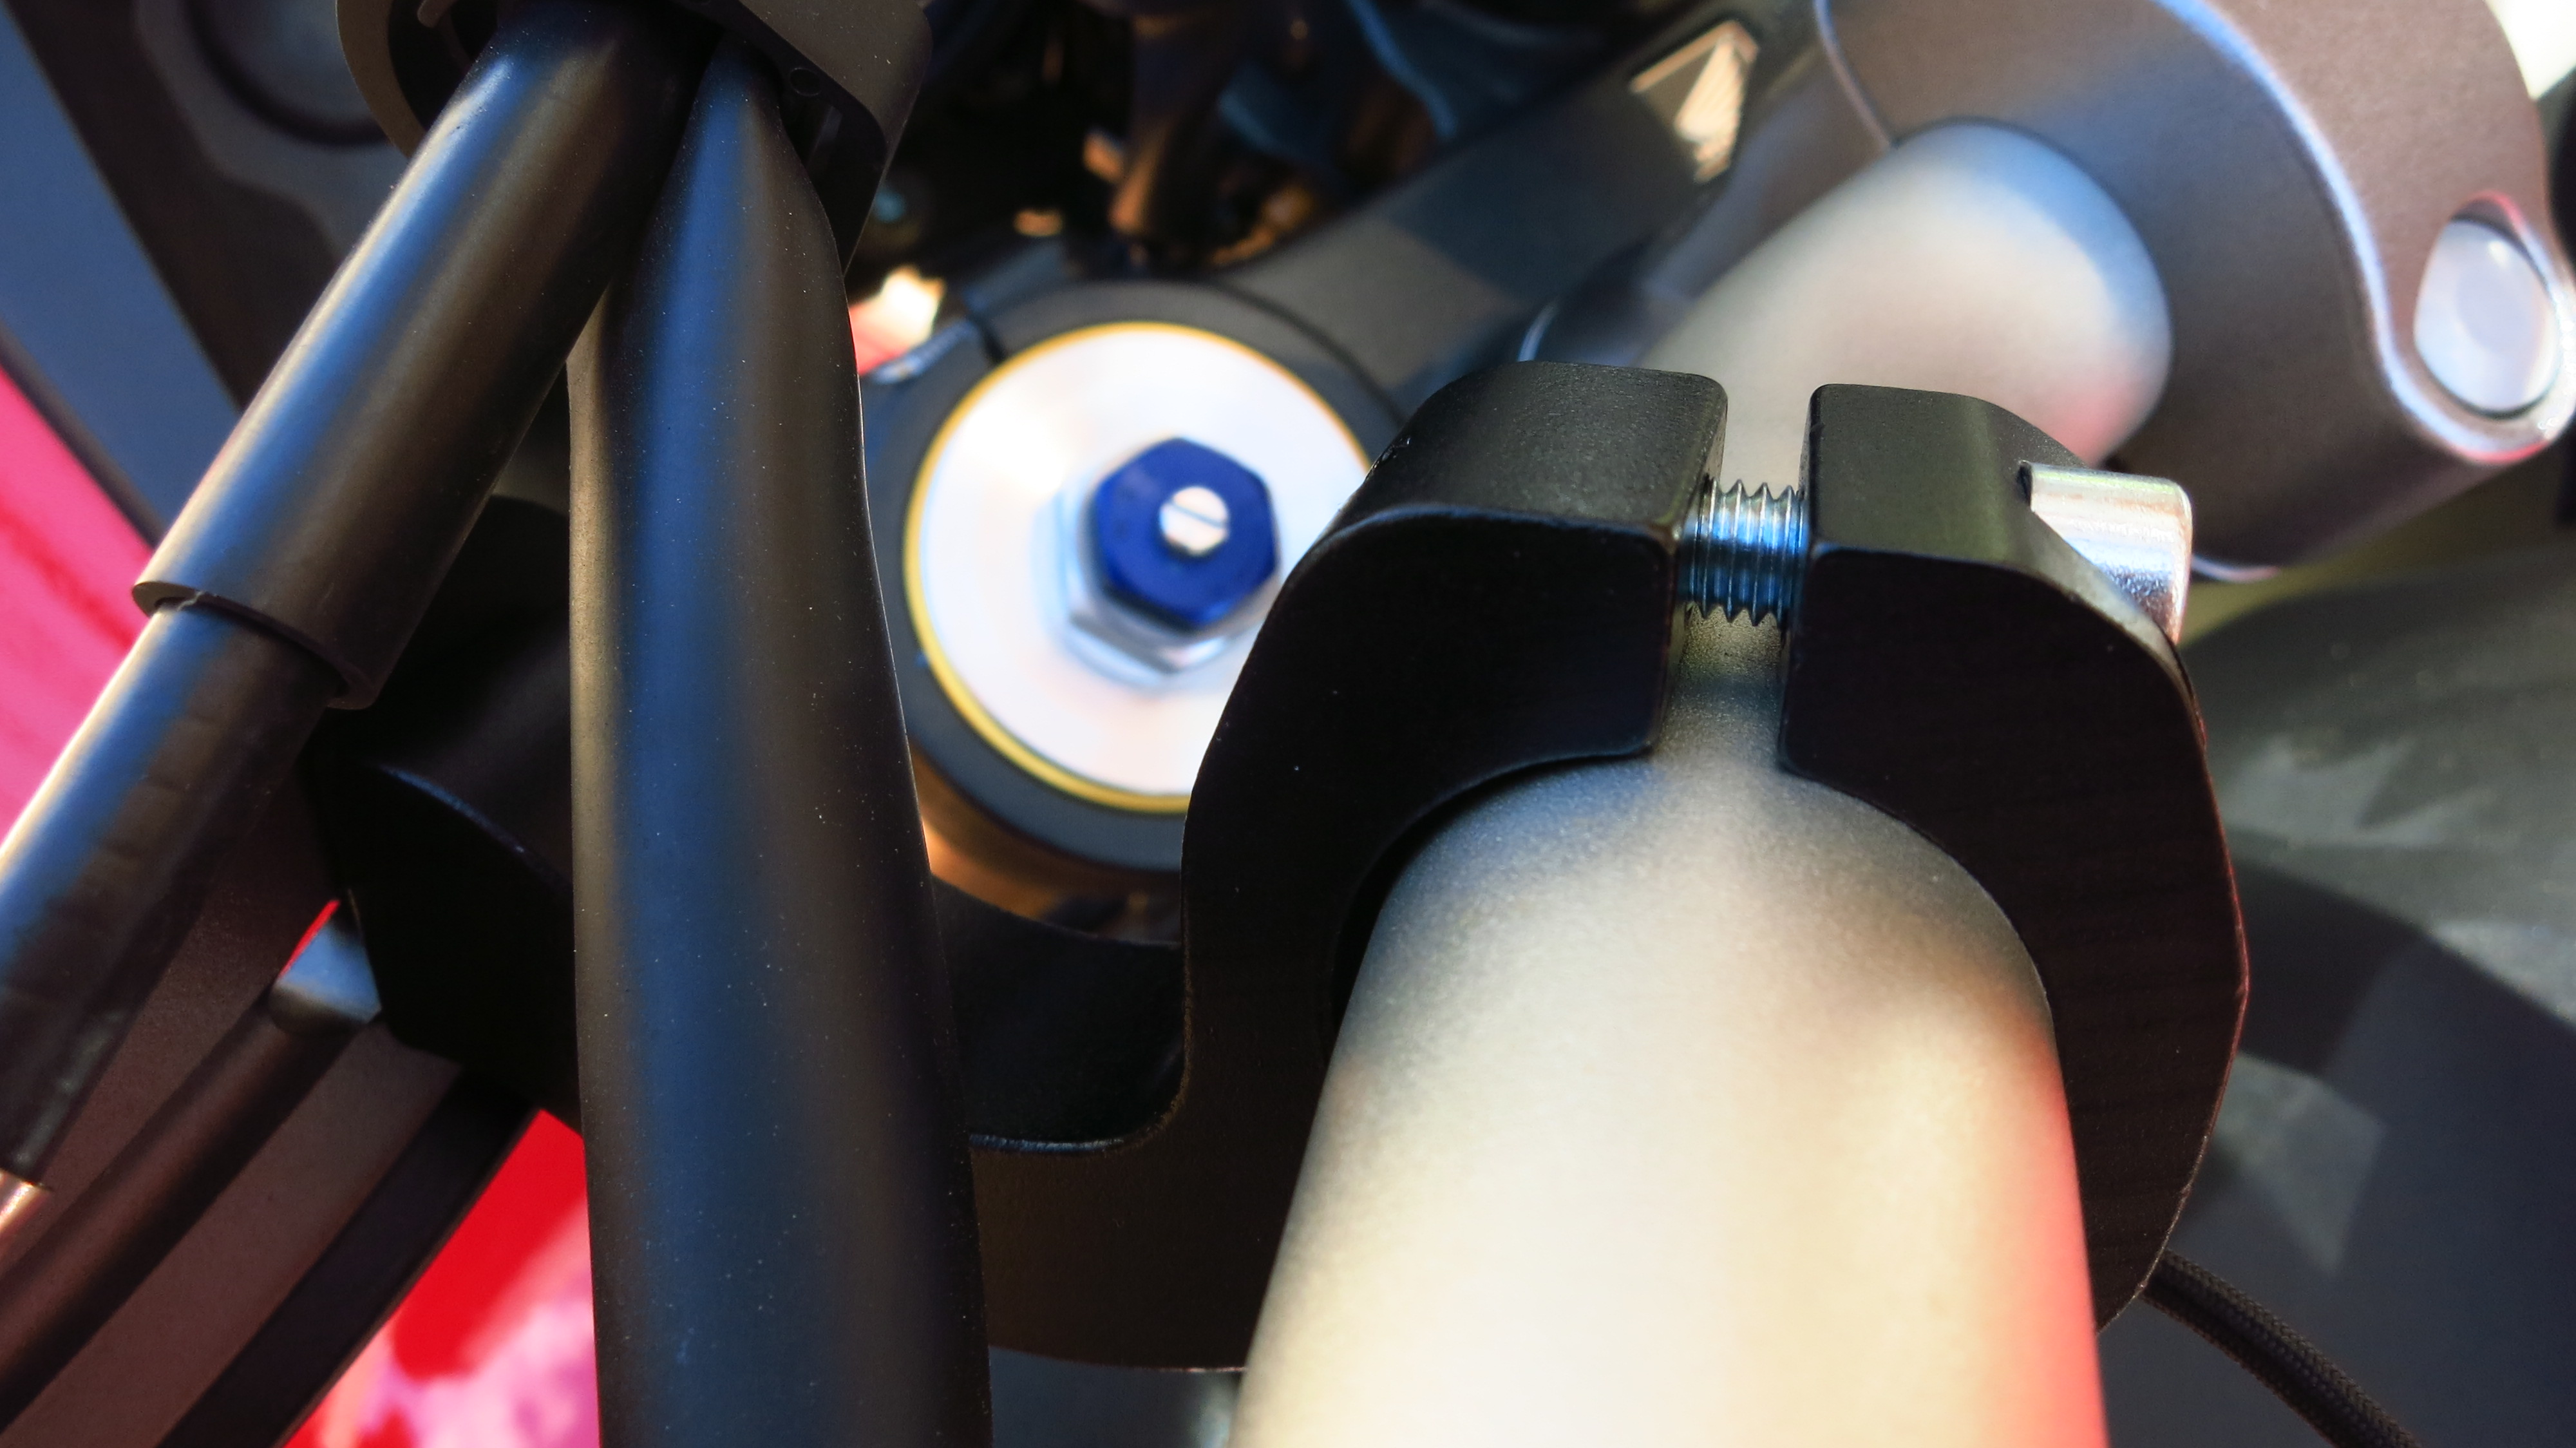
 Once everything is in the position and angle you want, start tightening first the mounting arms and then the expansion shells. The mounting arms come with two sets of brackets to fit handlebars of different diameters. In my case I did not need to use either of them.

 The bike looks great with the backbones only and it is tempting to keep that look, but I want more protection, not less, so the last touch is to fit the plastic covers, which are attached with three Allen bolts each. Done!
 I know this is a matter of personal opinion, but I think the X-Factor handguards look great on the AT, particularly in black: