Good news from Madrid

My sister has just picked up my kazakh visa from the consulate in Madrid, and there have been no problems despite not having included any addresses for my stay in the country nor a letter of invitation from a travel agency. It seems that the simplified visa application process for Spanish citizens really does work.

This Friday the great Jenson Button will hand me the passport, since he is paying a visit to Barcelona this weekend to see his love.

p.s. Ok, not Jenson Button himself, but a friend from Madrid who looks very much like him…

Advertisement

A weekend away testing the gear

It was eight o’clock on Saturday morning, it was pouring with rain and my plan to leave early and spend the day riding was already delayed because I had forgotten the bike’s documents at my parent’s home. Oh, and I did not have a driving license…

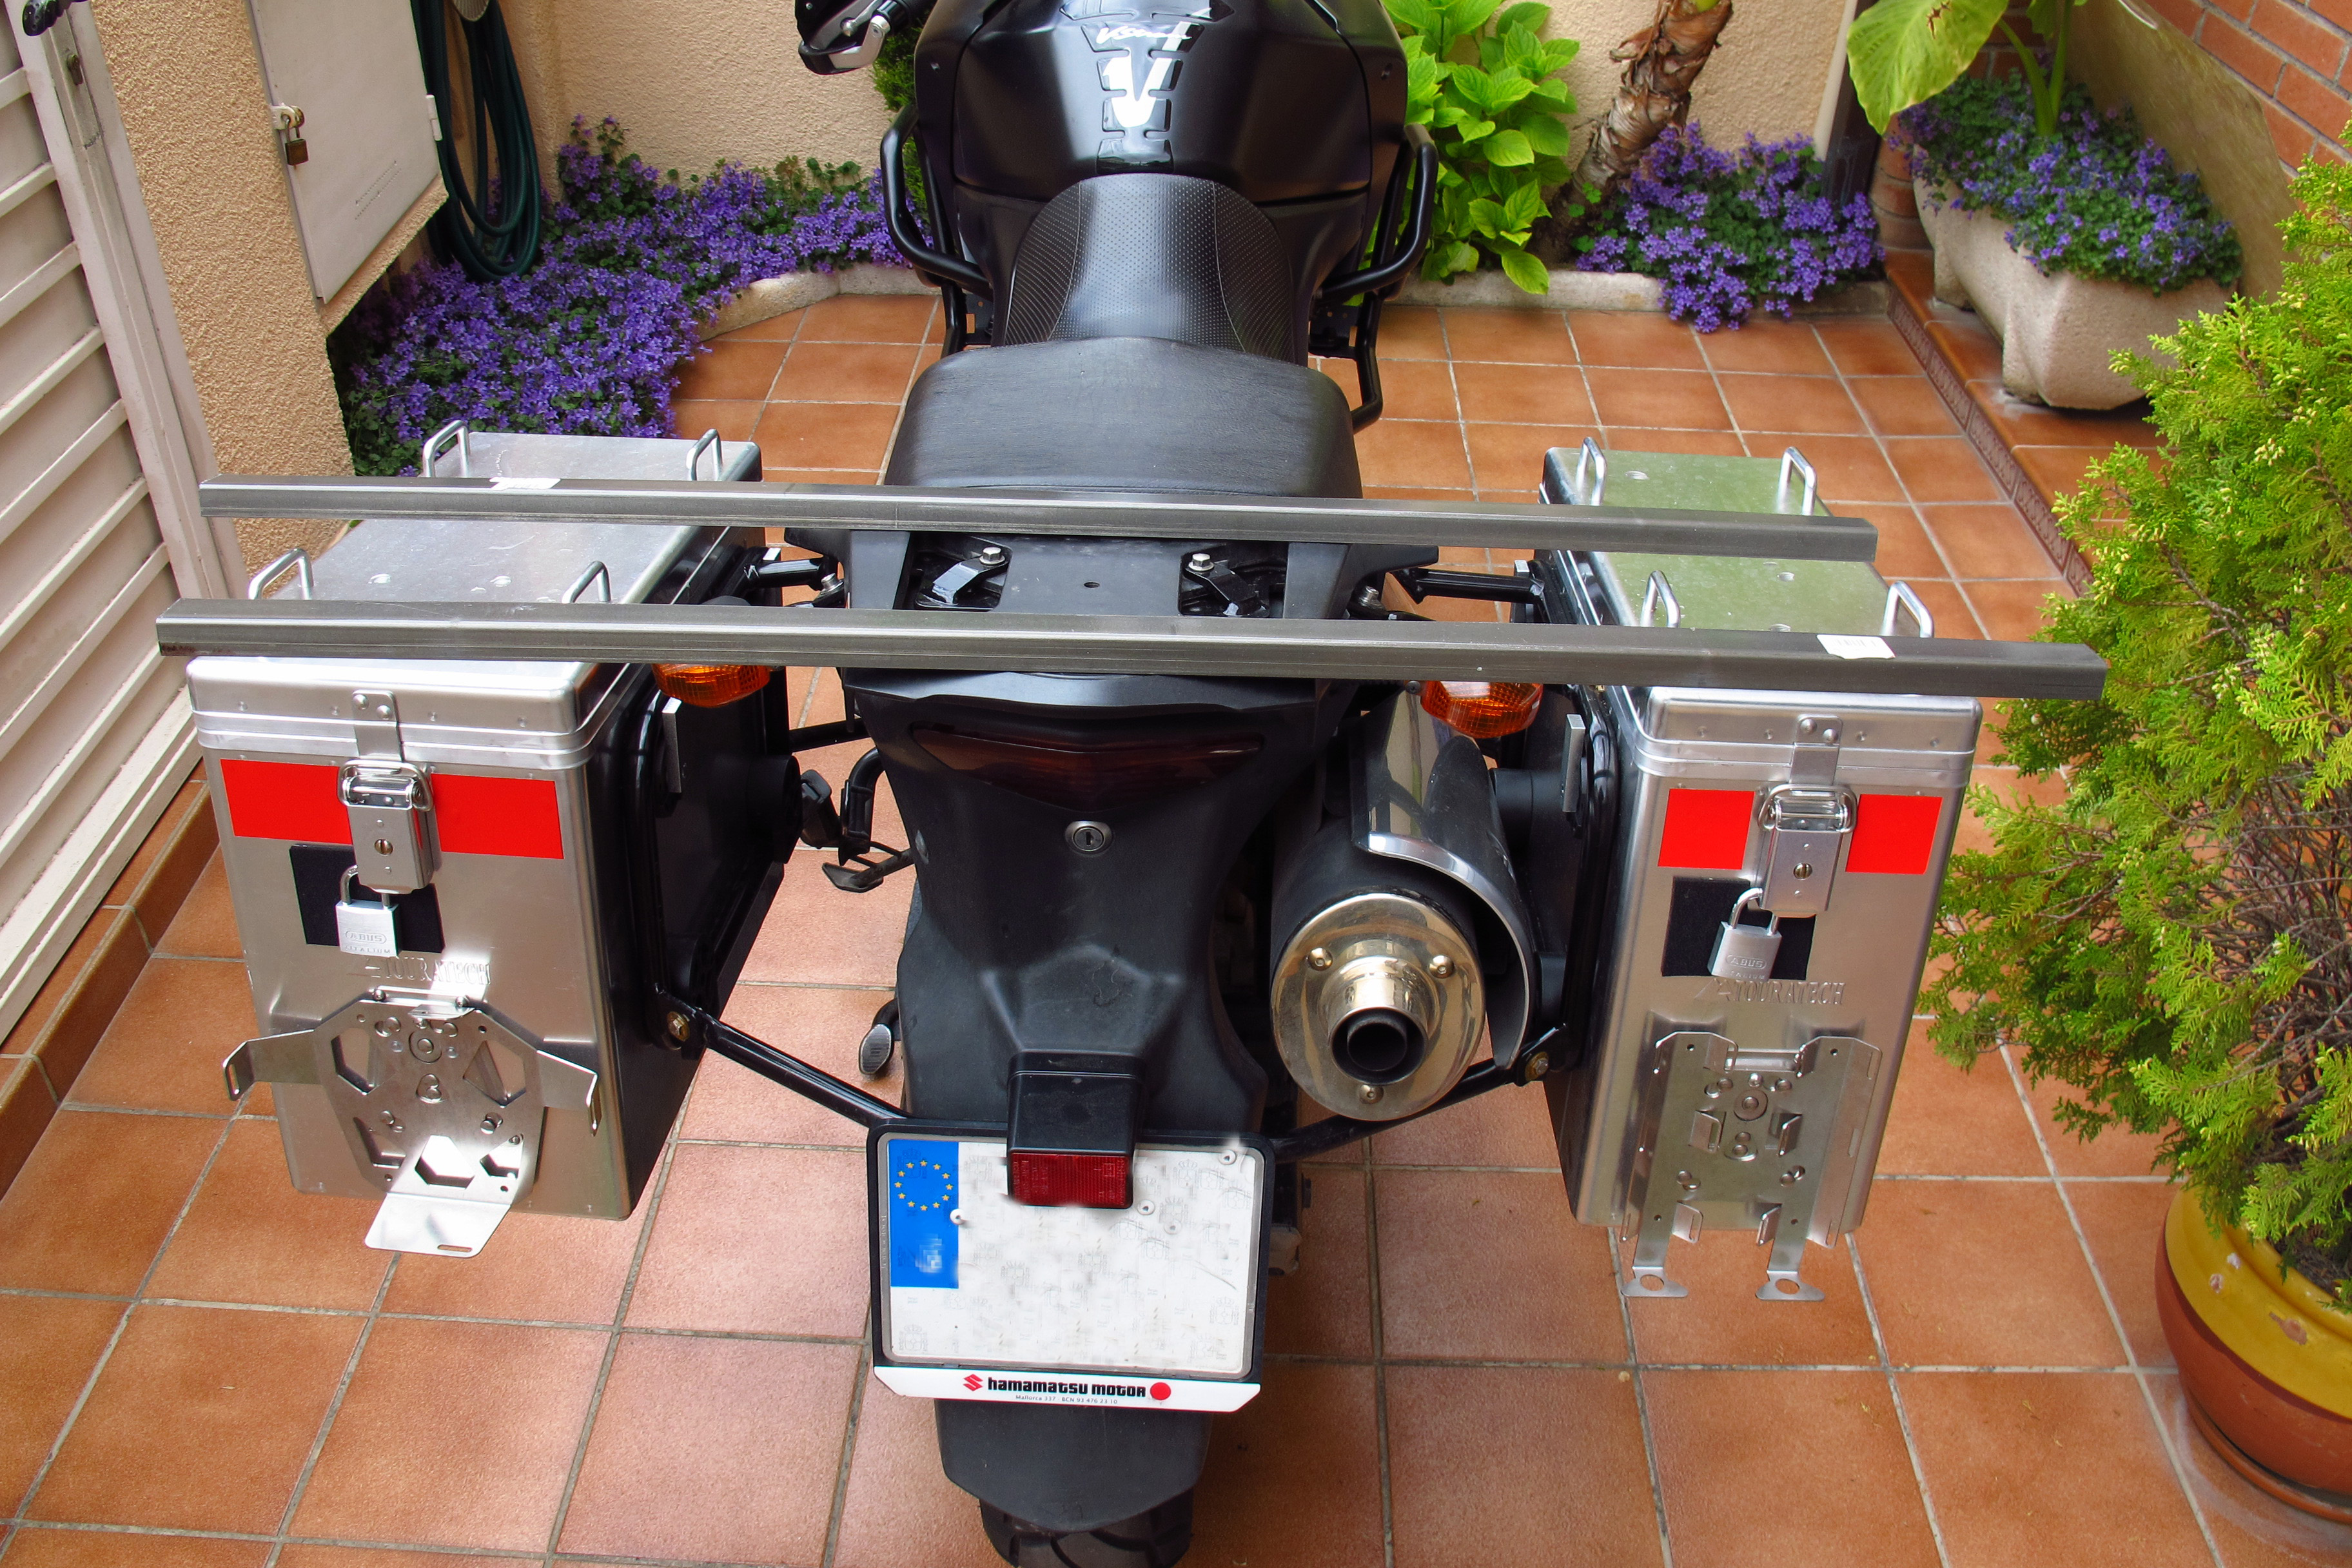
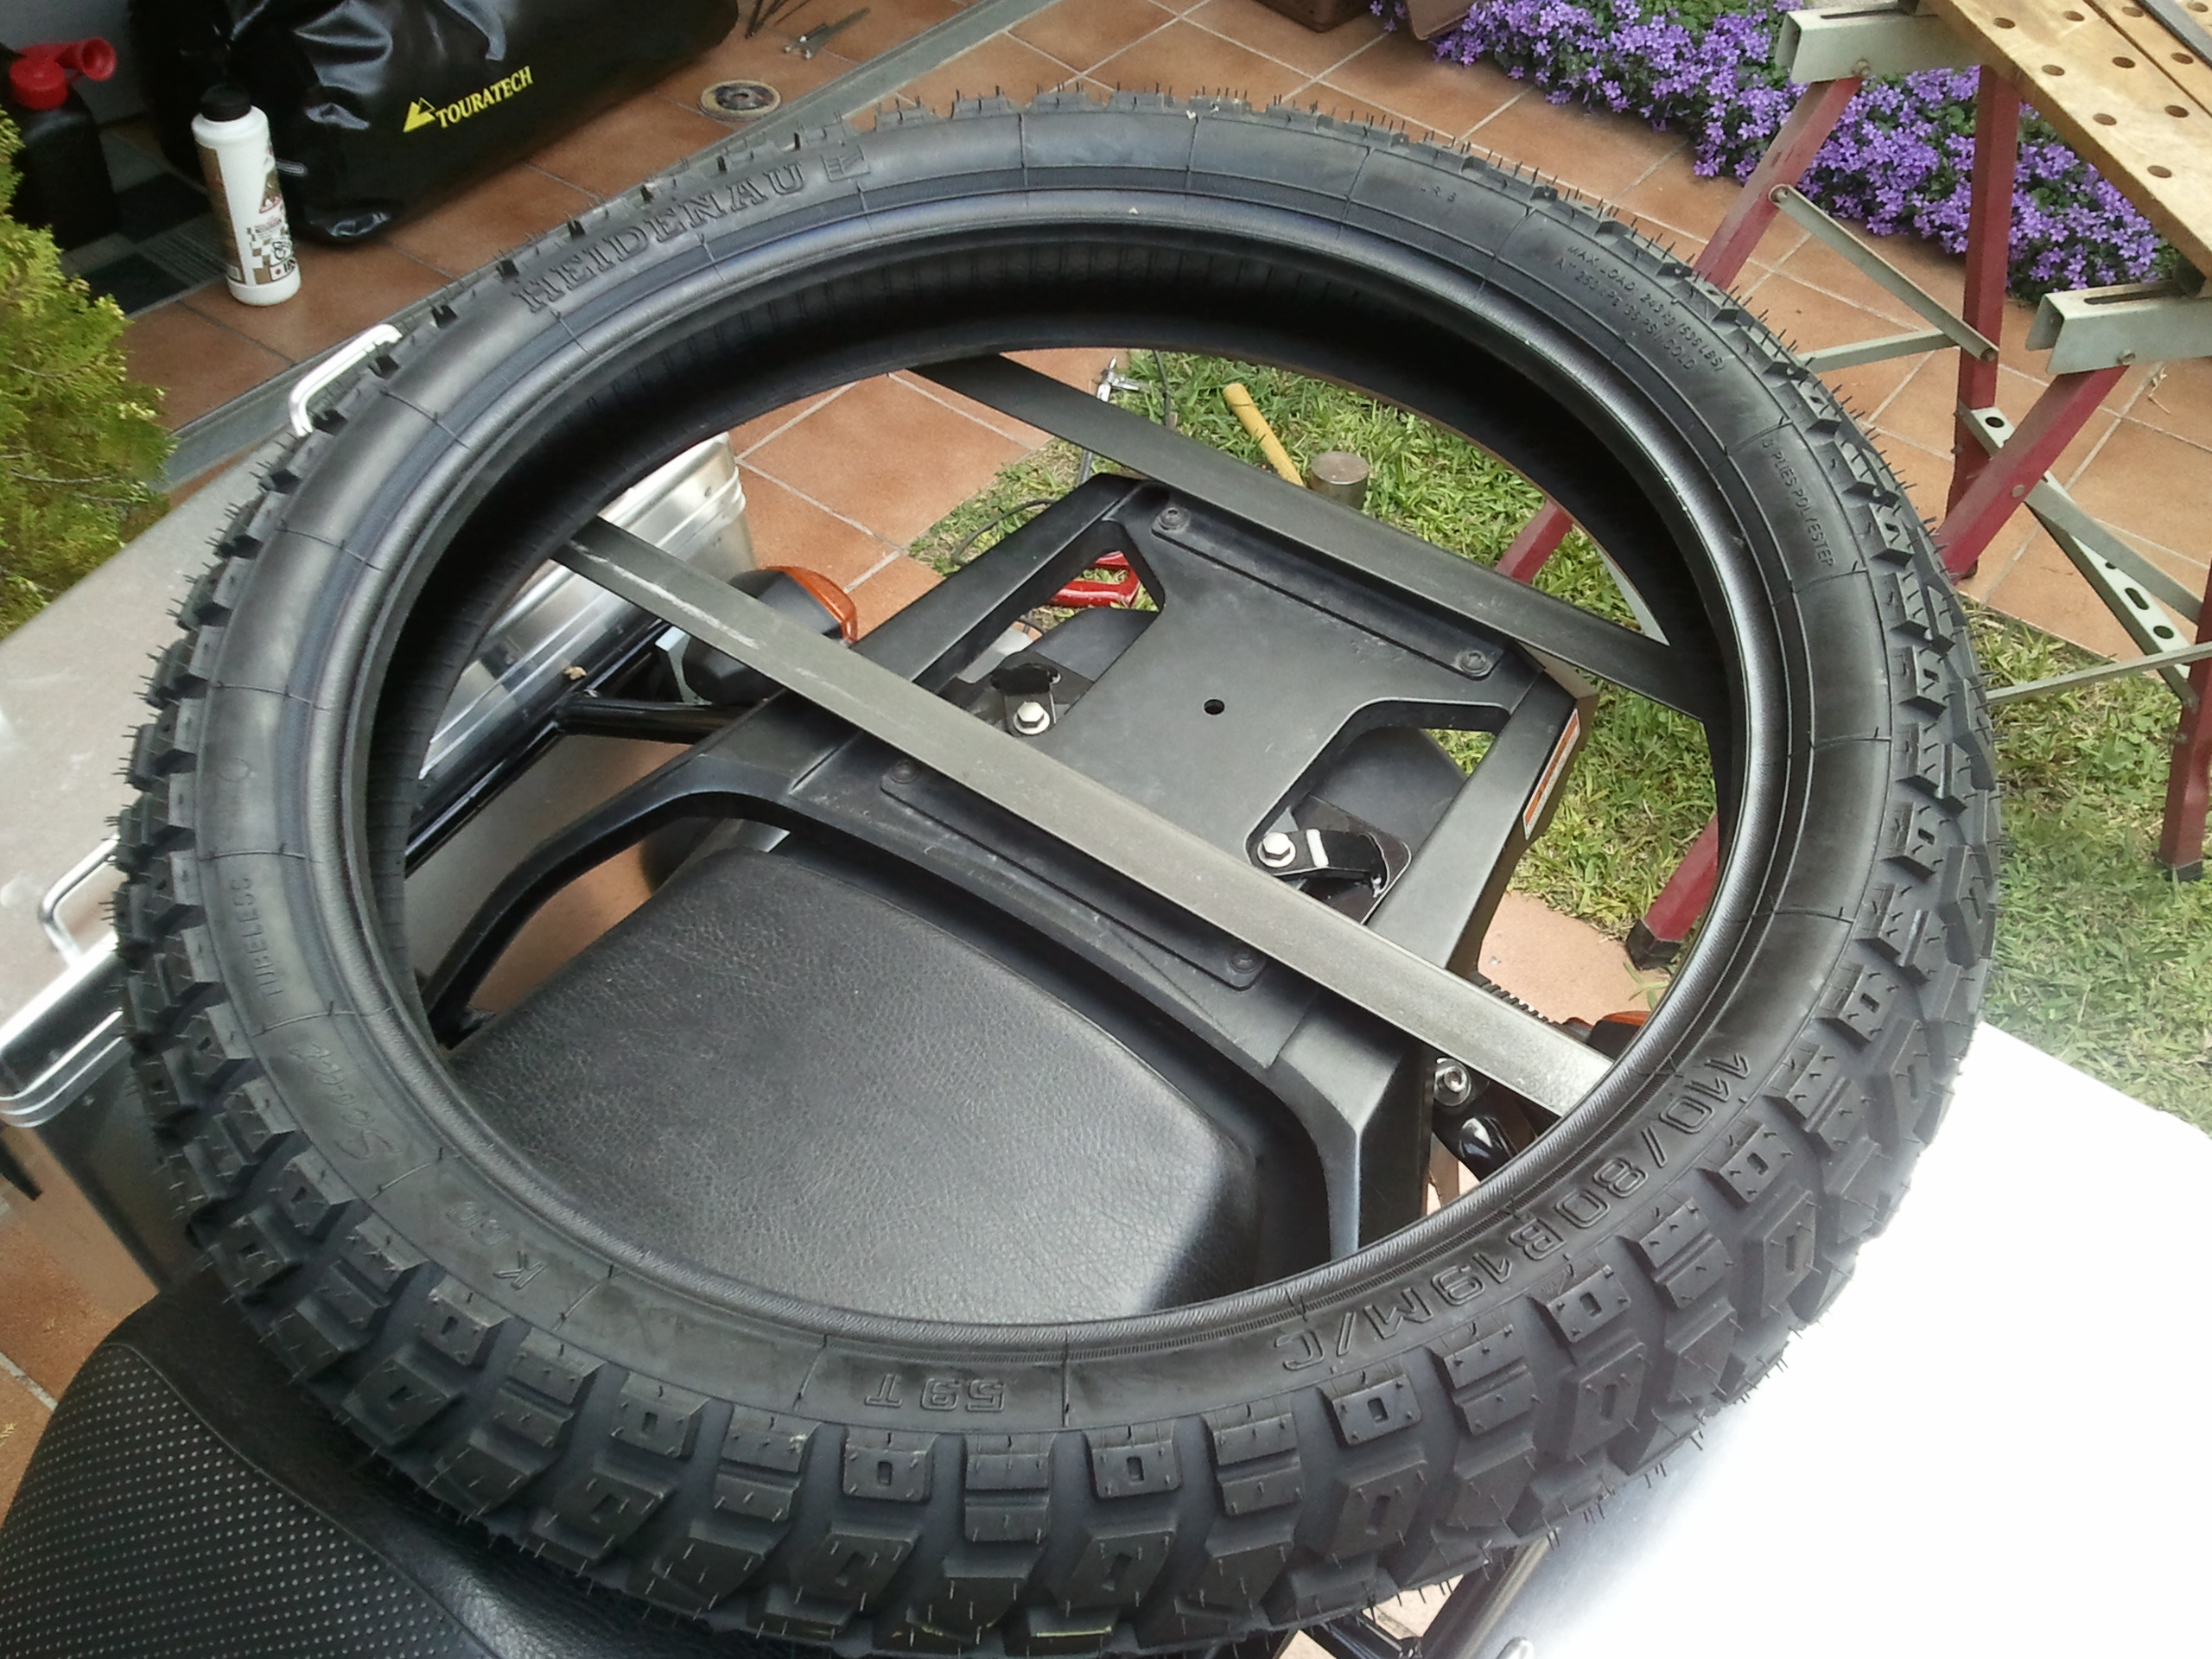
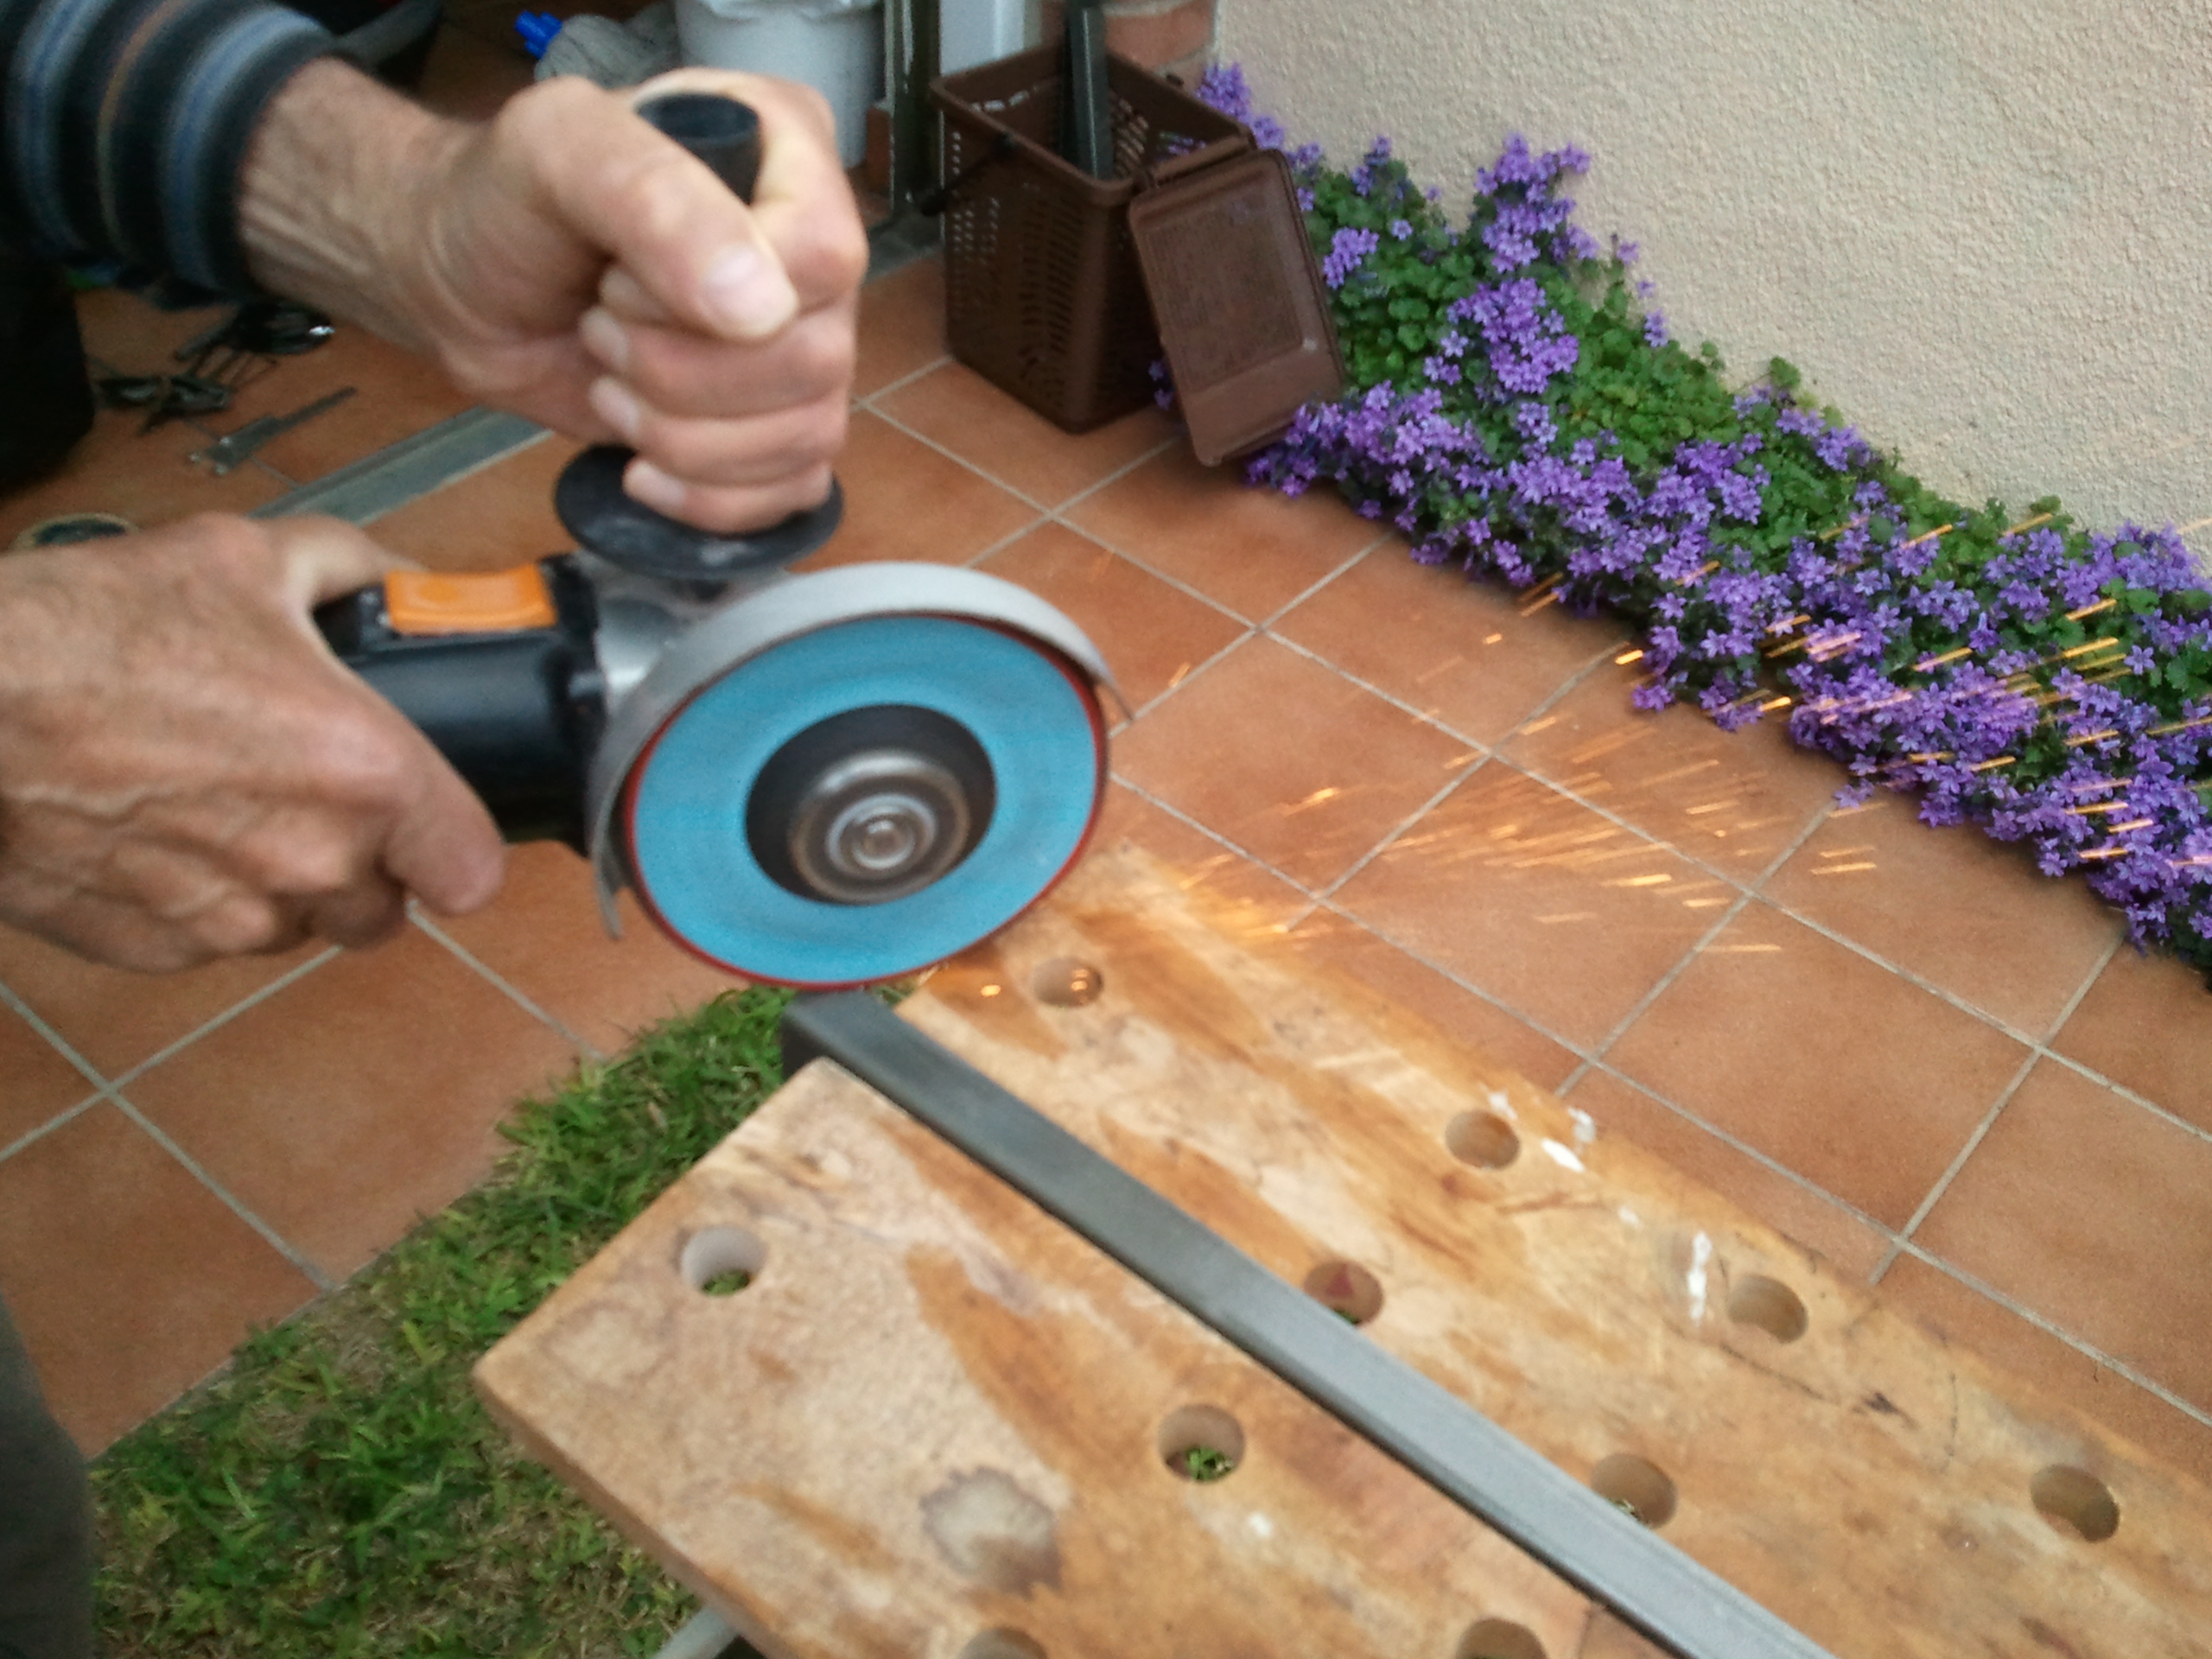
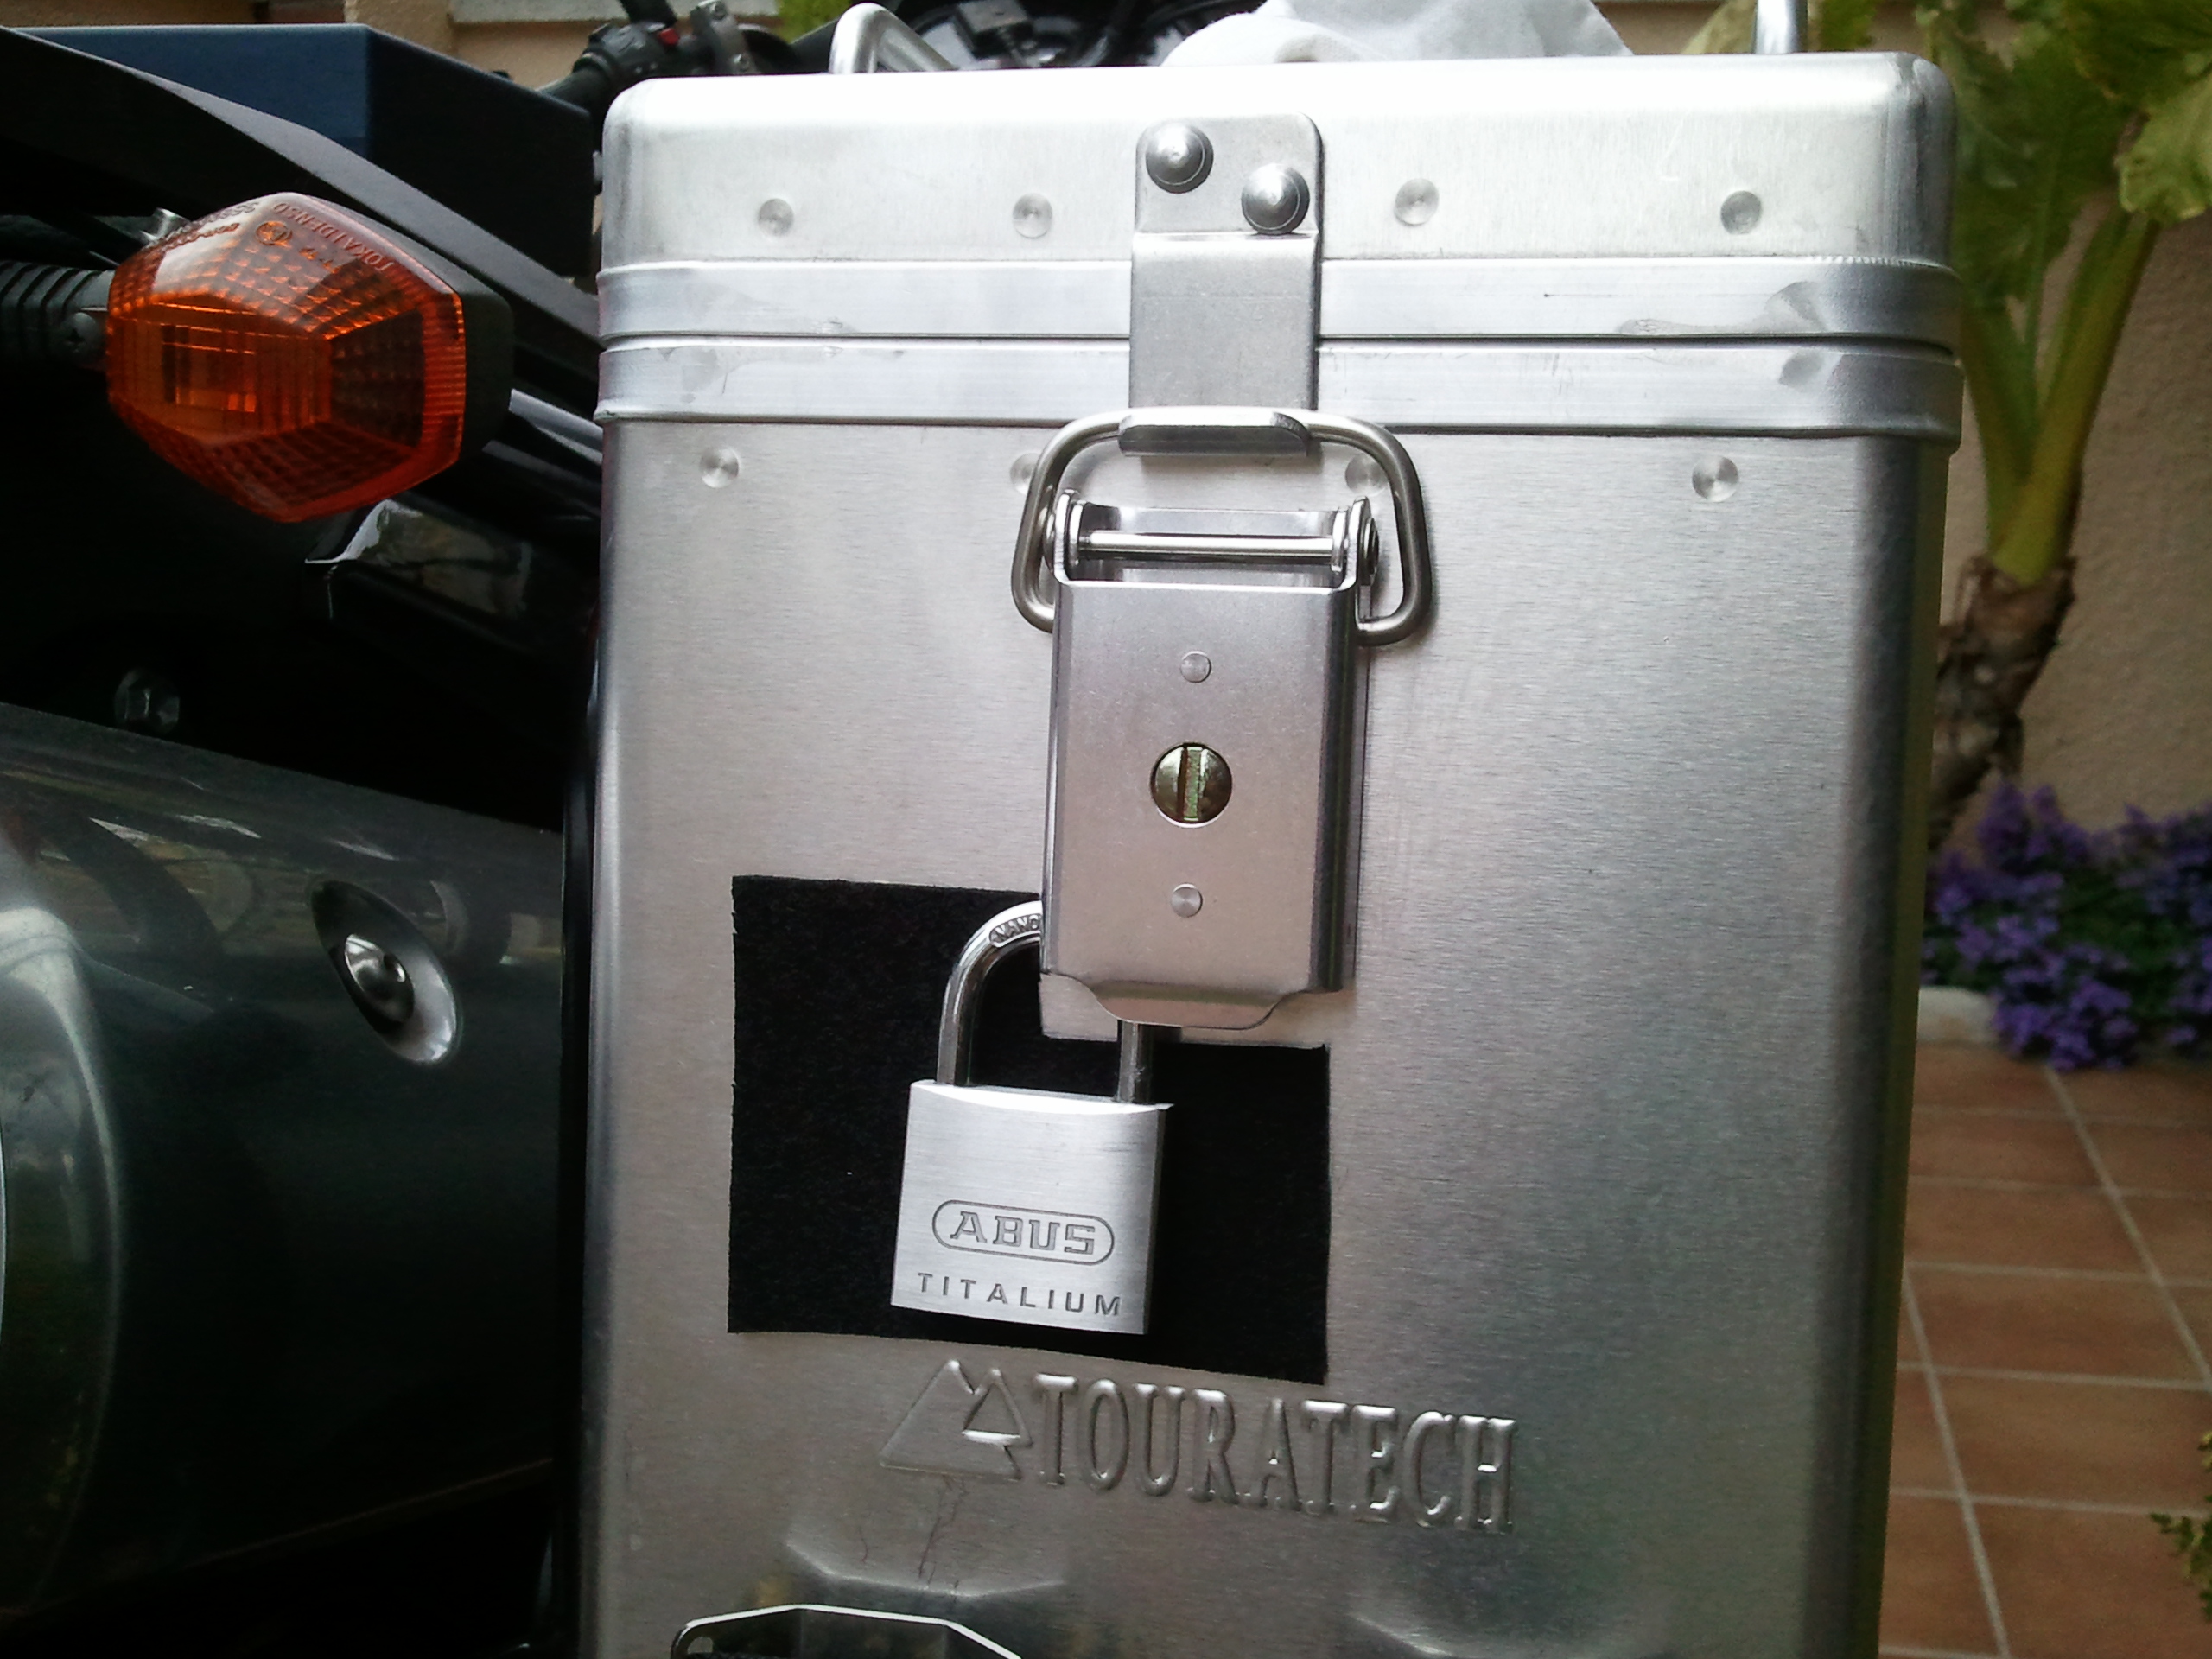
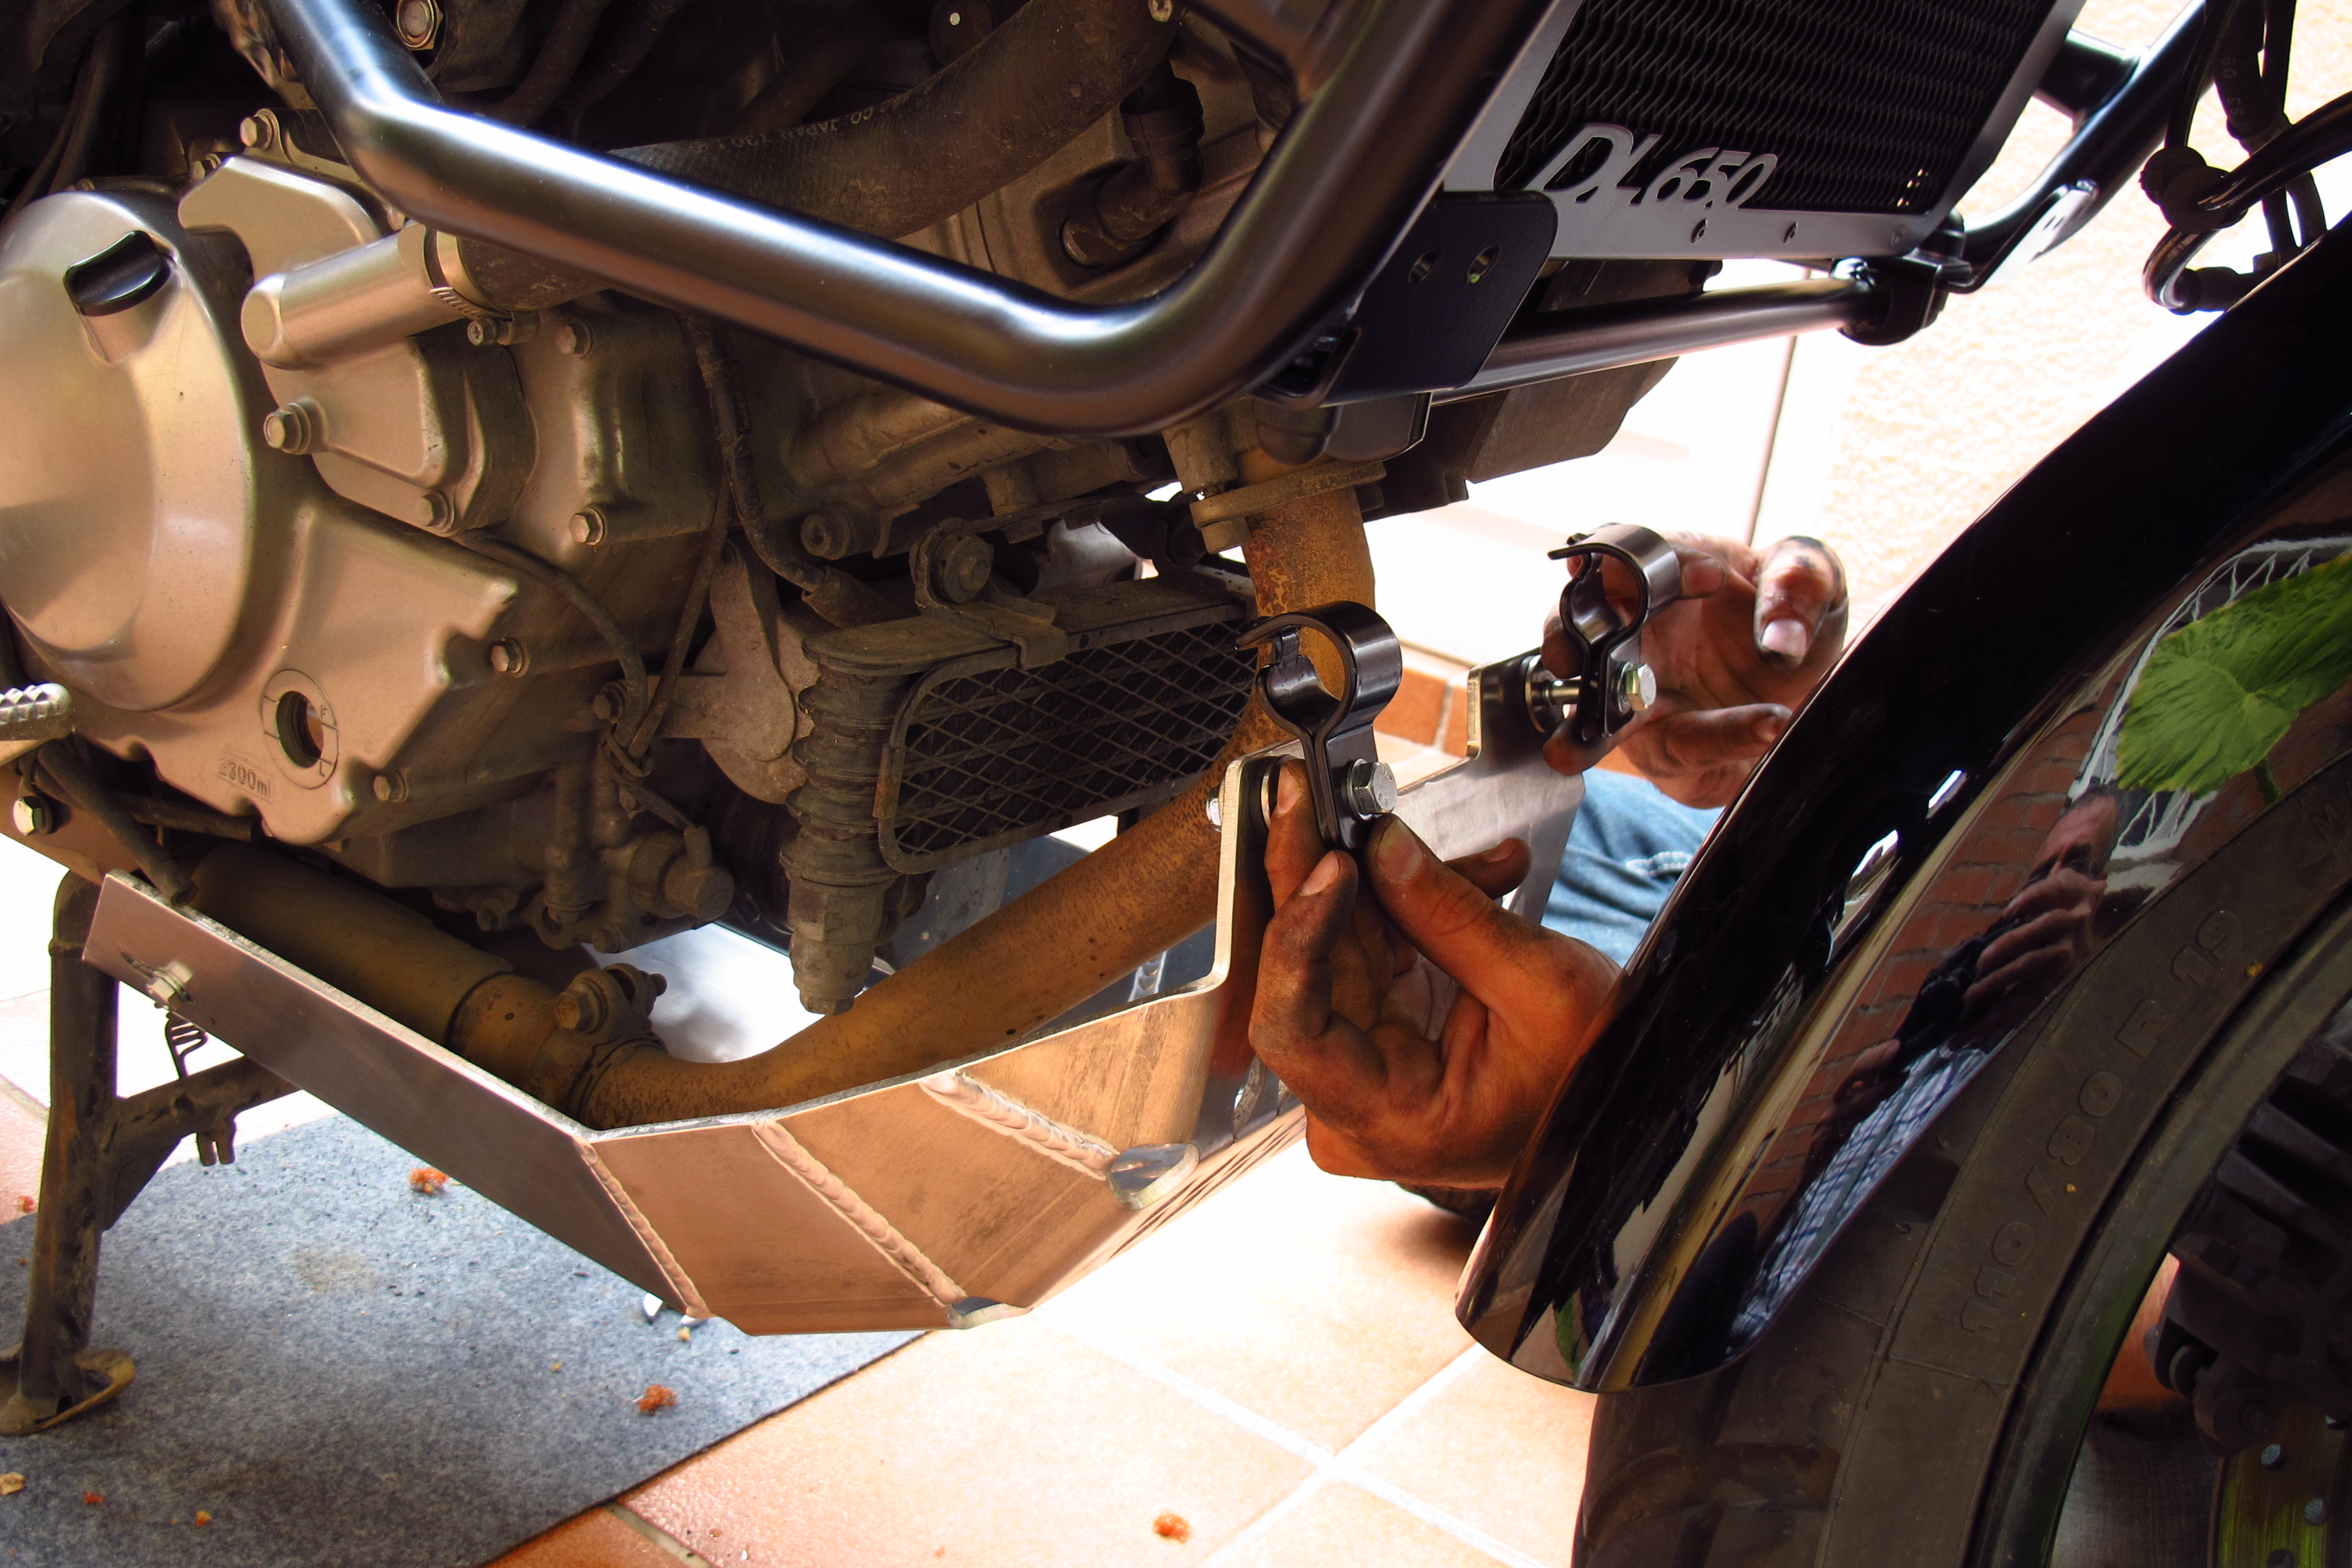
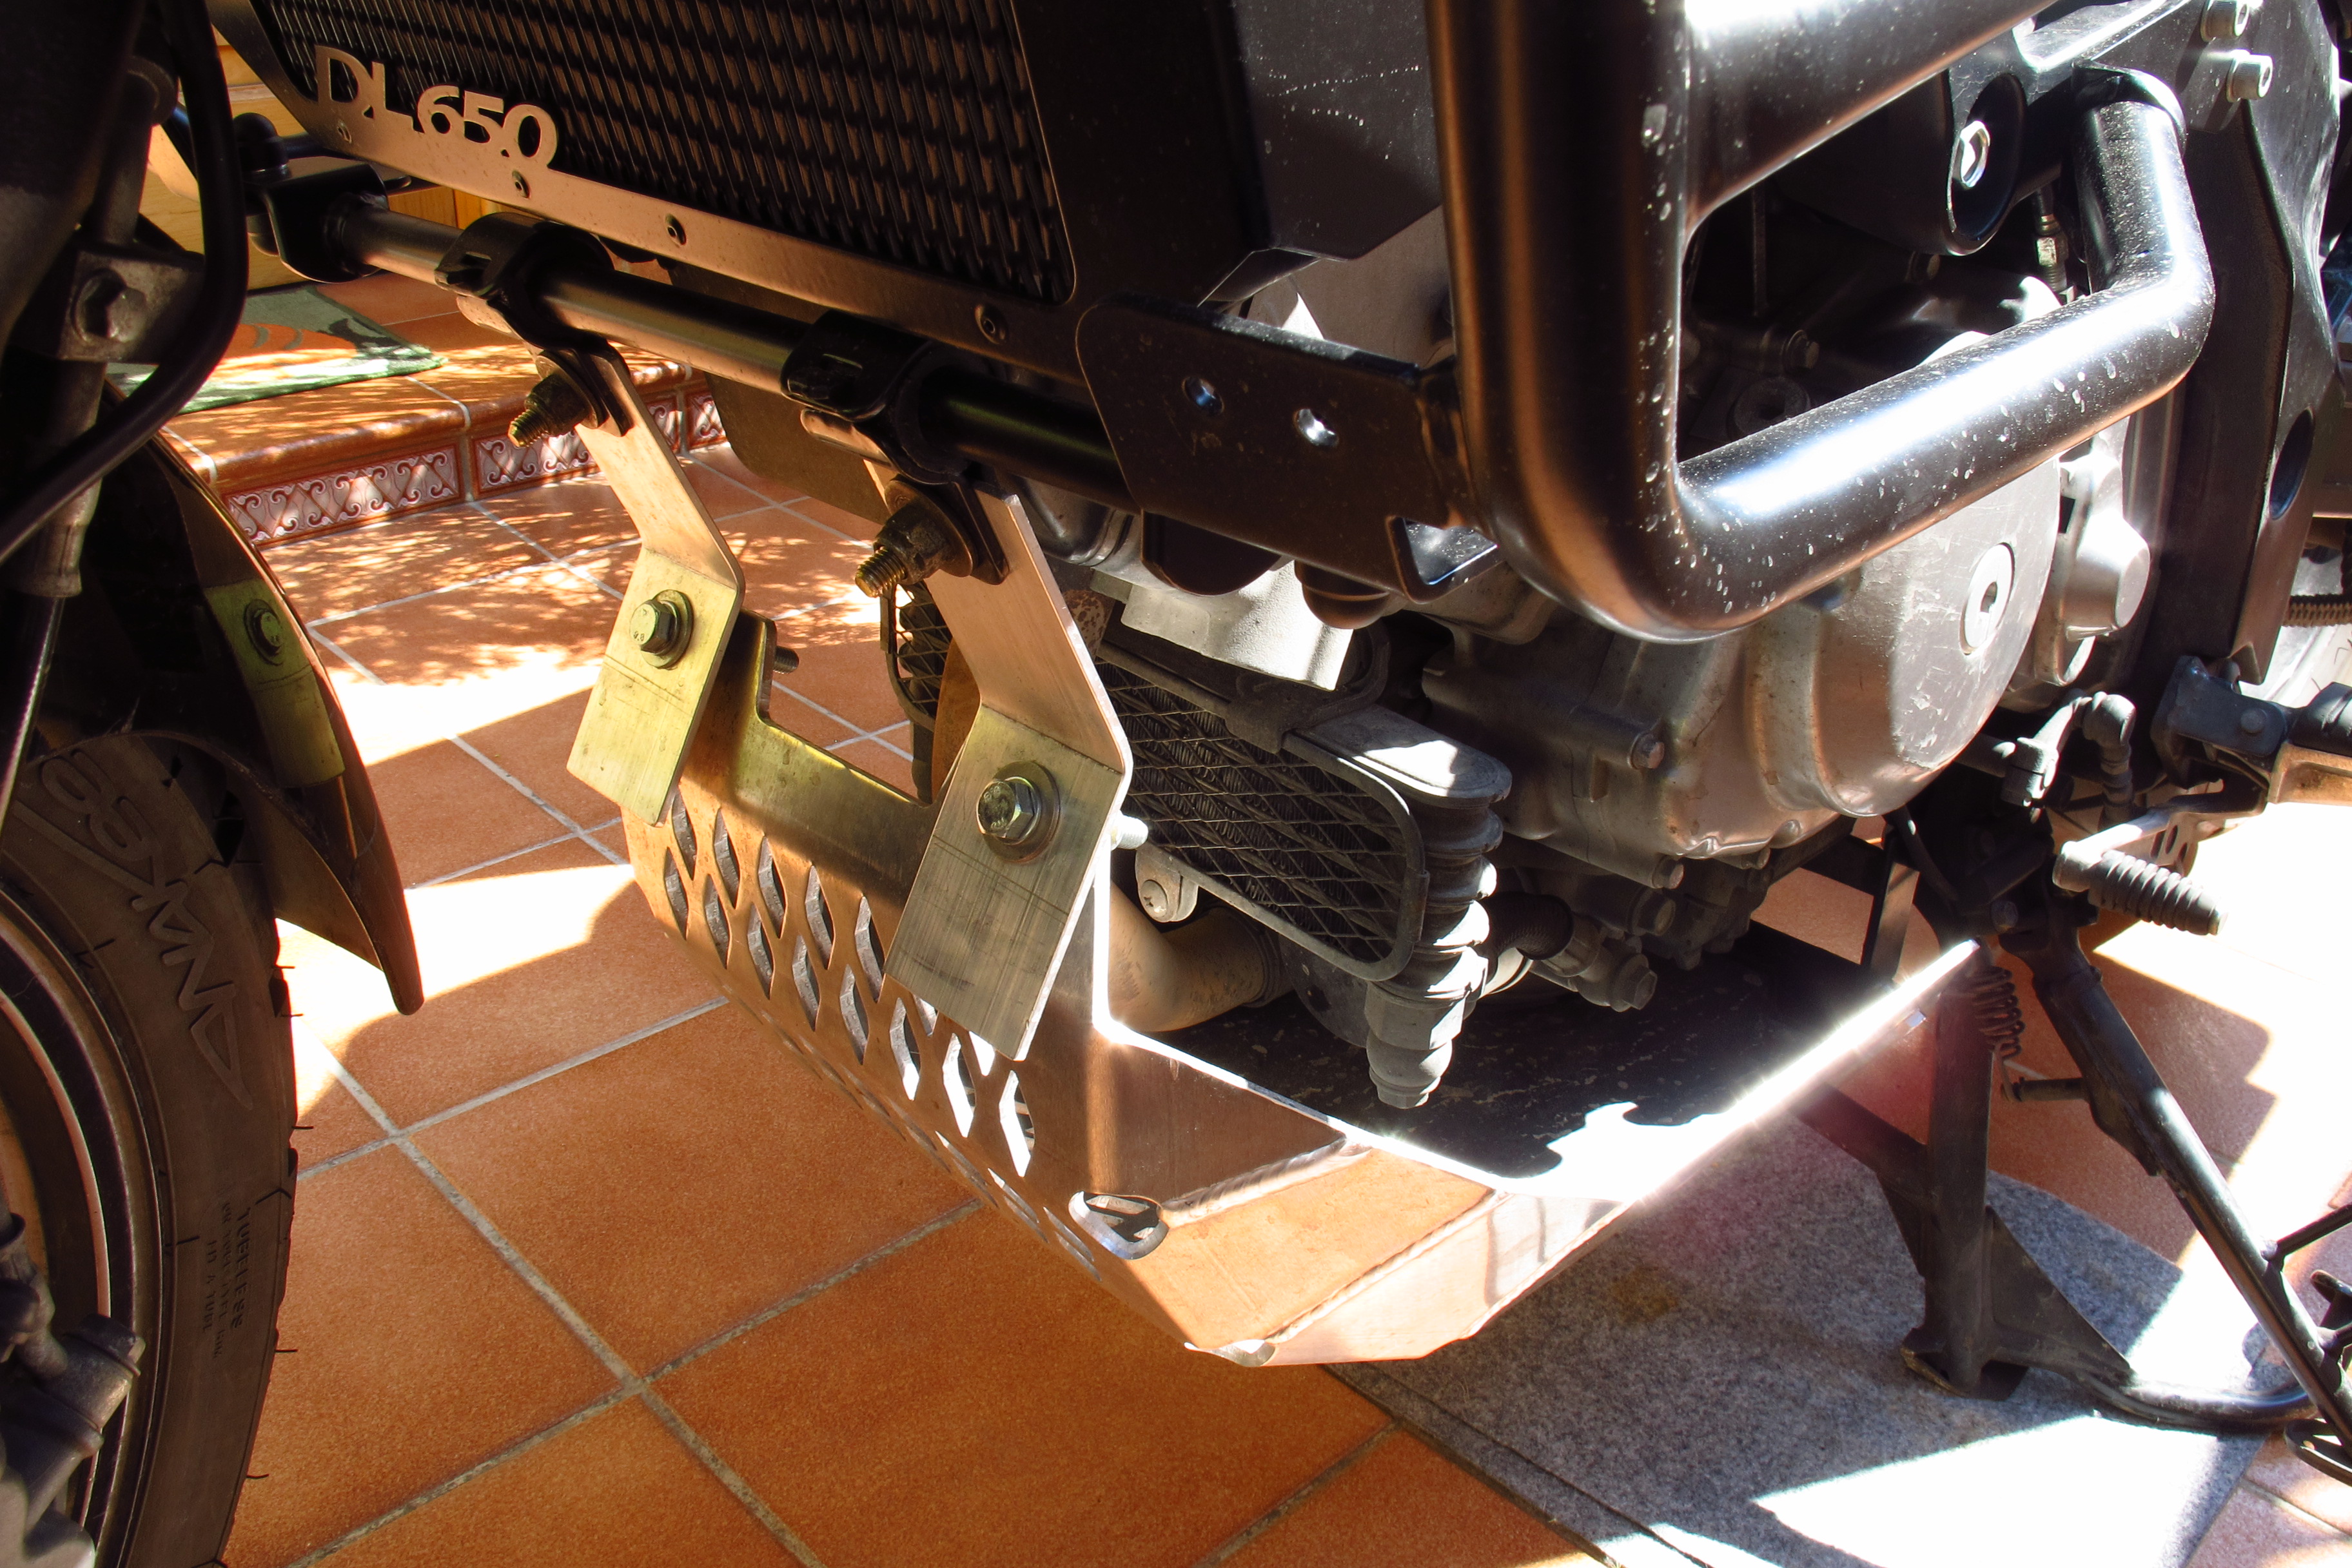
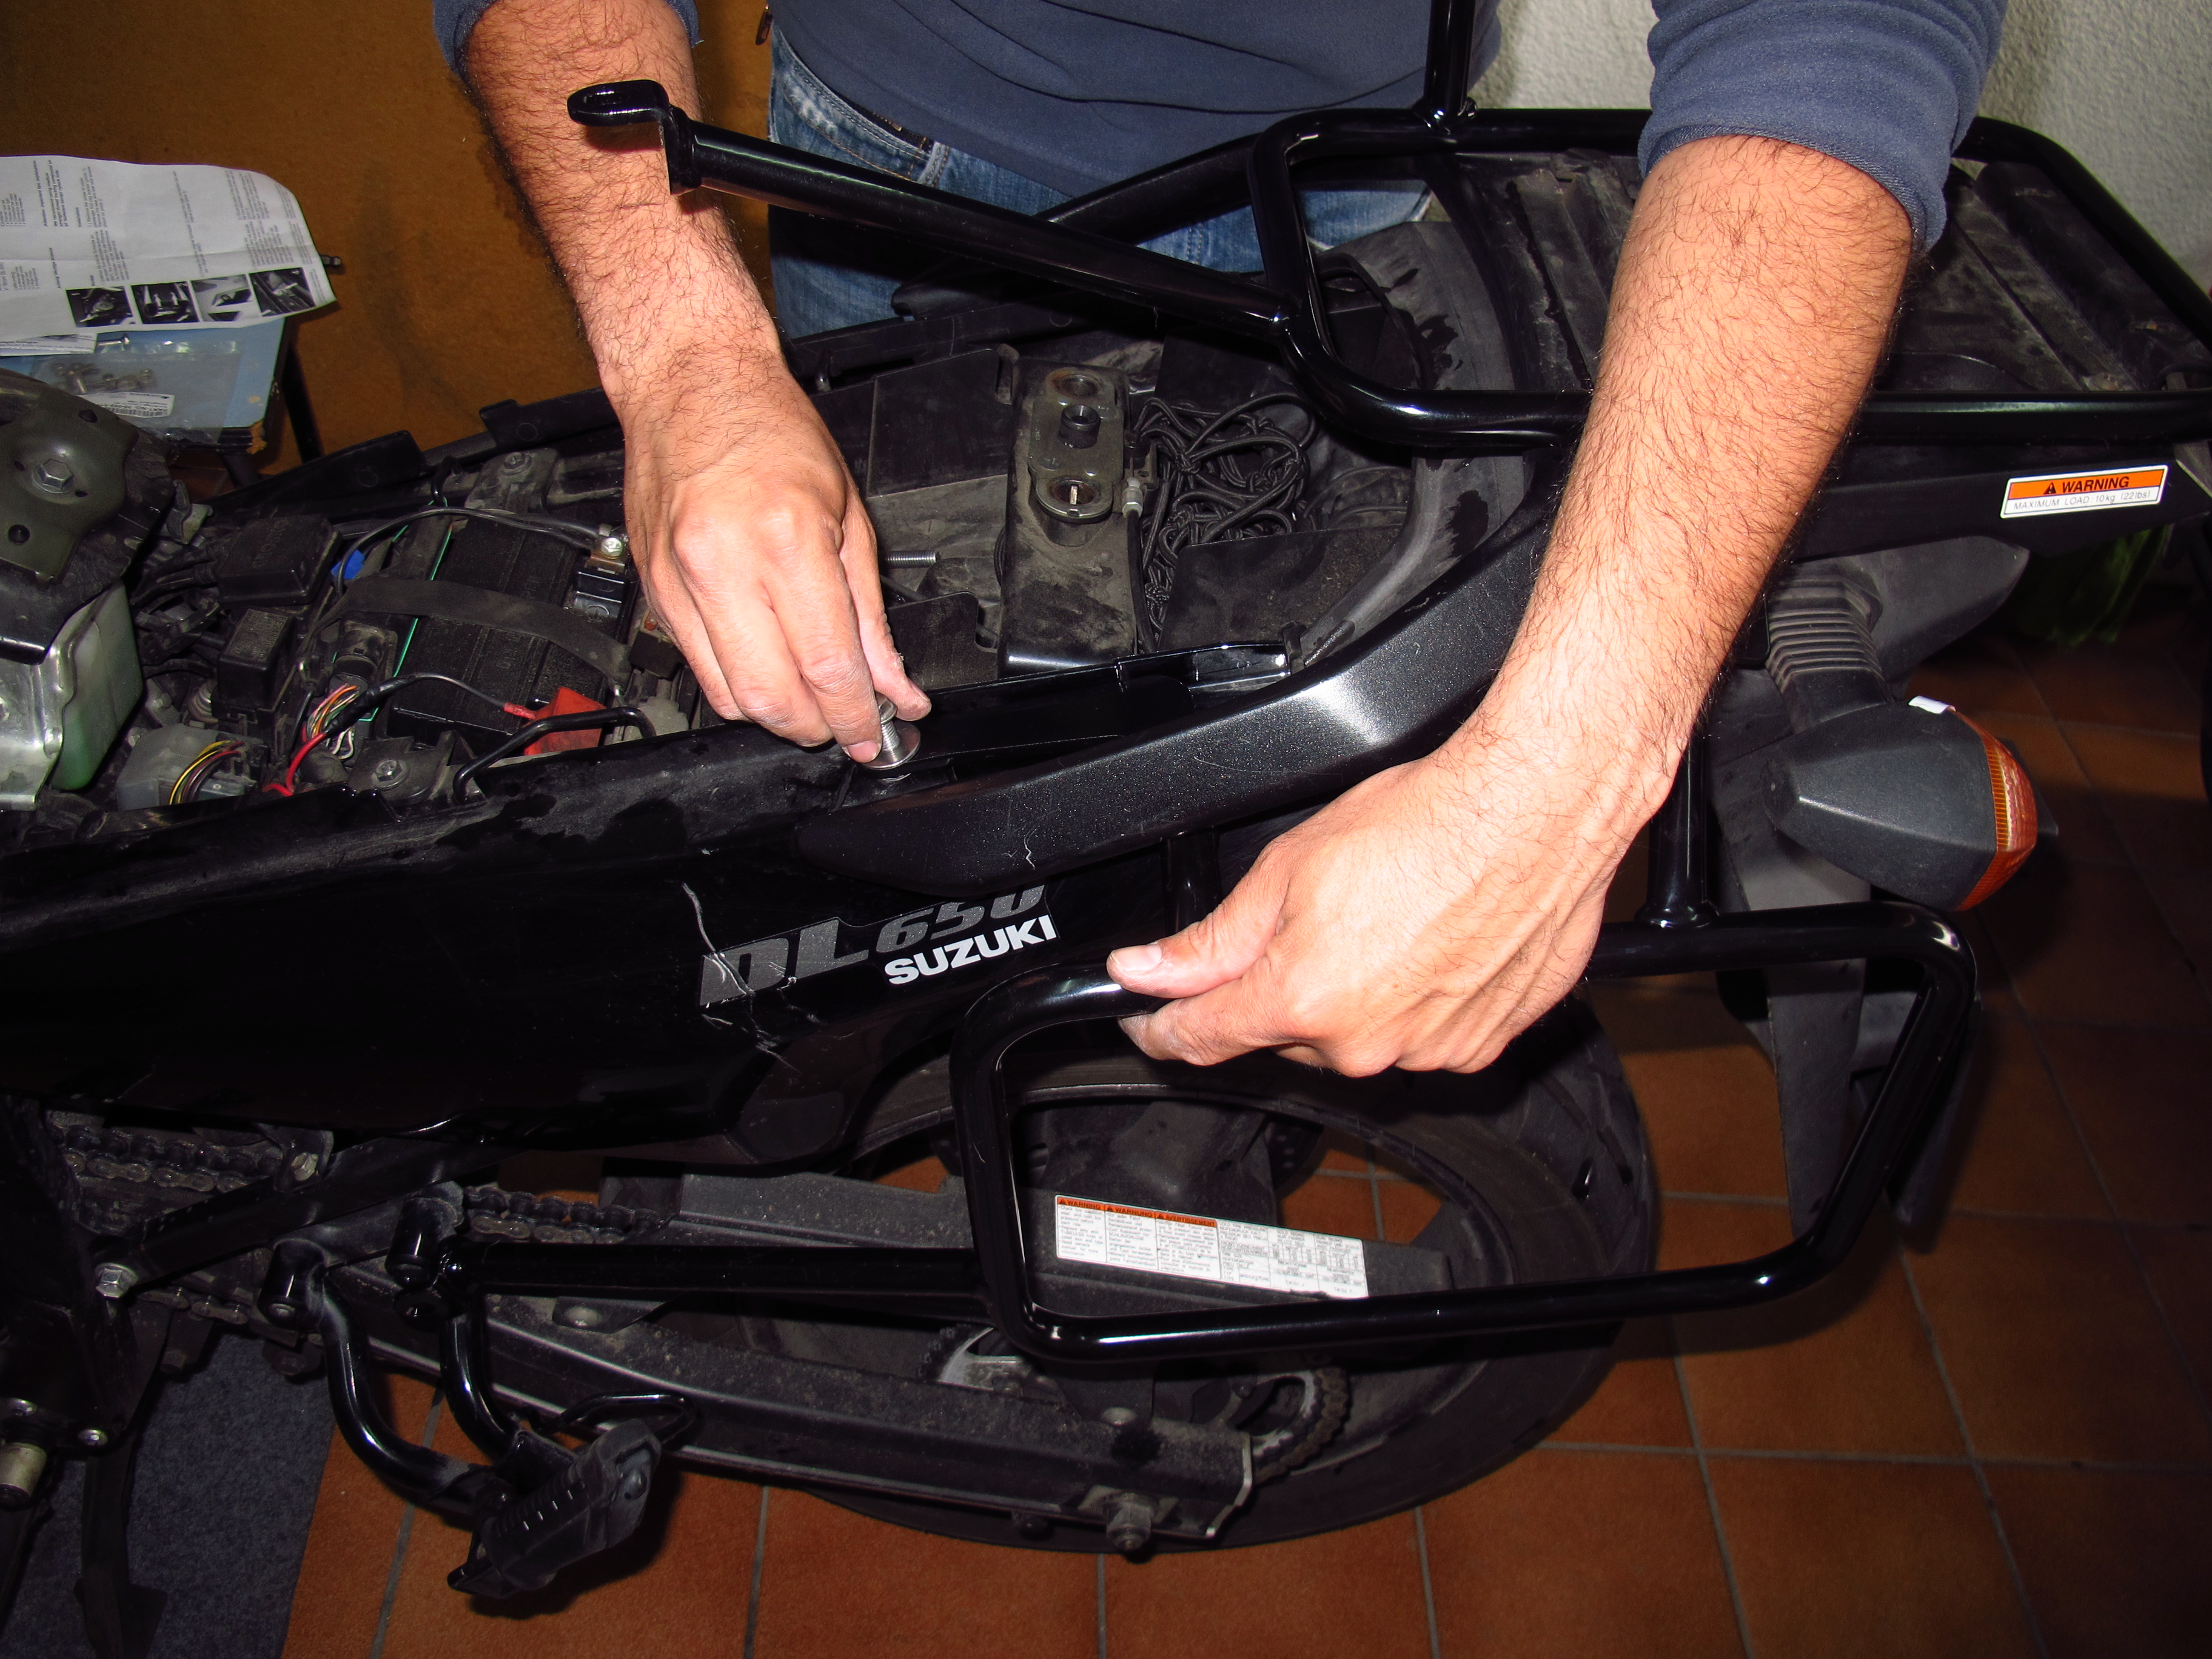
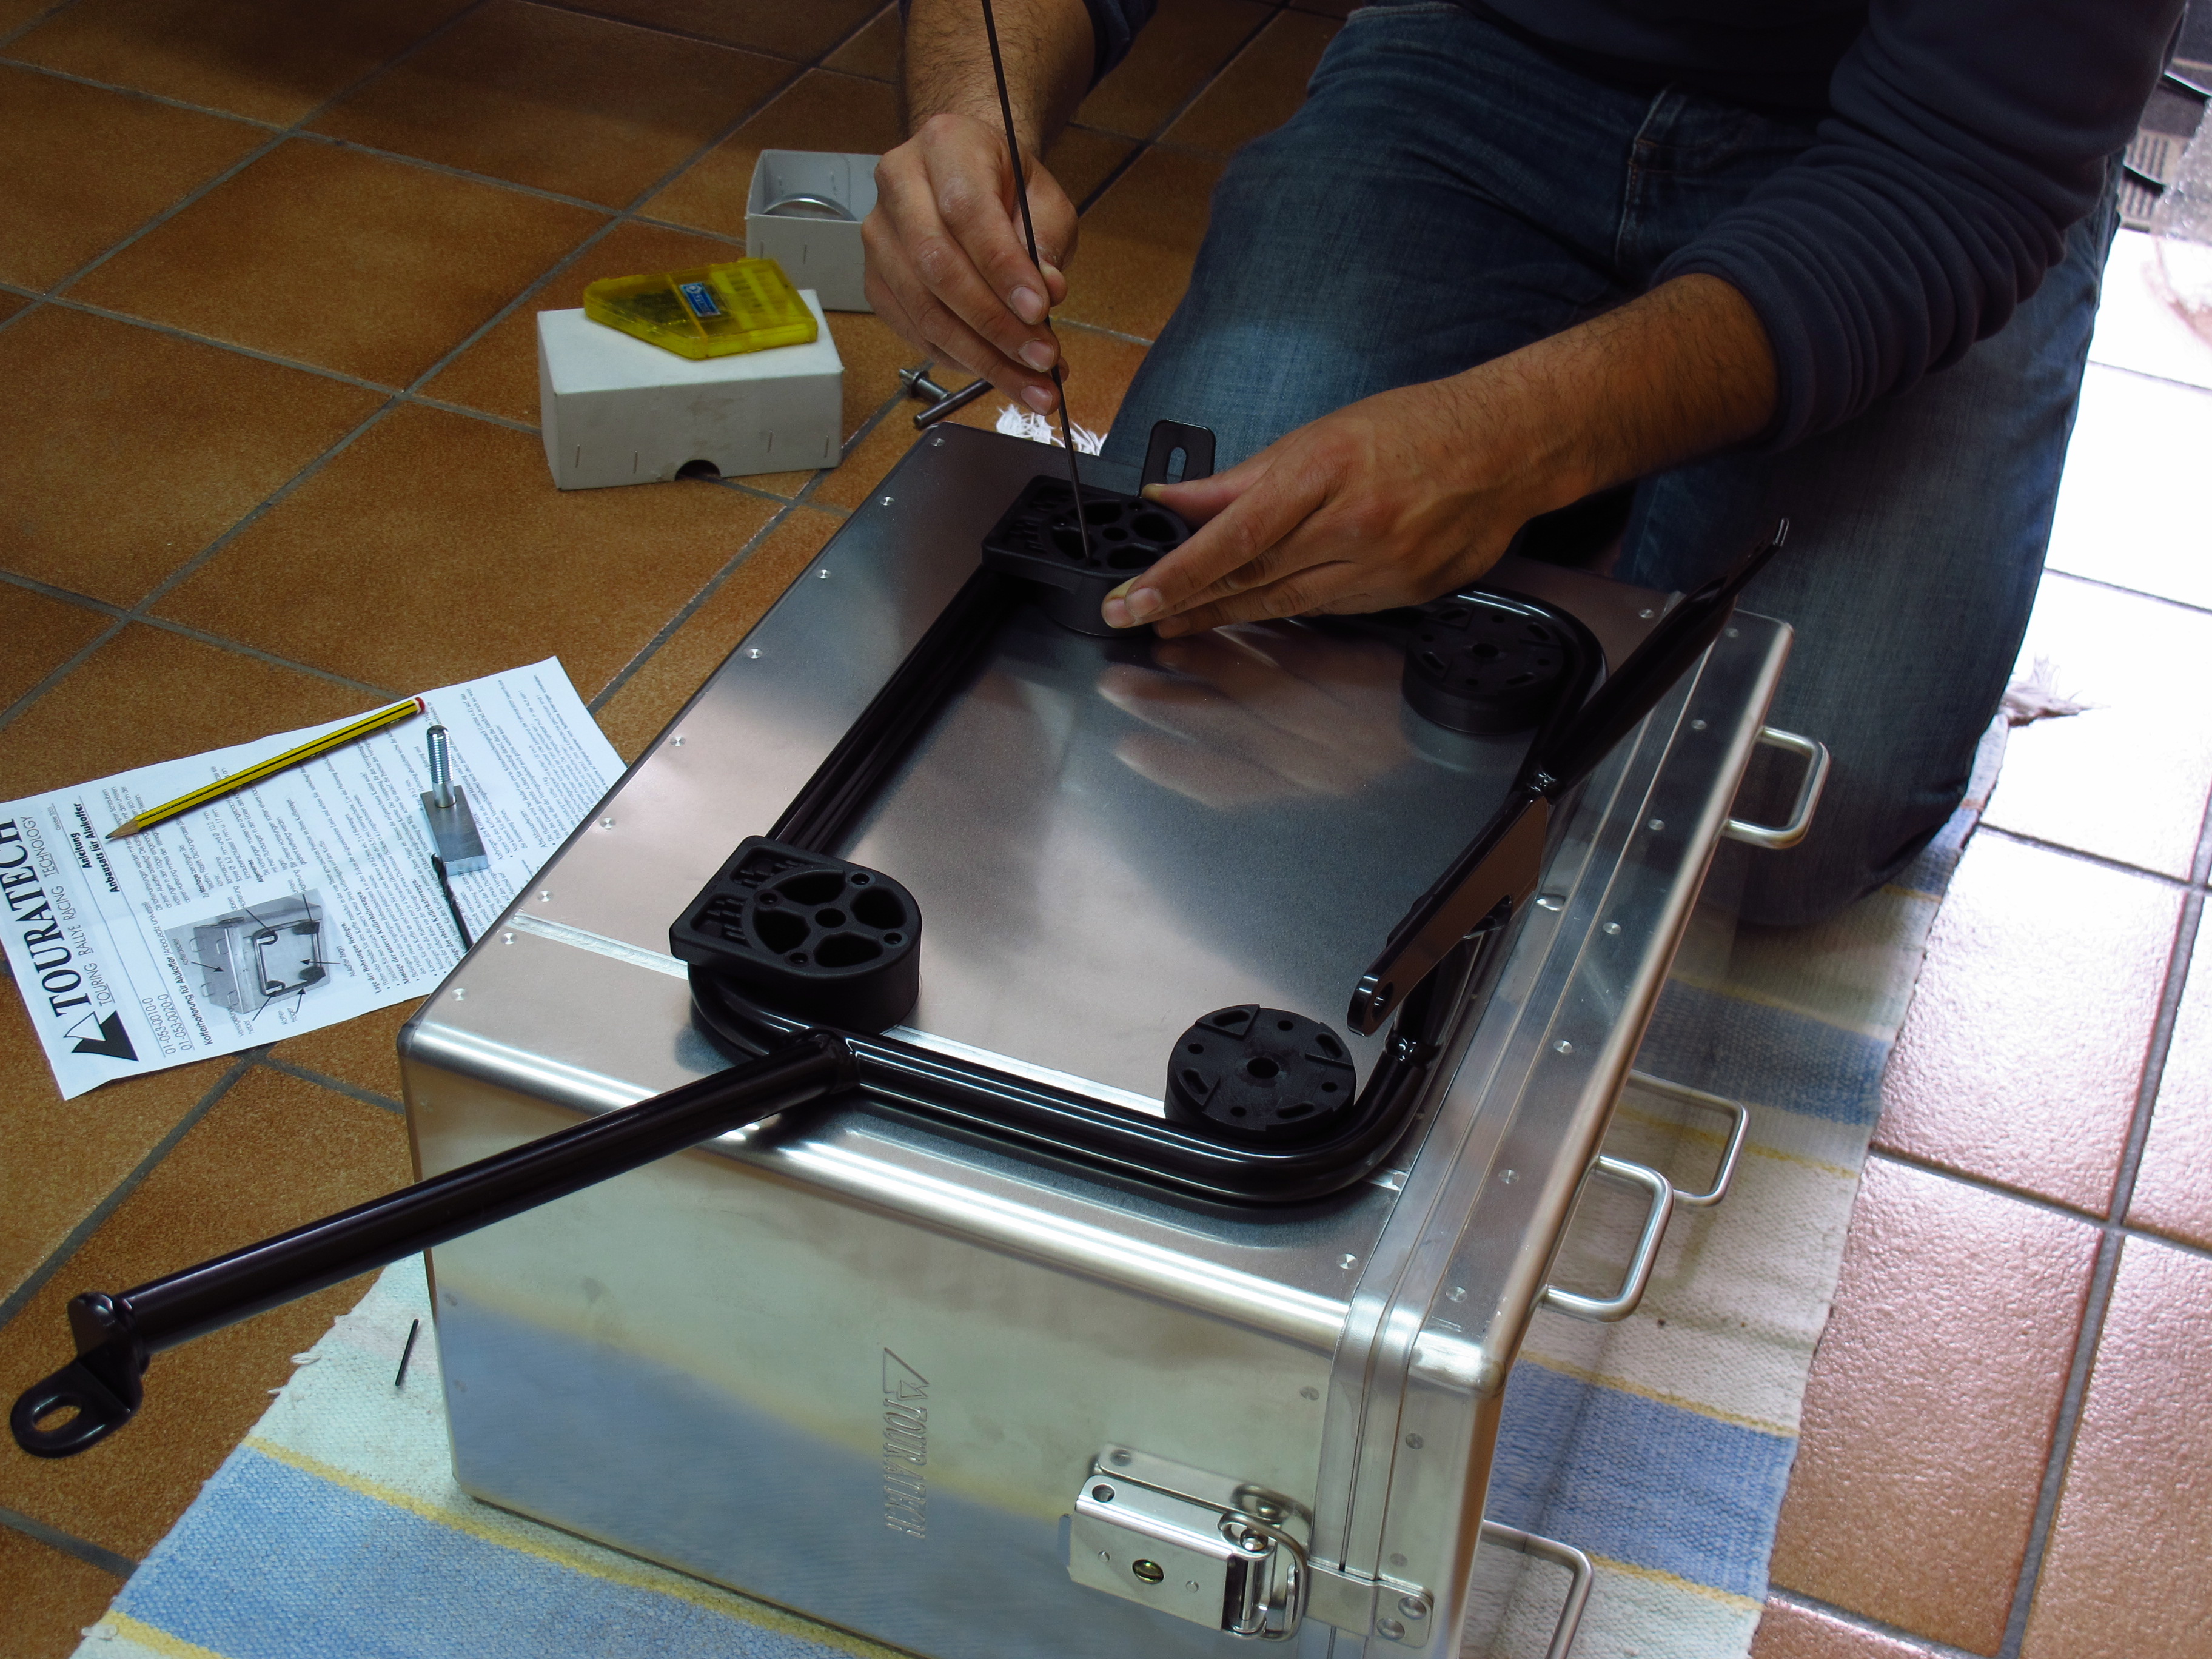
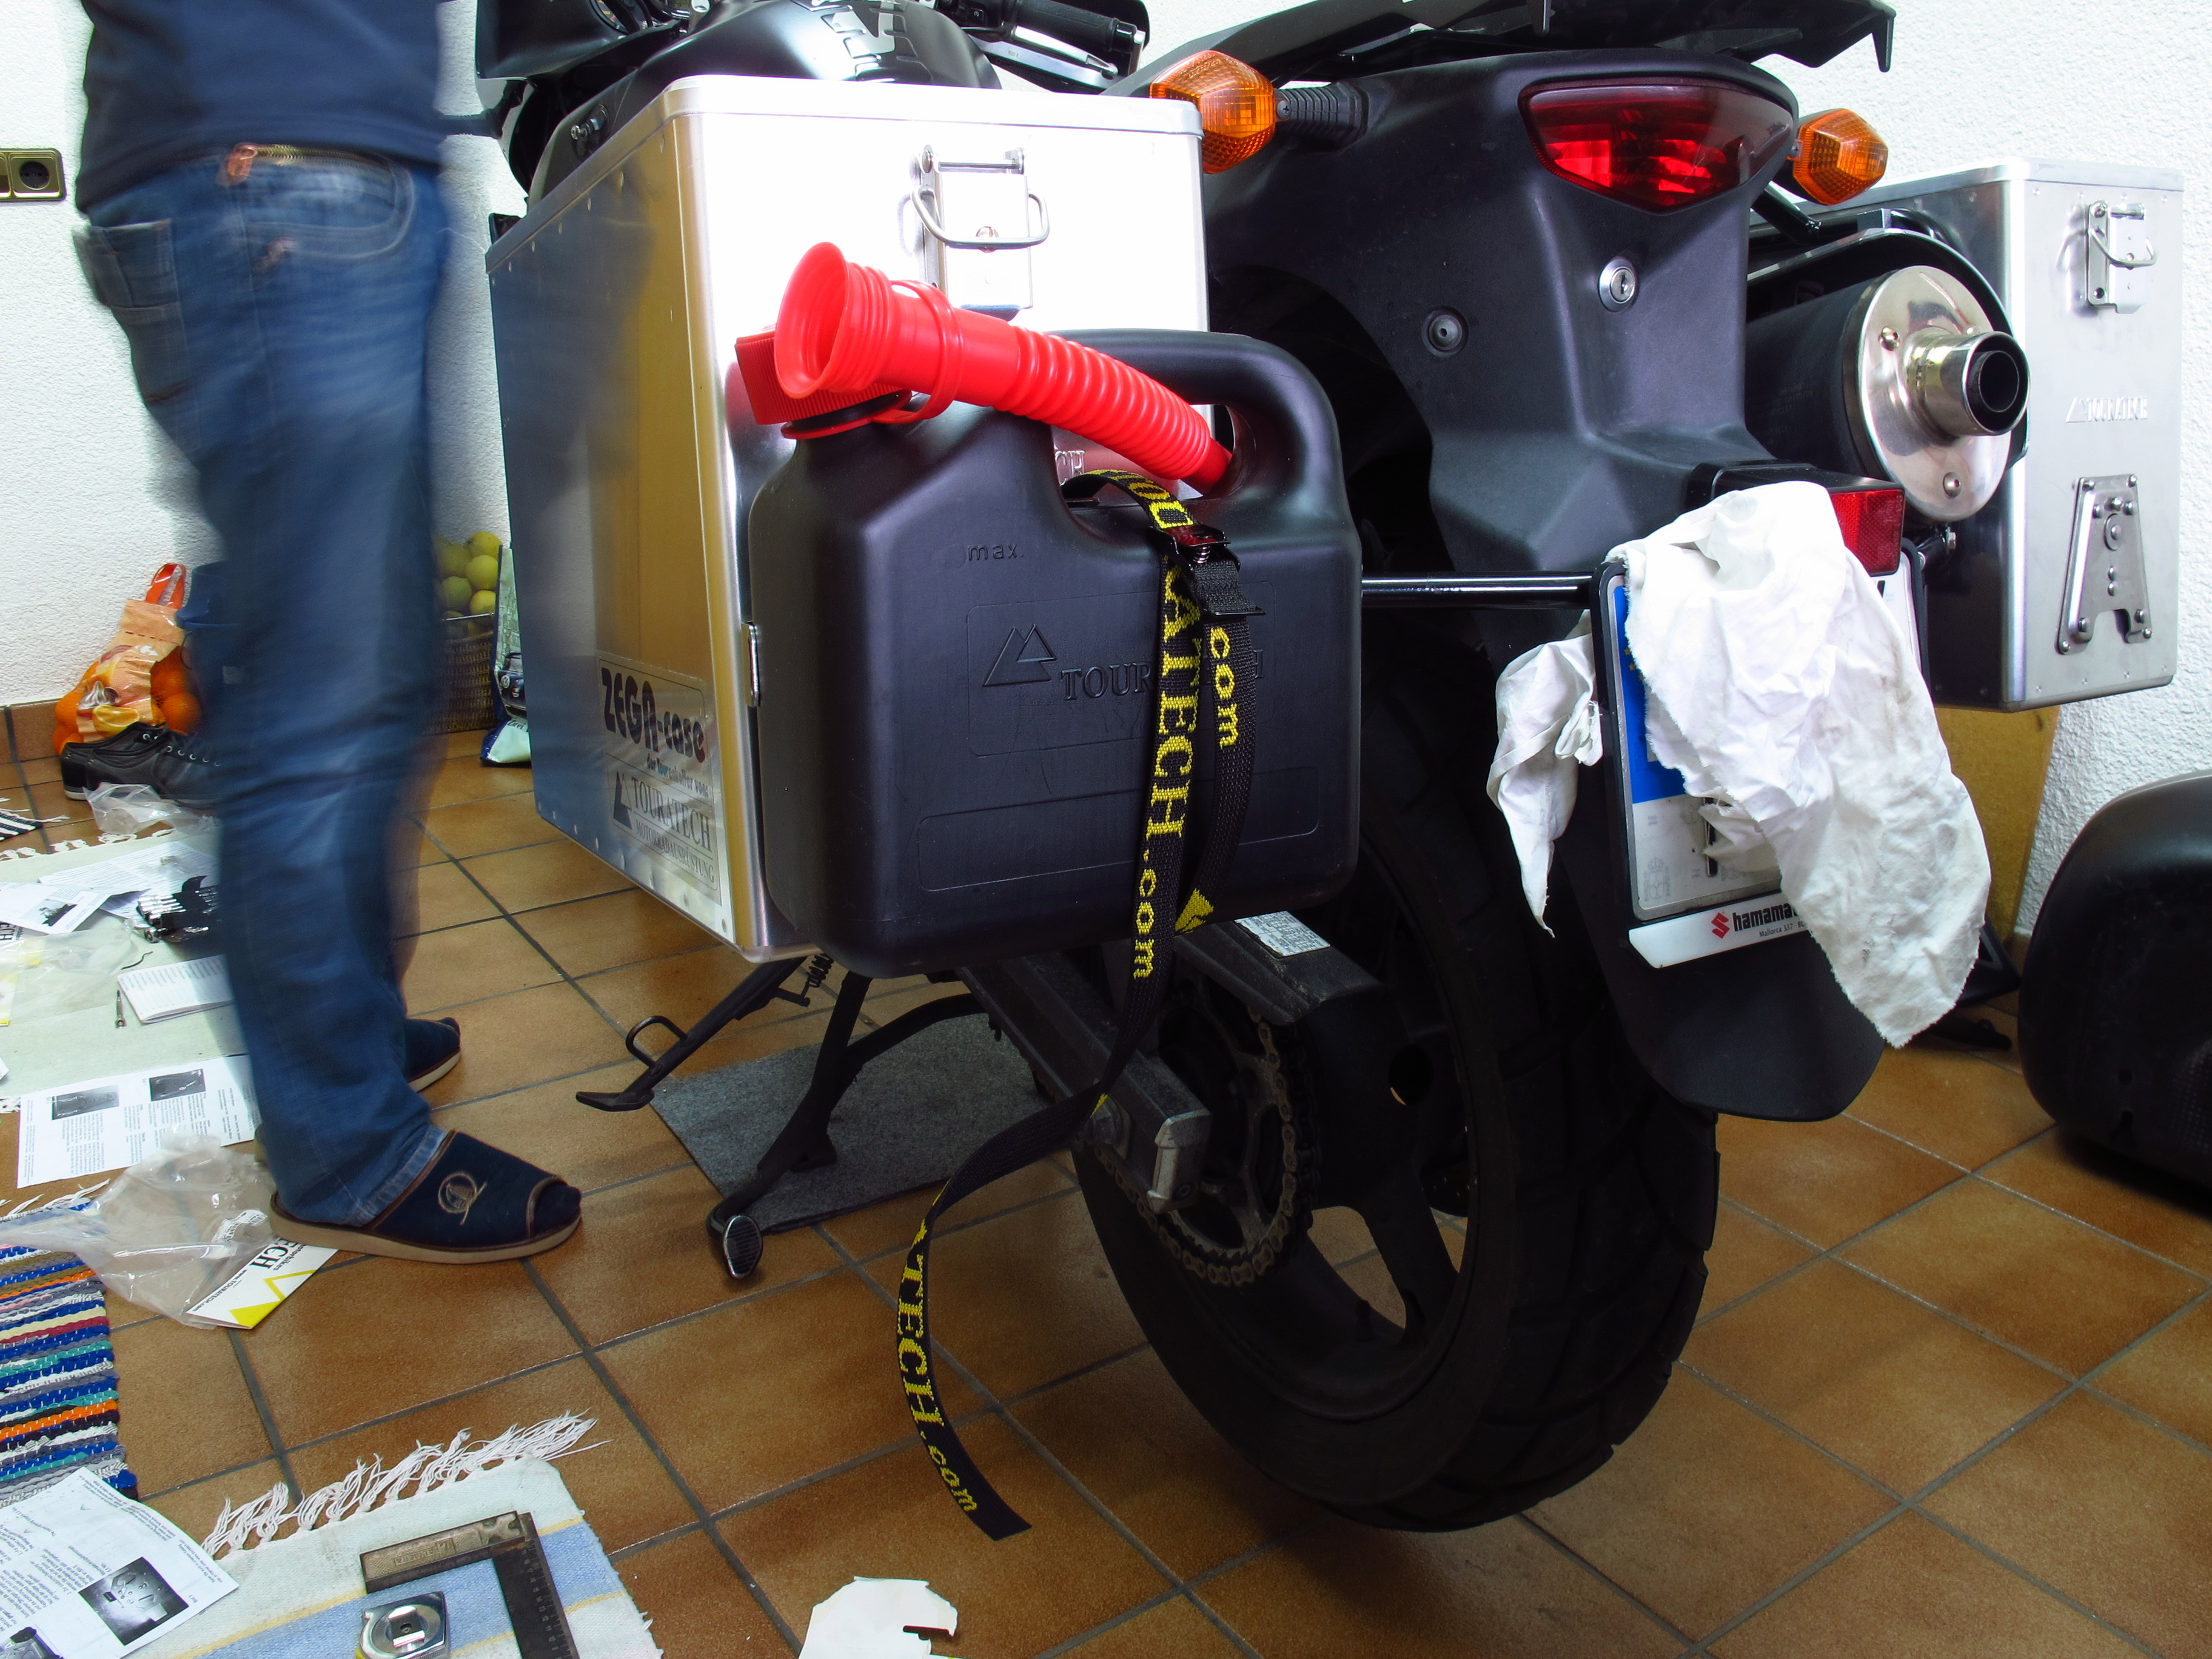
I live in a flat in the very center of the city and my motorbike sleeps in the street – that is one of the reasons I bought a second hand one and not a brand new top of the range GS – so the logistics of the trip are not easy. I cannot work on the bike there nor, for that matter, walk up and down the stairs of my apartment with all the equipment I need and strap it to the bike one or two things at a time – it might get stolen while I go back up to get the rest. So when I need to service it or install things, as I have been doing these past few months, I use my parent’s place. They live in a nice big house 30 minutes away from my place and have a front yard I can roll the bike into and work in it, so on Friday morning I attached the panniers (which can be locked) at home and then took the tank bag and rack bag down the street and off I went. At my parent’s I removed the top case, which I am not taking on the trip, installed the tire rack I had made the week before, strapped the tires in place, put the bike cover and the food bag inside the tires, strapped the rack bag on top of the tires and attached the jerrycan, chain cleaner, oil and water bottles to the panniers.

I ran into the first obstacle right outside my parent’s gate. A new school is being built right across the street, and construction work is almost done, so the enormous crane they were using had to be dismantled, and can guess which day they had picked to do so? That’s right. Friday. When I arrived there was this rather big telescopic crane truck parked in front of the gate, but as they had not started work yet, I was able to ride onto the sidewalk and into the yard. Now, however, they seemed to have finished lunch and got down to it, and the crane had rotated to start lowering the sections of the other crane and its huge counterweights were barely half a meter from the gate. I started work in half an hour, so I had to find a way out of there or I risked a bunch of unhappy students, and they’re not kids but workers from a pharmaceutical company. Fortunately, the counterweights were quite high and there was just enough space under them for me to back the bike out, turn and ride on the sidewalk between the truck and the houses while they were moving.

The reason I was going to work with a fully loaded bike was, again, logistics. I work on the outskirts and finish at 10 pm, and on top of that I was spending the night at my girlfriend’s, who also lives away from Barcelona, and hitting the road early on Saturday morning. As I did not want to have to get up at 5 am or set off rather late, this meant taking everything with me on Friday. Well, that would be the first test – leaving the bike out in front of my work and see if anything got stolen.

Fortunately, nothing did, not at work and not during the night, and at eight o’clock on Saturday morning I was ready to leave despite the rain… when it dawned on me that the bike’s documents were in the top case in my parent’s garage. Damn.

An hour later I was on the motorway, happily leaving the city behind. I had the documents and the rain had stopped, it even looked as if the sun might come out. I had not solved the driving license issue, mind you, but that was something I already knew – I had had the bike for two years, ever since I got my license, but as it was my first license, it was an A2 type, meaning I could only ride bikes up to a certain power. Mine was limited and I wanted to have it derestricted for the trip this summer, so I had taken the course a week before. At the end of the course they took my license and was told I would have the new one in a week… but I didn’t. It looked as if I was going to have to take the risk and go away for the weekend without one.

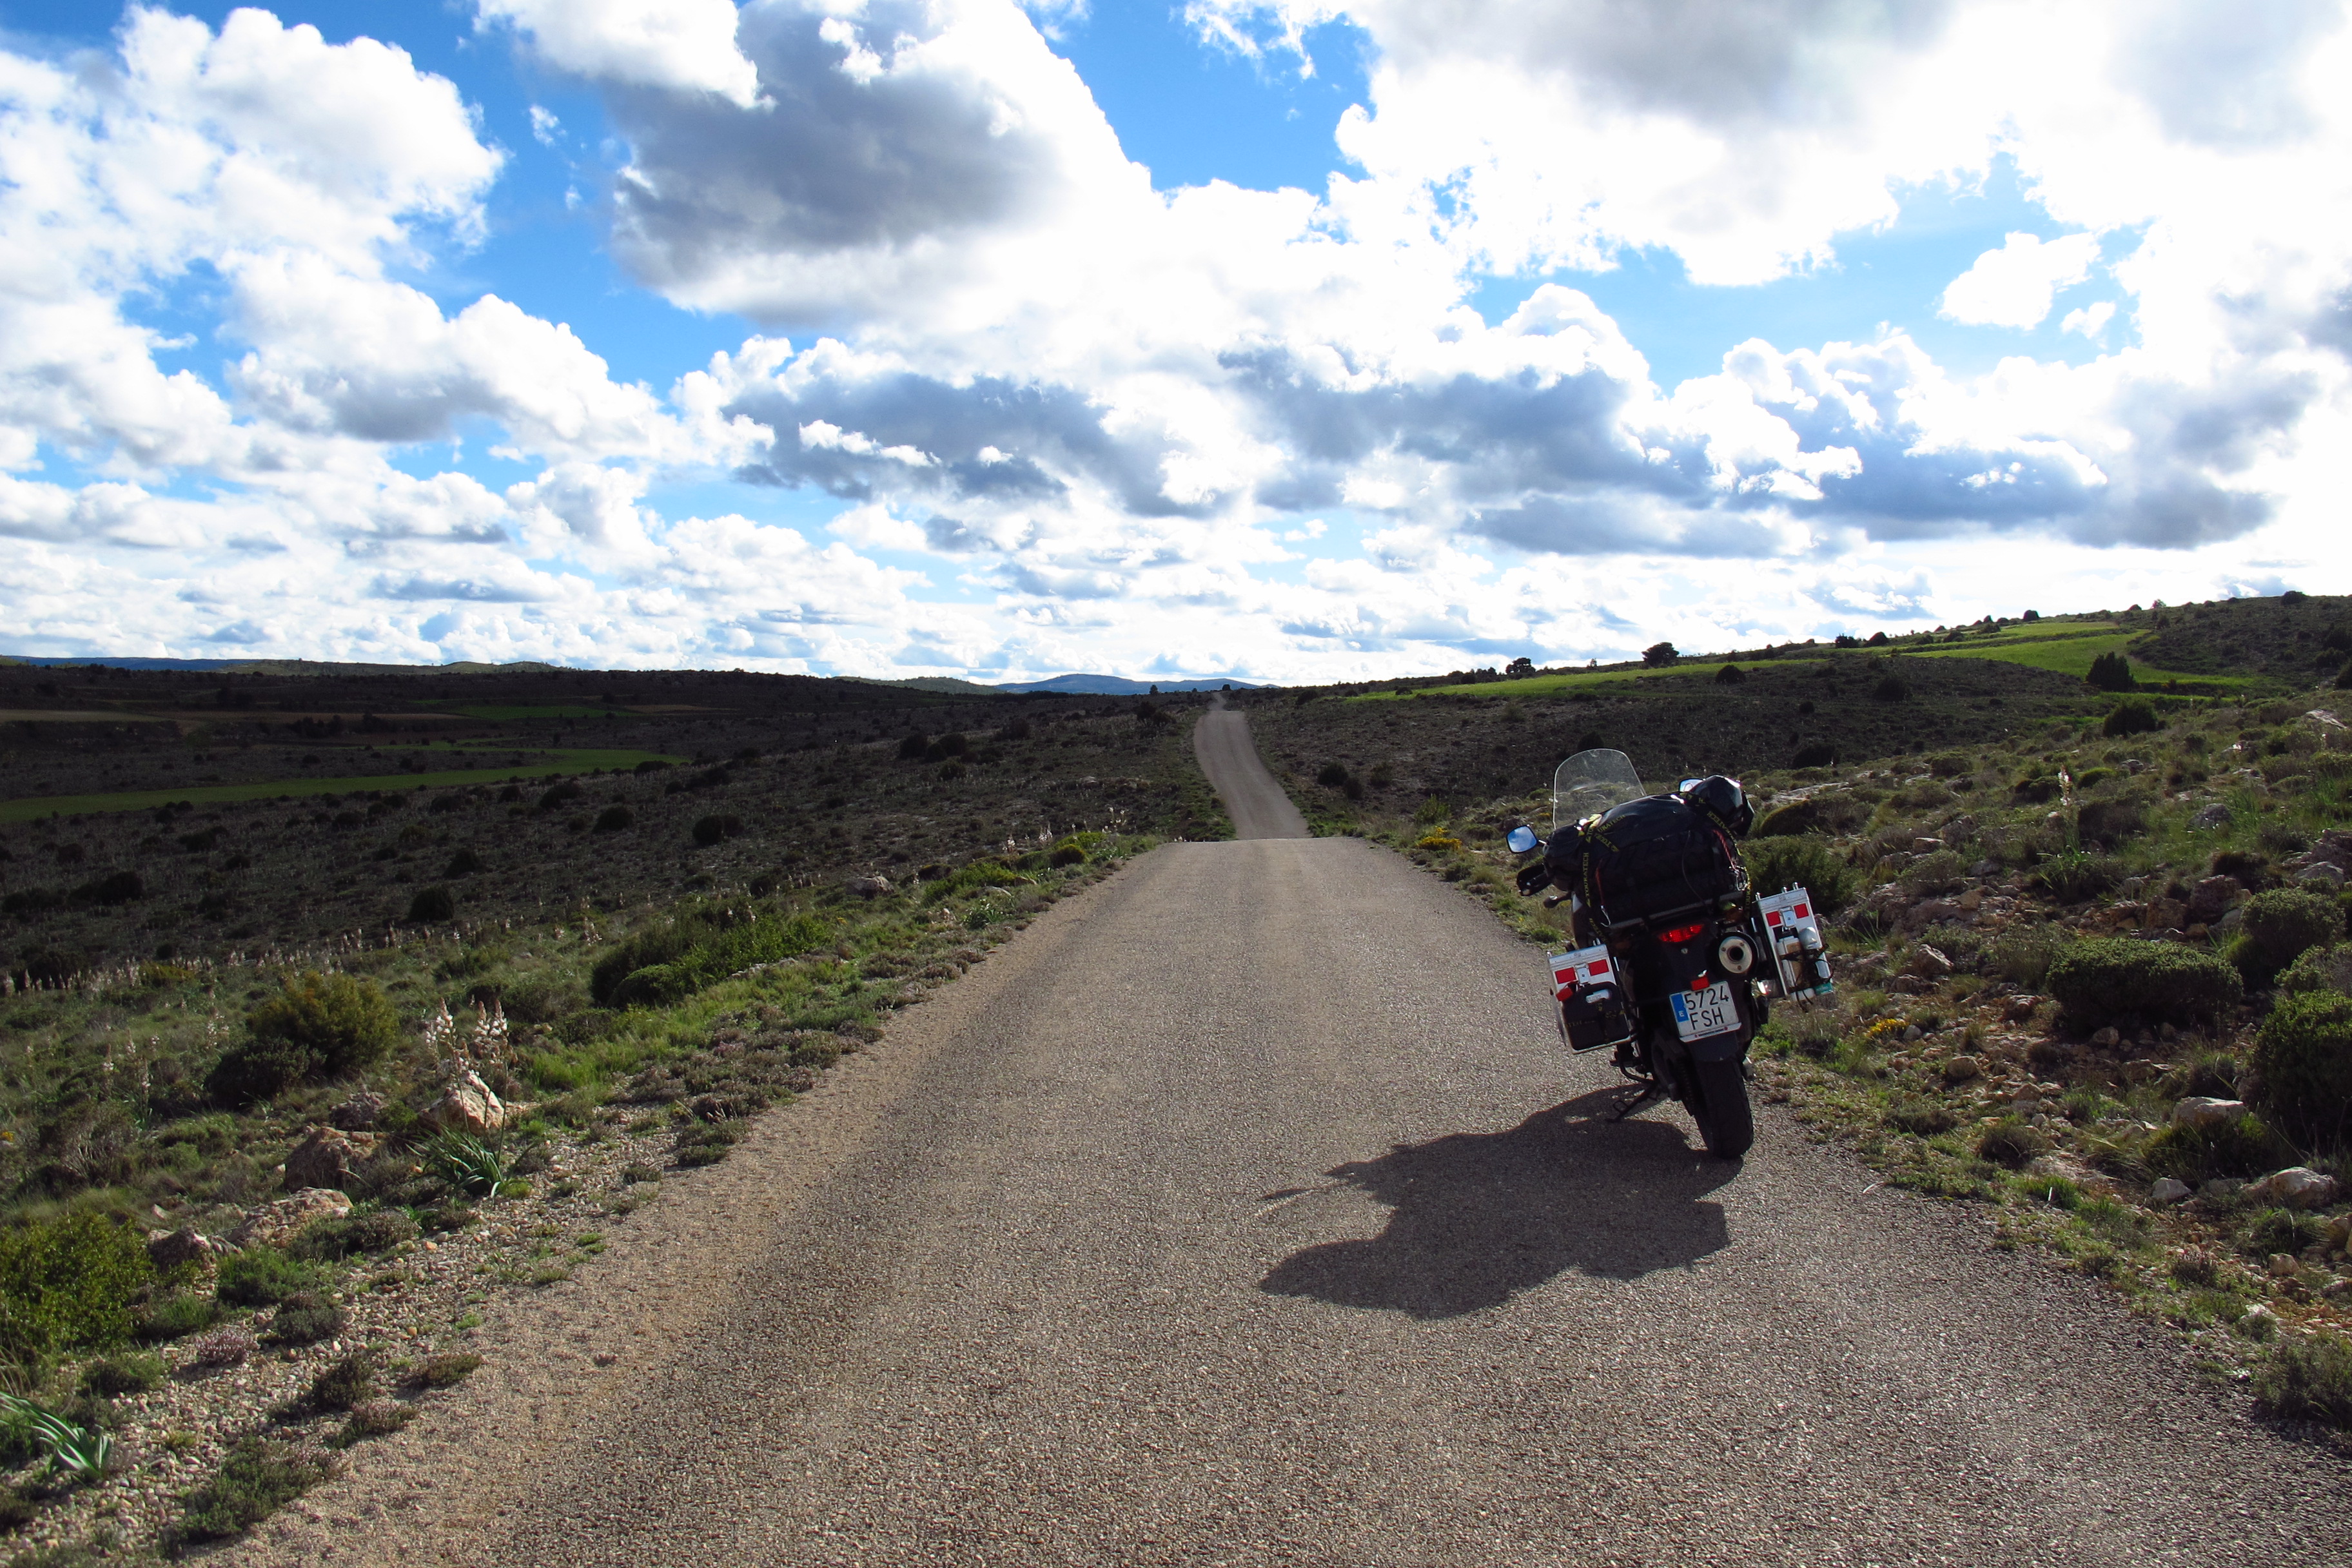
I wanted to test the camping and cooking gear, and the GPS, into which I had programmed the route using BaseCamp, but most importantly, I wanted to see how far I could ride on bad roads before I got tired and whether I would be rested enough to ride back the following day, so I soon left the motorway and headed for smaller roads; just past Igualada I took a smaller road heading for Santa Coloma de Queralt and Poblet. I knew this bit of road, and I knew which way I wanted to go – there are a lot of backroads – so I had programmed several waypoints into the GPS. I was surprised then to find that it did not seem to know exactly where it was going… I have never really liked these devices, and have never owned one until now. I considered I needed one to make the best use of the excellent waypoints Walter Colebatch from HUBB has complied for Northern Asia, but I have always preferred to rely on a good old paper map. I had to stop several times to correct it, selecting the next waypoint manually instead of letting if follow the whole route. I changed some settings and preferences and eventually got it to work. I admit that it was probably my lack of experience with the device that was to blame, but I did not find it intuitive to use at all. On one of the stops I made I put the thermal lining back on the jacket as it was quite cold even if it was not raining. I had stuffed it under the lid of the left side pannier, together with a the pants lining and pair of winter gloves for easy access. They will stay there for the trip.

Past Poblet the road began to climb and wind its way to Prades and I was starting to have fun. The bike handled really well despite all the extra bulk, and it did not feel underpowered on the way up. I rode south-east along the Serra delMontsant, enjoying the wonderful views and the empty roads, and on the way down to Falset I spotted a big extension of empty clear land to the left of the road. Thinking it would be a good place to start practising my off-road riding skills, I pulled by and rode into it. The ground was a combination of gravel from the road construction, mud and some small bushes. I rode into it and the front of the bike slid a bit, but unlike the last time I had tried to ride on conditions like this, I relaxed me arm and let it do its thing, opening the throttle slightly to keep it straight. Even fully loaded and on road tires, it behaved well, inspiring confidence. Obviously, I was not going to charge down dirt tracks at 100 km/h as if I was taking part in the Dakar rally, but I felt confident I could travel on dirt roads for longer distances, the plan was to take the trip easy, anyway.

IMG_5930

By midday I rode out onto a main A-road and followed the Ebro river up to Flix and Ascó. The weather had held and by now it was even a bit sunny, so I decided to stop for lunch and see if the old second hand Coleman stove I had bought on-line worked. I found a nice picnic area by the road, sat down on a wooden table, took out the food and the cooking gear and got the stove ready. I poured some fuel in it and following the instructions, I pumped it 20 times, opened the valve and put a match to the burner. Nothing. I pumped a bit more, making sure the I had previously turned the pump handle to the right position, but it still refused to light up. Then I noticed I had some fuel on my hand and quickly put out the match, images of my hand lighting up in flames flashing through my mind. It seemed that fuel was spilling out of the base of the burner assembly, where it attaches to the fuel canister. No warm meal then… I cleaned the spilt fuel, emptied the canister, put everything back on the bike and set off again in search of a place to have lunch, with my mood darkened. To make things worse, just a few kilometres down the road it started to rain. I wanted to find a roadside bar or café where I could eat and keep an eye on the bike, but there did not seem to be any nearby. After about 20 minutes riding I started to be quite hungry and my mood worsened, as it usually does when I have not eaten for a while. With the skies as dark as if it was night, I spotted a camp site by the river and pulled into it. Bingo! They had a small restaurant and sure enough, I could park the bike right in front of it. I got off and went for a meal without bothering to even remove the GPS from its cradle.

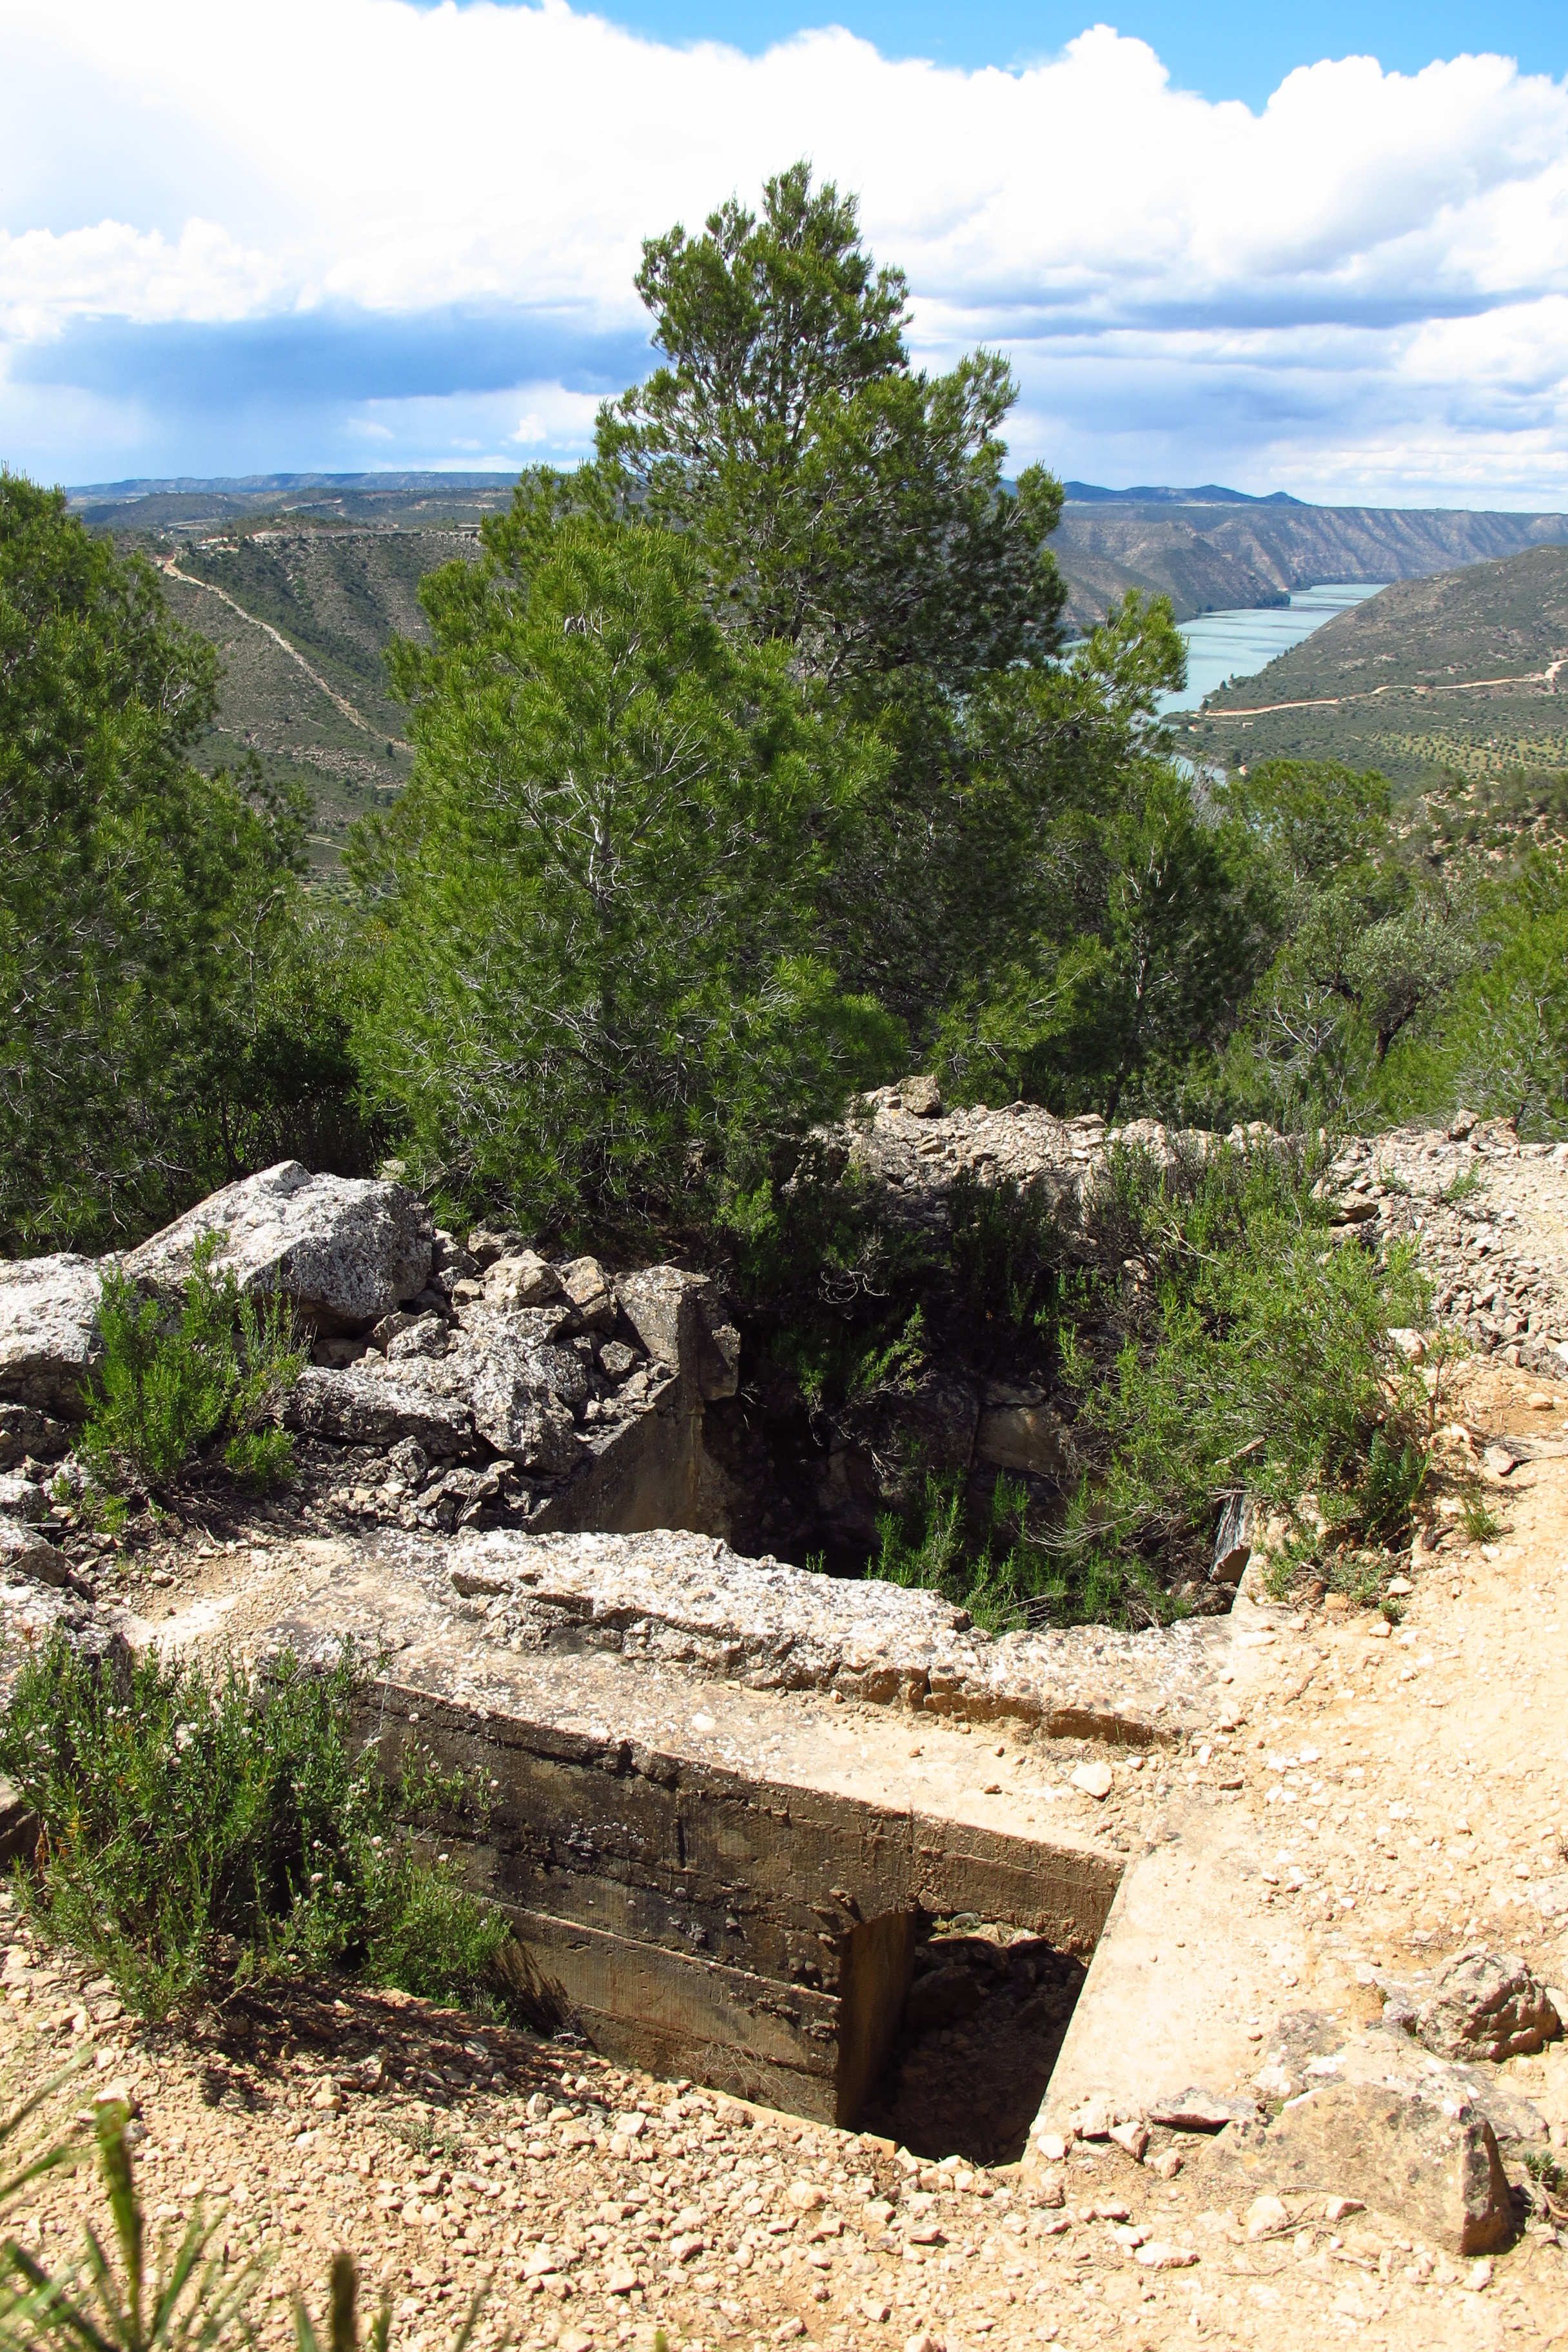
With my stomach satisfyingly full, rode away and when I was climbing the TV-7411 road past Riba-Roja the sun came out and I enjoyed the beautiful view from the hills overlooking the Ebro river. When I reached the top I saw a dirt road to the right of the road and a sign that read “Civil war fort and trenches”. This area was where one of the worst battles of that time took place – the battle of Ebro – so I decided to visit that and get some more off-road practice. The track was about 2 km long, dry and rock this time, and I was more confident. I rode faster, standing on the pegs, and soon I had got to the end. There was a small car park, although I think a regular saloon might have had some difficulty getting there, and a small marked path leading around a ridge where the trenches and the remains of the fort were.

IMG_5937

The trenches were still easy to make out, but there was not much left of the fort, just a couple of concrete walls.

IMG_5936

From this position, the troops must have had a great view over the surrounding area and an advantageous position in battle. I found out from the explanation displays that a whole system of trenches and forts had been secretly built in that area to stop the national troops advance, but a lack of coordination and worse, of knowledge of the existence of the system, combined with a very rapid advance from the national troops meant that they were not put to good use. One can only wonder whether things would have been different if they had.

When I got back on the bike I decided to test how it felt to ride with music on. I know this is illegal, at least in my country, but I very much doubt anyone cares in the middle of nowhere in Kazakhstan or Mongolia, and it is a good way to ward off boredom in long distances. It was a good moment to test it too, this part of the trip was taking me through some largely unpopulated areas, so the chances of being stopped by the police were minimal. I put the headphones on, turned the music up and rode the track back to the road. The moment was perfect: good music, great views… I got a bit carried away and rode the track faster than on the way there, and it was alright – both me and the bike managed it without any problems.

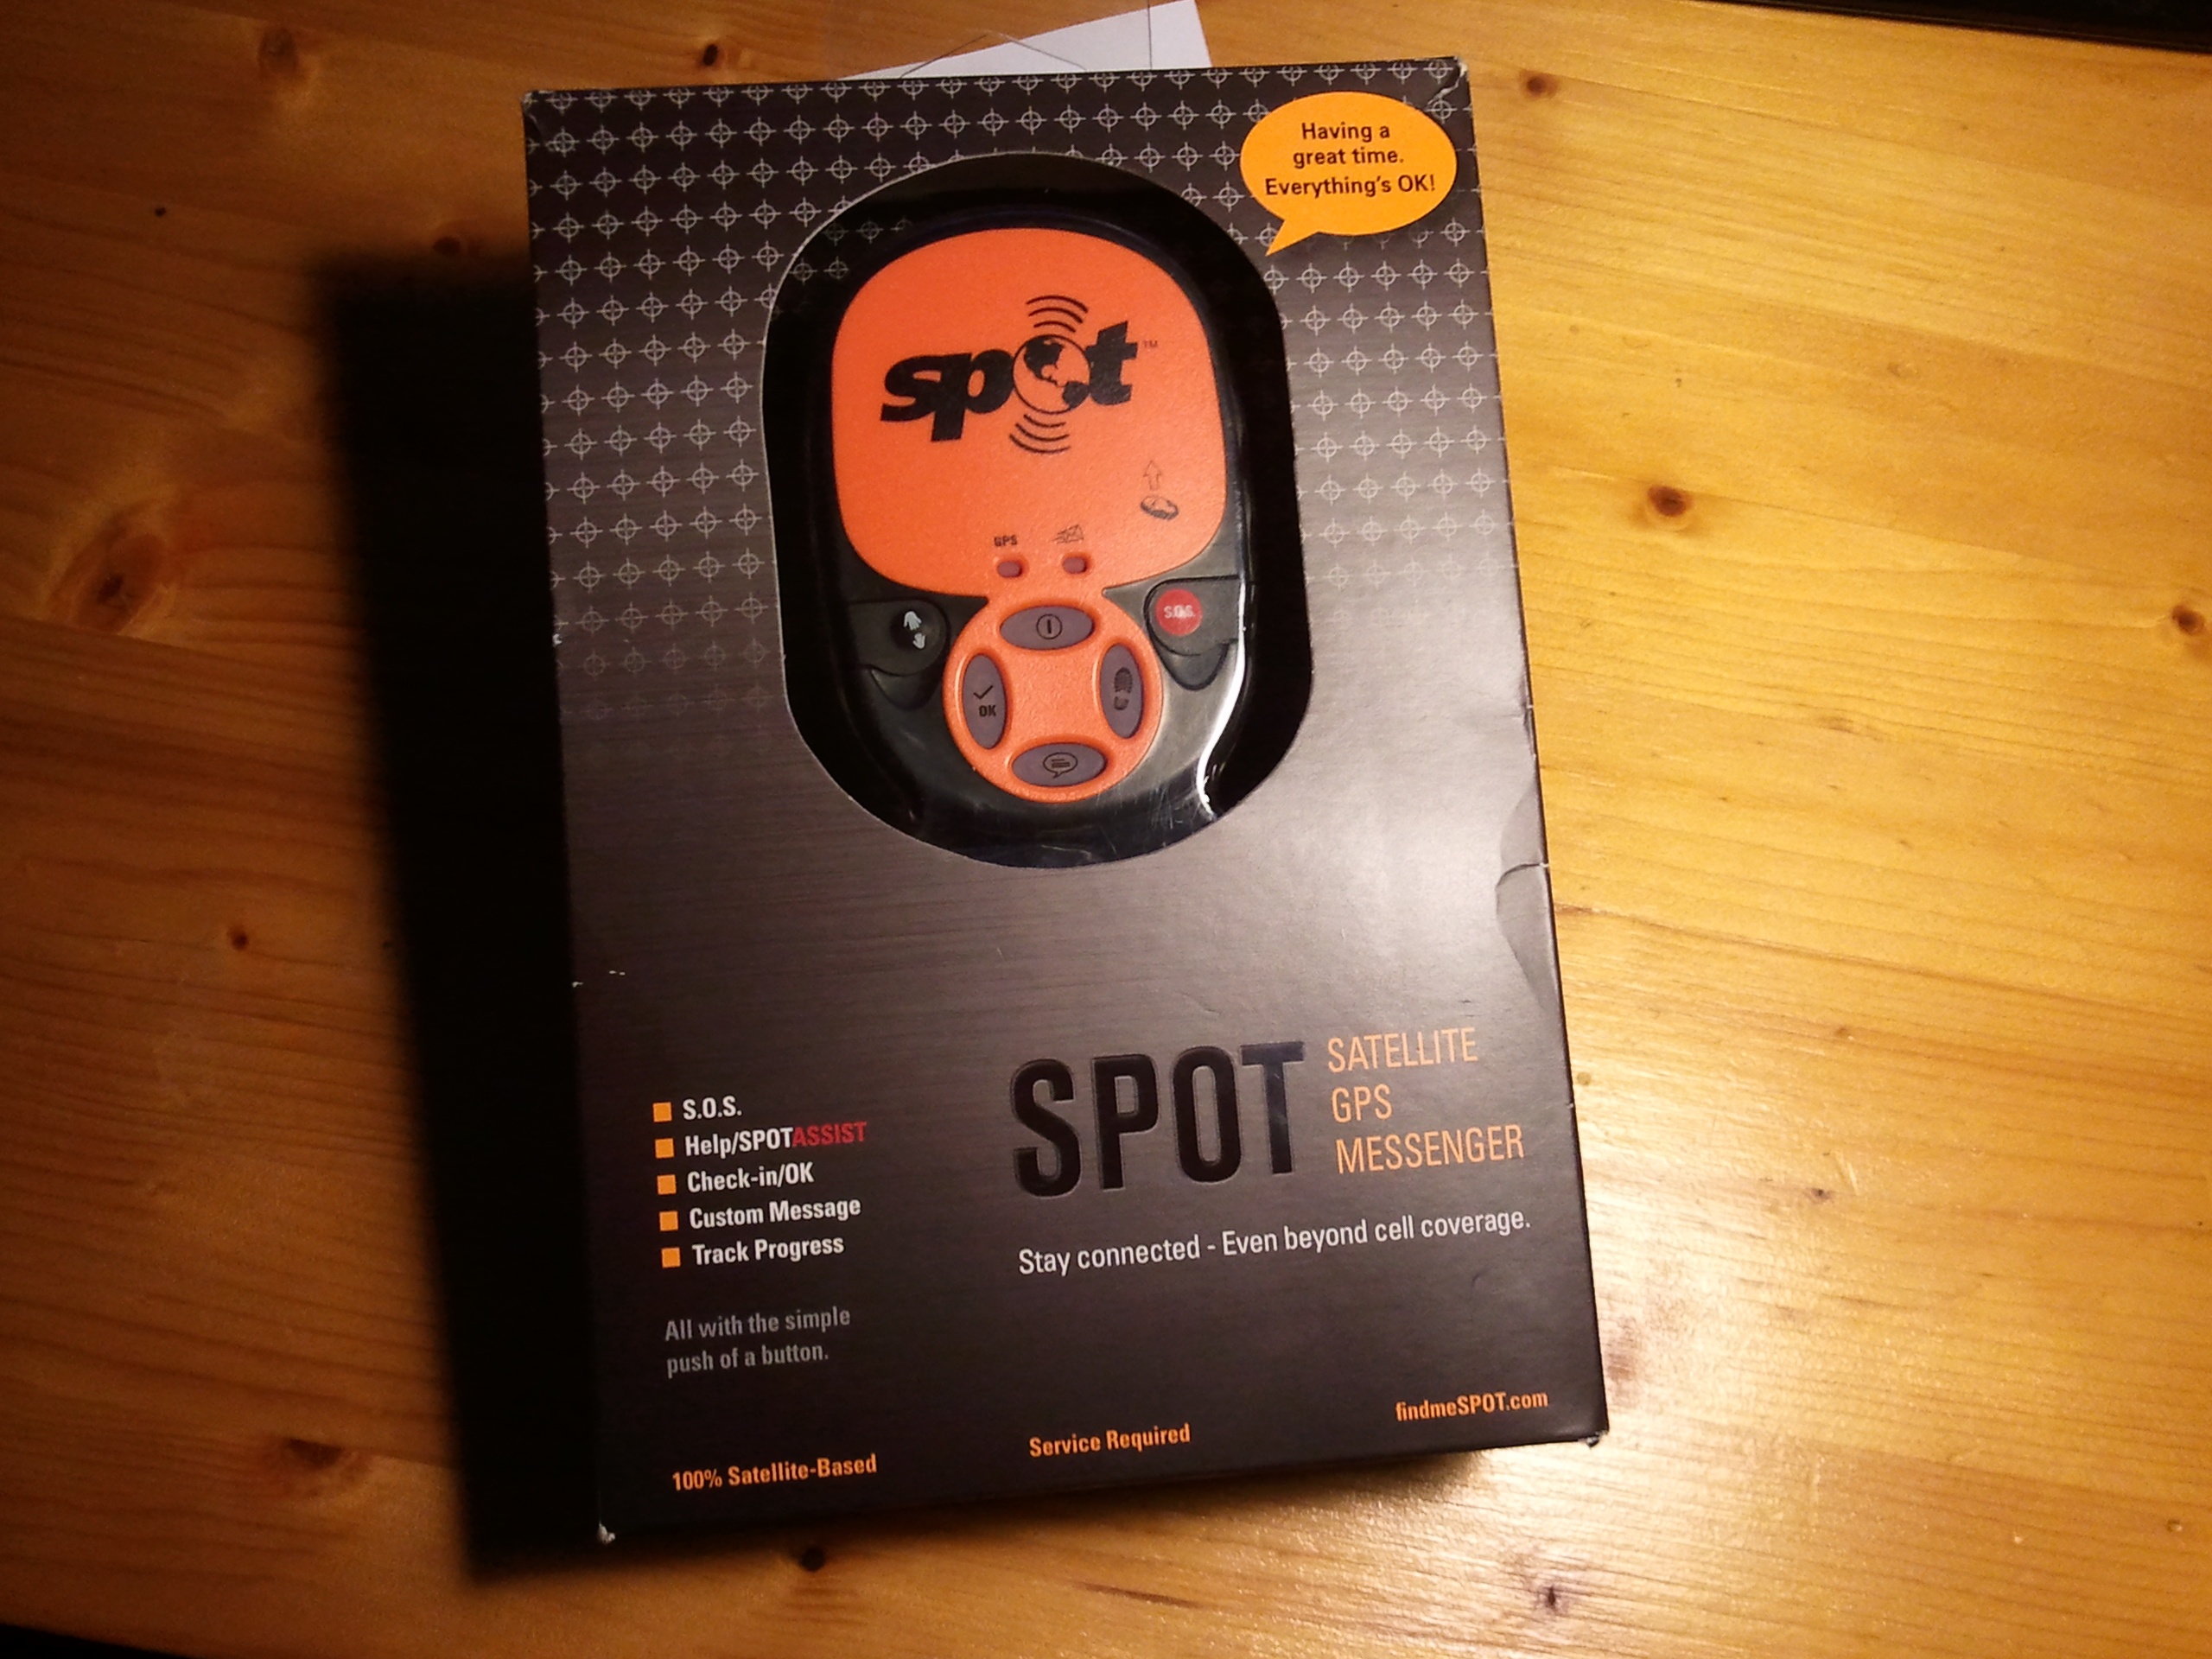
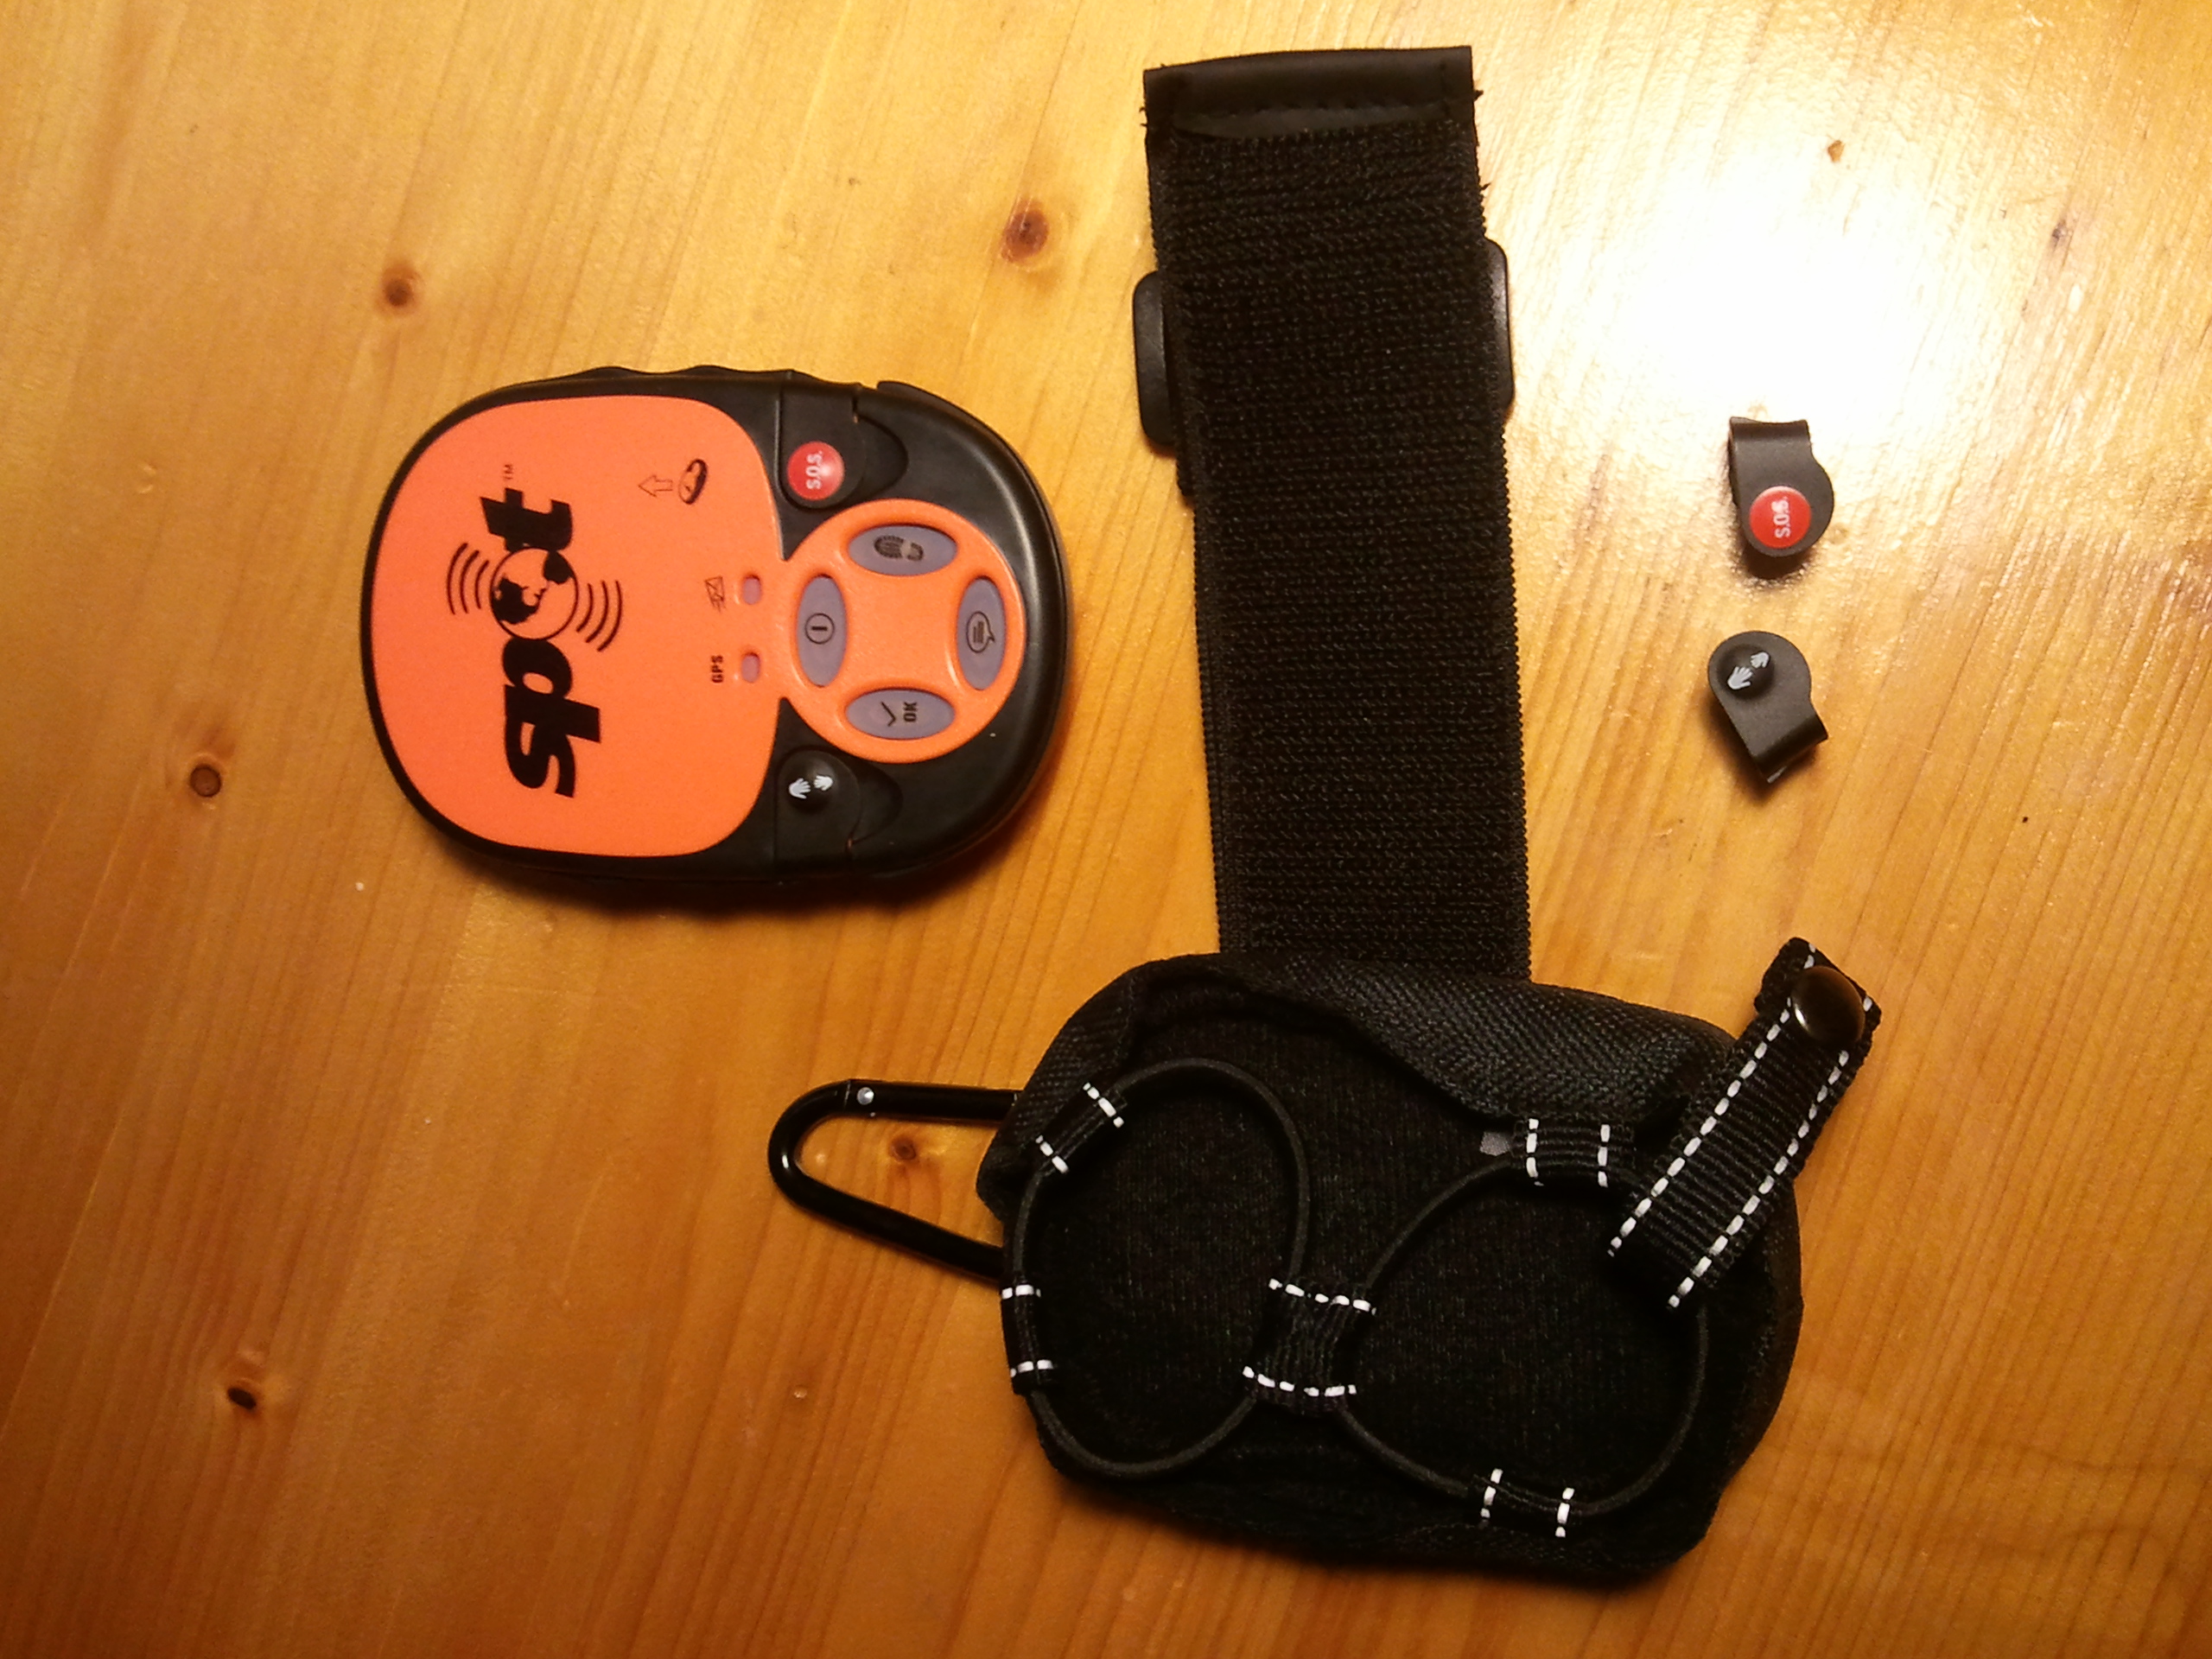
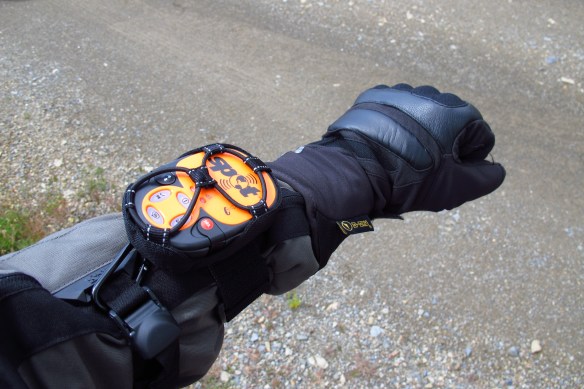
A while later I got to a bigger road and stopped to remove the headphones and sent a message from the SPOT tracker. I had been testing it since I set off from Barcelona, sending check in and personalised messages, as well as tracking the route. I had considered buying a cradle to have it on the handlebars, but it was 20€ and the instructions said it had to be at least 12 inches from another GPS device, and it would have been another thing to remove from the bike every time I stopped, so I simply strapped it to my arm. It is comfortable and it gets signal without problems, so it is staying there.

IMG_5931

The road took me through Caspe, Alcañiz and to Calanda, where I turned off again, heading for the Sierra del Maestrazgo in search of smaller roads. This is an area of great natural beauty, and I enjoyed it thoroughly, riding up and down hills, on roads that had more potholes and patches than tarmac, seeing the sun break through the clouds. The GPS seemed to be working better and I switched from the Garmin European maps that came with it to the OSM ones I had downloaded. Both seemed to work fine, but there were roads that simply did not appear on either of them, so to the GPS I was riding off-road.

IMG_5941

After the last such road, I came out onto the N-420 and had to make a decision. There is this small town south of Teruel where I sometimes spend my holidays, and I knew there were a couple of great camping spots. I really wanted to get there, but it was still far, and it was getting late. Not only that, there were menacing clouds in the sky, so I could either press on and try to get there before dark in time to set up camp, or I could try to find a place to sleep where I was. I decided to ride on.

The roads were good here, long corners and smooth tarmac that allowed me to make good progress. Once I got there, I had to ride up a dirt track to get to where I wanted to camp. It was not raining when I turned off the road and onto the track, but it seemed it had been raining all day and the ground was muddy. I had a couple of scary moments, when the front wheel found soft mud and skid, but I was able to keep it under control and I got to the top of the hill just as the sun was setting.

IMG_5943

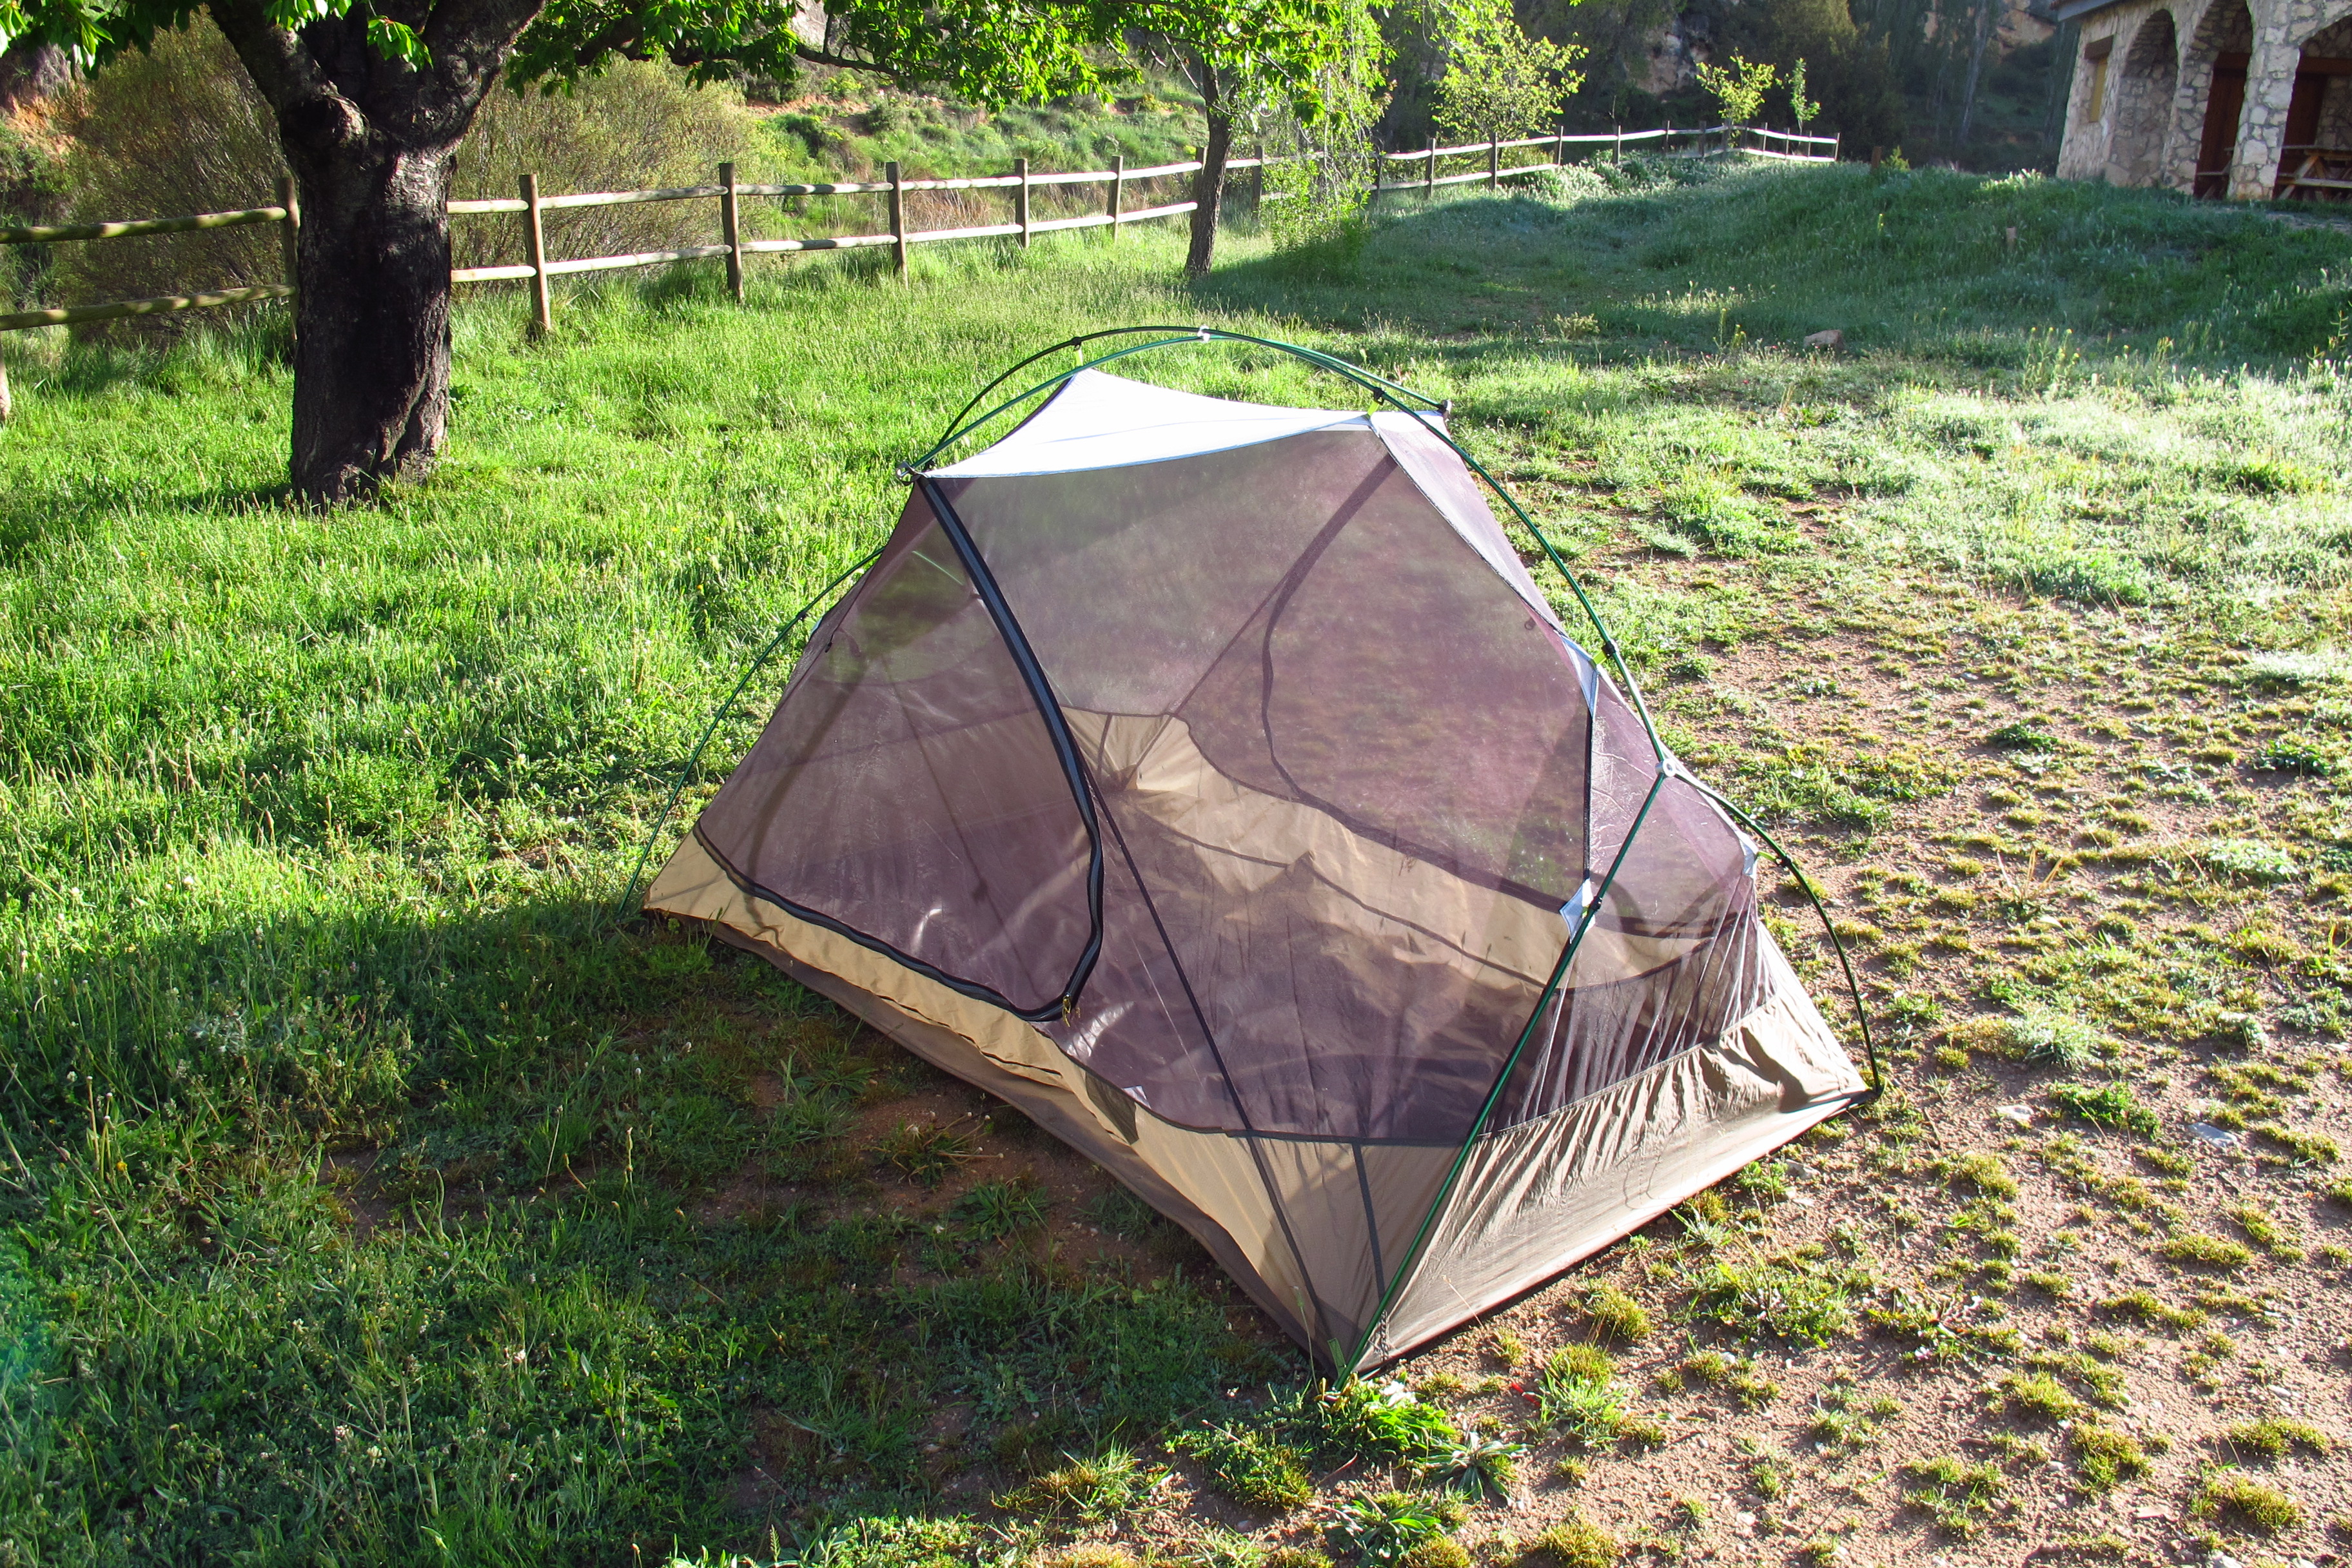
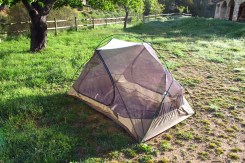
It was a fantastic spot, but the ground was rocky and muddy, and there was nowhere to put up the tent, so I rode back down the track – more carefully in the mud this time – and went to see if the second spot was better. It was, a nice field of grass next to a stream. I got there when it was almost dark, and started putting up the tent on the grass. Fortunately it was easy and was quickly done, and by the time it was dark I had already finished and had dinner. What I did not have time to do, though, was clean and grease the chain and write this entry for the blog, I just went straight to bed.

IMG_5947

Sleeping well is important when you spend most of your day on the motorbike and have to do the same the following day and the next and the one after that, so I had tried to get a good sleeping system – I bought an ExpedSynMat 7 and a pillow pump. It was fast and easy to inflate, and much more comfortable than anything I had slept on in a tent before. The sleeping bag was a lightweight one from Decathlon – I had considered taking another one I already have that is warm at temperatures below zero, but I thought that I would only encounter those circumstances some night in Mongolia and most of the rest of time it would be rather hot, so I decided not to. However, I took a bivouac sack in case it got cold, and on this occasion, it proved to be useful. I slept in my thermal  shirt and pants, and inside the sack, and managed to spend quite a good night, although my nose – I am endowed with quite a big one – stuck out and felt the cold so badly I woke up several times.

IMG_5944 IMG_5946


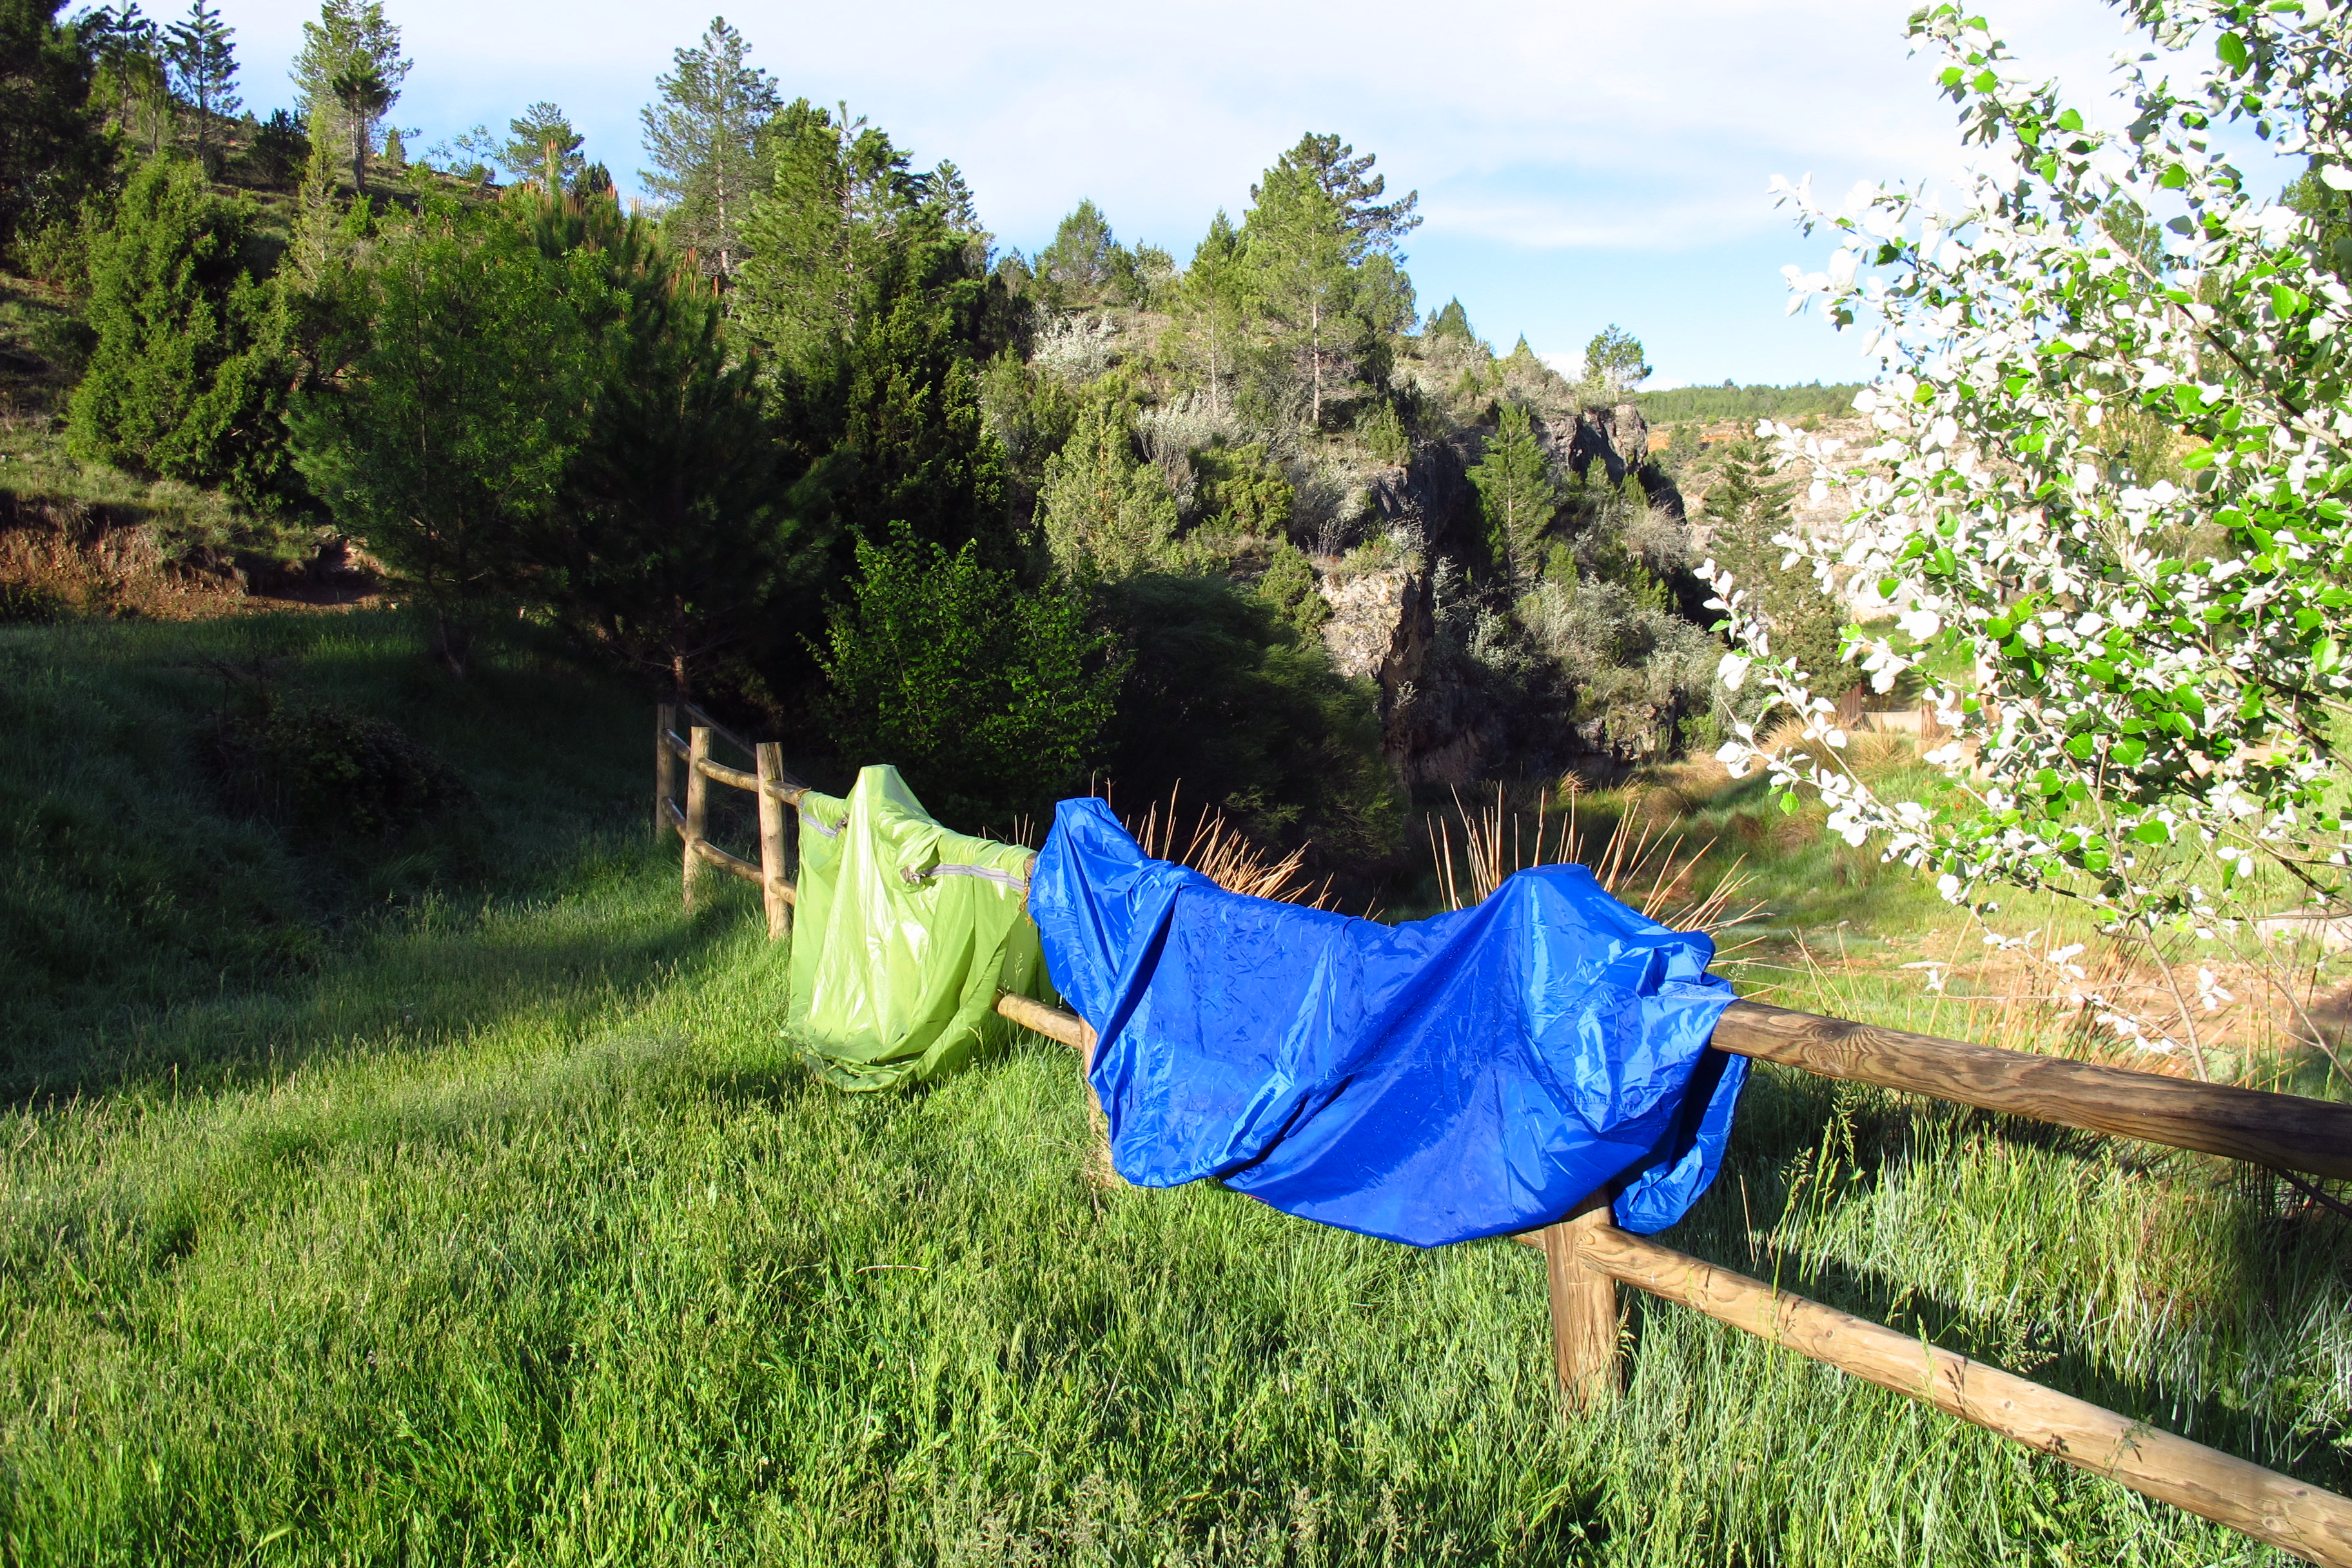
It did not rain that night, but in the morning the tent and the bike cover had a fine layer of frozen dew over them, so I had to hang them in the sun while I had breakfast to try and dry them a bit before packing. I got up at sunrise, so I had plenty of time to put everything back on the bike before hitting the road again. It feels great to get up knowing you have the whole day ahead of you, no work, no deadlines, no stress.

IMG_5949

IMG_5950

Knowing that it would be another long day and that my stove did not work, I stopped at the first town I found, walked into a bar and ordered a huge sandwich to get the energy I needed. Happily fed, I started the way back.

It was a glorious day, and I headed for the roads that crossed the forests over the hills between the area where I was and Teruel. After about an hour riding through pine trees I arrived in Teruel and seeing that I was making good progress, I decided to take the small roads across the Maestrazgo region instead of taking the more direct way back. By the time I left the area and came down to Mequinenza it was 4 pm and I was starting to get tired of all the shaking and bumping on such bad roads, but I could not be happier. I had some bread and cheese for a late lunch and took the motorway for the last 200 km home.

About a hundred kilometres from Barcelona I stopped at a service station and gave the bike a good pressure wash to get rid of all the mud it had accumulated over the weekend. Needless to say, five minutes later the skies opened and there was heavy rain all the way back home. I got to my parent’s at about 7 pm, it was still raining and I had to remove the panniers, the tires and the tire rack from the bike, put the top case back on to go to work on Monday morning and head home, all under the rain. When I finally got home I was exhausted, but happy to see that I was dry in spite of the rain, and more importantly, so was all my luggage.

It was a long weekend – 670 km on the way there and 560 km on the way back, most of it on narrow, winding, potholed roads, some of it on dirt tracks and the last bit on the motorway, but it was perfectly doable and the stints I have planned for my trip are shorter than that. The motorbike has performed flawlessly and so has all the gear (except for the stove). I will relocate a couple of things for easier access and buy a few others (clothes line, another towel, a PacSafe net…) but overall the result of the weekend test is very positive. The bike and the equipment are ready, now it is time for me to get ready! I’ll need to work out this last month.

Facebook page

Good morning!

Here I am, after a long weekend on the bike, testing all the equipment, sipping some instant coffee with milk and sugar that I bought for the trip. Not the best coffee in the world, but hey, it is hot coffee and I shall be grateful for it in some cold mornings.

Anyway, I will talk about the weekend on a longer post that I hope to write between today and tomorrow. This post was to announce that, following a suggestion from a fellow rider at the V-strom owners forum, I have set up a Facebook page for the project. The contents of the page will be the same as here, it will contain links to all the posts in this blog. It will make it easier for people to follow and share and the main difference is that in there I have uploaded practically all of the pictures I have taken so far, instead of just the highlights I have been posting here, so if anyone is interested in those (mostly technical so far), there thay are.

Here is the link:

https://www.facebook.com/Stromingtheworld?ref=hl

Kazakh visa latest news

Today my sister has finally managed to hand in my application forms to the Kazakh consulate in Madrid. After having been told that it was closed because it was a Kazakh national holiday, then a holiday in the city of Madrid (one of the maaaany they seem to have), then that they are not open on Wednesdays, she finally found it open today.

She said that the guy there was surprised someone would want to go to his country as a tourist, and even more surprised that I was then moving on to Russia.

It seems that the visa will be ready next Thursday, let’s hope it all works out in time for a friend of mine who is coming to Barcelona this Friday to bring it to me.

How to carry two tires all the way to Volgograd and other stories

Tires are an important piece of kit for trips like this, and in my case the subject of much thought – not so much about which tires to use, but whether I should take a set with me or not.

I had decided that I would ride Europe in the tires I already have – a set of Michelin Anakee 2, they have plenty of thread left and lots of people have got very hard mileages out of them – and then swap them for a set of Heidenau K60s in Volgograd before starting the roughest part of the trip.

Most people say that it is hard to find the sizes I need for my bike in Russia, let alone Kazakhstan or Mongolia, so I could find a workshop when the moment came to change them and wait for them to order and have a set delivered, I could buy a set myself and send them ahead of me for them to be ready when I got to Volgograd or I could carry them with me from the start.

Waiting for tires to be delivered was not an option, since I do not want to spend any longer than necessary unless there is a problem, and forwarding them required having a contact in Volgograd to pick them up and store them, and they might be made to pay import taxes upon delivery. I imagine I could have arranged that through the HUBB, but it was too much hassle and I liked the idea of having a couple of spares with me if a puncture can not be easily fixed with a repair kit. I could always limp to or arrange to have the bike transported to the nearest workshop and have the tire changed.

So having made the decision to take the tires with me, I spent the weekend studying different ways to secure them to the bike.

I carry my camping/cooking equipment on one pannier;  the tools, repair kit, spares, maintenance kit on the other;  the paperwork, important items,  laptop, camera, etc. on the tank bag and the clothes, first aid kit and sewing kit on a waterproof rack bag.

I quickly discarded the option of hanging the tires on the back of the bike – it pushed the CoG too far back and there are already a jerrycan and oil and grease bottles back there, not to mention that they would partially cover the rear light or the exhaust or the license plate depending on the position.

I have not fitted any tank saddlebags and I had seen pictures of a guy who had slung his tires over the tank and had them hanging on both sides of the bike. I tried that, but they are too big and when strapped tight they interfered with either my legs or the front wheel.

So they would have to share the rack and passenger seat space with my rack bag.

I tried different positions – the bag first and the two tires vertically behind it, the other way round, one tire standing behind me and another at the back, with the bag in between, one tire standing, the other flat and the bag on it, even have the tires standing on the panniers and the bag fitted through them… All positions looked awkward and had several disadvantages – water would accumulate on the inside of the tires, they stood too tall, I would have to remove them every time I wanted to take something from the bag or the bag itself (and that’s every single day)…

I did not want to have to remove them until the moment came to use them, the idea was to strap them securely and then lock them to the rack with a cable and a padlock the make them harder to steal. In the end then, the best position was to lay them flat and put the bag on top of them.

There were two thing I did not like about this option – the whole thing was rather tall (it almost reaches to my shoulders) and there was a big unused space inside the tires. However, after some thinking I found a good compromise.

I was going to carry my provisions inside the rack bag (I got it big because I did not want to carry too many smaller ones), but if I used the space in the tires to carry them the bag would be emptier. Not only that, but the stuff inside would be easily compressible (mostly clothes) so it would flatten more against the tires and enable me to roll the top of the bag more times, thus making it more waterproof. It was decided.

Lying flat on the seat and the rack, the tires took quite a lot of space, and if I sat comfortably without them touching my back, the were a couple of cm too far back, so they did not rest on the rack, which meant I had to do something to support them there. I had removed the top case but I had not fitted a base to the rack, there was only the original one, and I did not want to pay through the nose for a rack extension just to have one end of the tires rest on it, so I decided to make my own tire rack.

I got a couple of L section steel rails – aluminum was lighter, but it was too flexible, and the steel rails are very strong for what they weigh – and started to work on them to make them fit the mounting points on the bike rack.

IMG_59012013-05-12 12.19.42


I have to say that I had the privilege of having my father’s assistance and advice on this, a natural-born engineer (and one of the best I know, at that) so for the price of a couple of bits of metal and a few hours of work in great company I got a perfect custom-made tire rack. Suck that up, Touratech.

2013-05-12 11.55.47


2013-05-12 12.05.07

We cut them to the appropriate length, filed off the edges, shaped the lower side to make it fit flush with the bike rack without losing any structural rigidity and drilled the mounting points and while we were at it, a whole at each end that makes a handy attachment point.

2013-05-12 12.19.59


2013-05-12 12.50.10

Apart from that, I also spent some time improving/customizing the Touratech panniers. I had got four padlocks to lock them and they are great – light and they are all opened with the same key, but in only two days riding around they had started to scratch the aluminum, and they rattle as hell between 5 and 6k rpm, which is the usual working range of the bike…

2013-05-11 20.05.562013-05-11 20.06.35

So I got some adhesive foam and cut four protectors to stick under them. I also got some reflective tape to put at the back of the panniers, I want to make myself well visible, especially in those parts of the world where drivers are not as used to the presence of motorbikes as in Barcelona.

2013-05-11 20.07.392013-05-11 20.16.51

Finally, I got some cheap bicycle bottles and bottle holders and fitted them to the front of the panniers. I hope the air stream will keep them cool and they will make a nice extra supply of water for the harder parts of the trip.

IMG_5912IMG_5913

Installing the crash bars, headlight guard and skid plate

Well, it has been a very productive week and weekend! Unfortunately that means that I am now behind in keeping the blog up to date, there’s a lot to write about; I will do it on separate posts. First one:

A couple of weekends ago I got down to installing the crash bars, headlight guard and skid plate, which I had not had time to install when I did the panniers and GPS mount. I had seen some people have trouble aligning the mounting points with the chassis on YouTube tutorials, but I am happy to say I had absolutely no problem. The only setback came from the long screw that goes from one side of the chassis to the other and supports the engine block. The crash bars that were installed on the bike when I bought it second hand were the original Suzuki ones, and they are attached to that screw. I imagine that when you buy them the mounting kit includes a longer screw that enables you to attach them. I removed the crash bars and saw that with separator washers the screw had enough thread in it to stay in place effectively, so I thought I would have no problems installing the Hepco & Becker bars, which attach to different mounting points. However, they partially cover the recess on the chassis where this screw is located, and because the longer screw I had in my bike protruded out of the chassis, it was impossible to fit them.

So, a week later and having purchased the original screw from a Suzuki dealer I was able to fit the bars without any problems. They offer far greater protection than the original ones, are thicker and look cooler.

The problem came, however, when I had to install the skid plate. Adventure MotoStuff had supplied it with a mounting kit for the Hepco & Becker crash bars, but from what I could gather from the pictures, Hepco & Becker had discontinued the bars for the pre-2012 V-Strom and developed new ones for the new model. Since both bikes have the same chassis  the bars will also fit the older ones, and these are the bars that I had bought. However, AdventureMotoStuff had sent me the kit for the older model, which has a lower crossbar, so the mounting brackets were about 100 mm too low.

IMG_5868

Now, on a previous post I made positive comments about this company’s customer service, when I was trying to decided which combination of crash bars and skid plate to use I wrote to them and they replied promptly with clear and useful information. I am afraid that I will have to withdraw those comments now… I sent them an email explaining the problem I had and including some pictures for reference, inquiring whether they manufactured mounting brackets for the new bars or not. That was two weeks ago. I am still awaiting their reply.

Seeing I was not going to get any help from them, I bought an aluminium bar and built my own extension to fit the skid plate. Here’s the result:

IMG_5890

It is a lot more solid than it looks or than I expected it to be, so I am quite optimistic that it will work without problems during the trip.

Finally, I fit the headlight guard. The V-Strom has enormous headlights and they are very exposed to small stones flying from the road or even small falls, so I decided this was a must. However, with such big headlights the mesh I had to fit was enormous, unlike the more discreet protectors for, say, a GS. Even so, once fitted it looks better than I expected.

IMG_5876

Heidenau K60 Scout and Kazakh visa

Just a short post to tell you that the tires I ordered are here. It’s a set of Heidenau K60 Scouts, and I am now going to spend the weekend figuring out how to carry them on the bike all the way to Volgograd, where I will have them fit while the bike is being serviced in preparation for Kazakhstan.

I decided to take this ones because I have had good references from other riders, they seem to be a good compromise – not to radical on the road, grippy enough off road, and they seem to last much longer than other knobbly tires, important since I expect them to last all the way back to Europe.

I will also be taking a puncture repair kit and a compressor but I have my doubts about taking tire irons. I have never tried to replace a tubeless tire, and it seems to be very hard to do on the roadside, especially breaking the bead. Can anyone advise me on that?

IMG_5883

I was hoping to carry them lying flat on the passenger seat and the back rack, but I also have to carry a rather big Ortlieb Rack Bag (I did not want to have too many little bags attached to the bike, they might easily get stolen in short stops to get supplies), so I am not very sure how to position them. I will experiment this weekend.

On a side note, this week I gave my sister (who lives in Madrid) the application forms and paperwork to get a Kazak visa. I do not have a hotel reservation or an invitation letter, but it seems that there is a simplified application process for Spanish citizens. Let’s see if we get lucky.

Installing the panniers and GPS mount

A couple of weeks ago a huge parcel was delivered to my apartment; I was not there, so the doorwoman picked it up as she usually does in these cases. But this time, when I say “pick up” what I mean is “took delivery”, because it was such a big box that the poor woman could not move it on her own. My flatmate got home before I did and he managed to get it on the elevator and drag it into the flat.

IMG-20130422-WA0004

It was the last big purchase in preparation for the trip: a pair of Touratech Zega panniers, mounting frames for my bike, some accessories for the panniers, a headlight guard, a Garmin GPS and a mount for the GPS.

Now I only needed the time to install everything on the bike, and the perfect moment came last weekend. A rainy weekend meant that my plans to go cycling on Saturday had to be scrapped, so I went to my parent’s and got down to it.

I knew I would need at least a whole day for the panniers and the GPS base, as the latter meant taking appart all the fairings and maybe remove the fuel tank to get the wiring from the battery to the front of the bike, and the former came without the mounting parts installed. I got the panniers without them for two reasons: Firstly, if I did it myself, I could position the panniers exactly where I wanted on the bike, and secondly and most important, it saved quite a lot money. The only drawback? It takes time, because it means that 18 holes have to be drilled on each pannier, and that’s after having taken all the right measurements.

Having learnt from Steve Stallebrass’ blog that it is quite hard to mark the drilling points while holding the panniers against the frames on the bike, I first installed the frames on the bike, had a passenger sit on it to make sure the panniers left room for her legs to rest comfortably on the footpegs and then marked the general position of the pannier in relation to the frame.

IMG_5766

I then removed one side of the frame (no need to remove the other, since the rectangular frame the panniers attach to is identical on both sides) and marked the exact drilling points comfortably with the pannier lying on the floor.

IMG_5786

Once the points had been marked, I punched a small dent to make sure the drill would not slip and scratch the panniers and started drilling the holes, first with a 3mm drill and then with a 5 mm one. The two bigger holes for the rotating brackets were made with a 10mm one. All that was left then was to file any shavings and smooth the holes and screw the mounts in. It sounds quite straightforward, and truth be told, the process is not complicated, but it did take quite a long time to do it on both panniers.

IMG_5791IMG_5792IMG_5794IMG_5797

Now the panniers could be mounted on the bike, it was time to mark and drill the holes for the mounting plates that support the accessories I had bought for them: a holder for a 3-litre jerrycan and another one for a couple of bottles.

IMG_5807

IMG_5808

It was now time to install the GPS mount and the wiring that will keep it charged while it is attached to it. I did have to remove all the plastic fairings from both sides of the bike, but luckily I managed to get the wire through the front fairing and under the fuel tank without having to remove these.

IMG_5806

The Garmin Zumo I bought came with a RAM mount kit, but I prefer to use this one, as it is lockable, so I do not need to remove the unit every time I stop. I will recycle the RAM mount  for the SPOT tracker.

Finally, I put everything back together and tested the GPS. It works!

This is how the bike looks now:

IMG_5810

IMG_5809

Spot Satellite GPS Messenger

This is one I have been having doubts over for a long time. To buy or not to buy. As with many other things involved in the preparation of a trip like this, there are scores of very well argued opinions for and against the SPOT tracker all over the Internet. Some say that it can save your life; some say if something really bad happens, it will not guarantee that help gets there on time and for anything less serious, there are other ways of getting help, so it is an unnecessary expense, not to mention one more item to carry and worry about.

After weighing pros and cons for my particular case, this was the conclusion I came to:

FOR:

– There might not be phone signal in most of Kazakhstan and Mongolia, so no way of getting help on the road.

– I can let people back at home know that I am OK and they can track my progress almost in real time on a map.

– My mum would be more than happy that I carry the thing.

AGAINST:

– I have been told that phone signal is surprisingly good around towns and anyway, I will not be far from populated areas for that long.

– Being rescued might incur in hidden expenses that can amount to a lot of money (but then again, it is much better than not being rescued at all…)

– It is expensive, at 159€ plus 99€ for one year’s subscription to the service (yes, you do have to subscribe).

I was not going to get one, but a week ago I thought I would check on eBay to see whether I could get a used one and I found a new one on the States for 90€ plus shipping, which was still considerably less than buying one here, so I decided to order it (and make my mum happy).

I went to pick it up from the post office this morning and when the guy behind the counter gave me the box, I though ‘well, it had to happen, a new one for so little money could not have been real… I’ve been conned’. And I had good reason to think so – the box I had been given was labelled ‘Phillips Headphone Set’. Panic.

I walked out onto the street and towards my bike thinking about how unlikely I was to get my money back and trying to convince myself that 90€ was not that bad. I put the box on the bike’s seat and ripped the tape sealing it to find… The real box containing my SPOT!

2013-05-02 23.07.54

I went to work, very relieved and much happier! When I got home this evening I was eager to open it and see how it worked.

The box contains the unit itself (a lot smaller than I thought); a kind of pouch to carry it around your arm, velcro it to a surface (the patch is too small, though, – I think I would lose it quick if I stuck it like that on the bike) or just hang it on to your belt or trousers; two replacement covers for the emergency buttons; the instructions and three batteries (Energiser Ultimate Lithium, the instructions are adamant that only this particular brand and model should be used). It does not include a cradle to mount it on the bike, but I can probably get one cheap and adapt it to the RAM mount that came with my Garmin and that I’m not going to use (more about that in another post).

2013-05-02 23.10.45

2013-05-02 23.14.51Now that I have almost everything I need for the bike I am planning to go on a test trip in a couple of weeks. I will get it activated this week and see how it works then.