
A couple of weeks ago a huge parcel was delivered to my apartment; I was not there, so the doorwoman picked it up as she usually does in these cases. But this time, when I say “pick up” what I mean is “took delivery”, because it was such a big box that the poor woman could not move it on her own. My flatmate got home before I did and he managed to get it on the elevator and drag it into the flat.
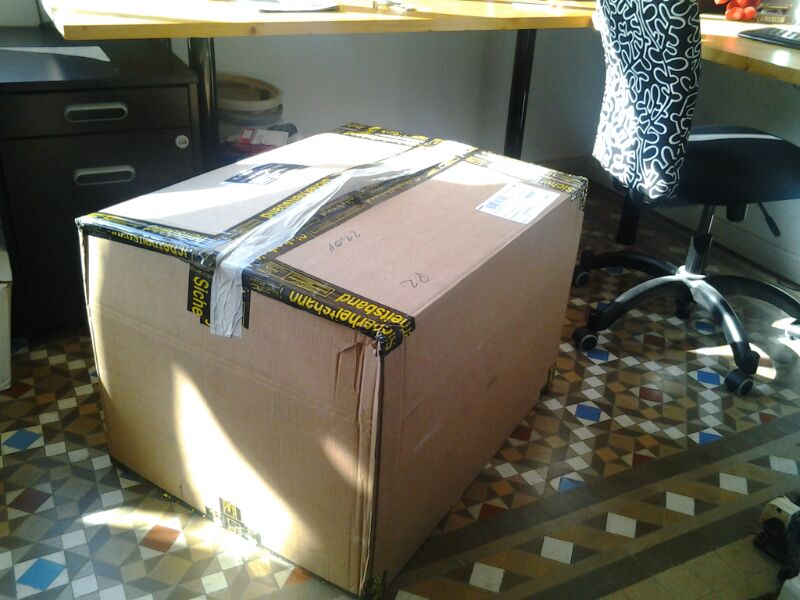
It was the last big purchase in preparation for the trip: a pair of Touratech Zega panniers, mounting frames for my bike, some accessories for the panniers, a headlight guard, a Garmin GPS and a mount for the GPS.
Now I only needed the time to install everything on the bike, and the perfect moment came last weekend. A rainy weekend meant that my plans to go cycling on Saturday had to be scrapped, so I went to my parent’s and got down to it.
I knew I would need at least a whole day for the panniers and the GPS base, as the latter meant taking appart all the fairings and maybe remove the fuel tank to get the wiring from the battery to the front of the bike, and the former came without the mounting parts installed. I got the panniers without them for two reasons: Firstly, if I did it myself, I could position the panniers exactly where I wanted on the bike, and secondly and most important, it saved quite a lot money. The only drawback? It takes time, because it means that 18 holes have to be drilled on each pannier, and that’s after having taken all the right measurements.
Having learnt from Steve Stallebrass’ blog that it is quite hard to mark the drilling points while holding the panniers against the frames on the bike, I first installed the frames on the bike, had a passenger sit on it to make sure the panniers left room for her legs to rest comfortably on the footpegs and then marked the general position of the pannier in relation to the frame.
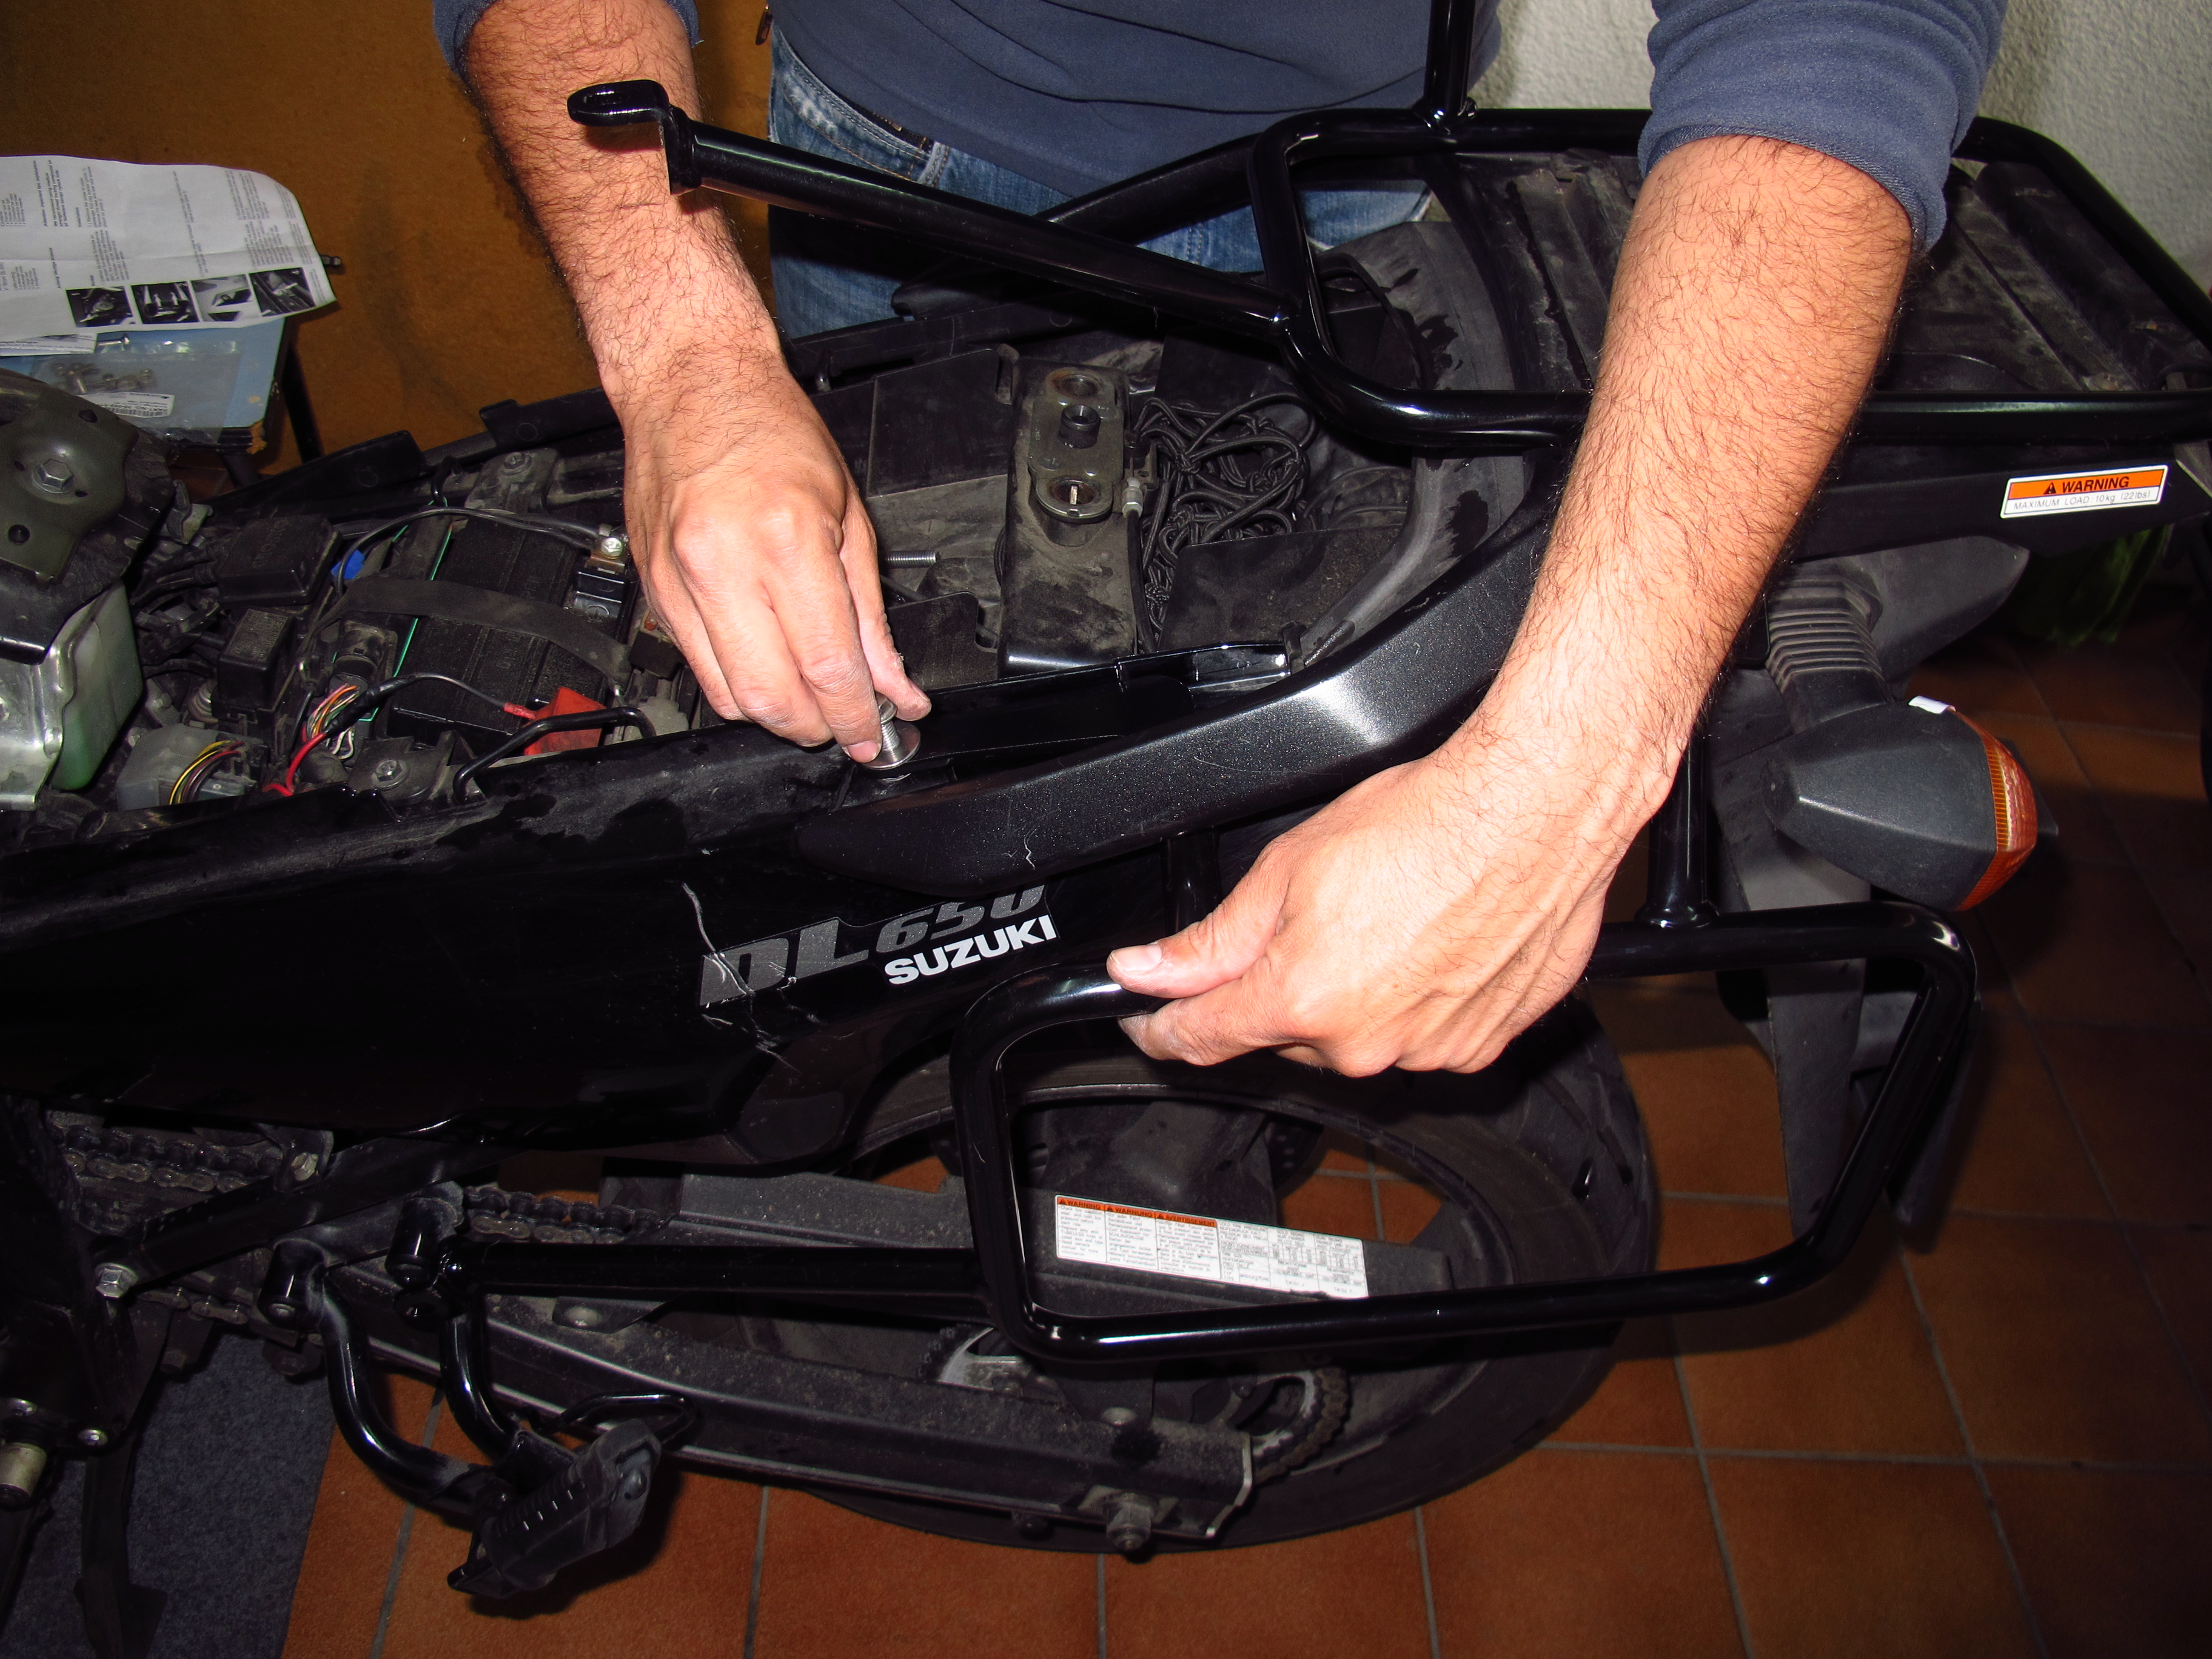
I then removed one side of the frame (no need to remove the other, since the rectangular frame the panniers attach to is identical on both sides) and marked the exact drilling points comfortably with the pannier lying on the floor.
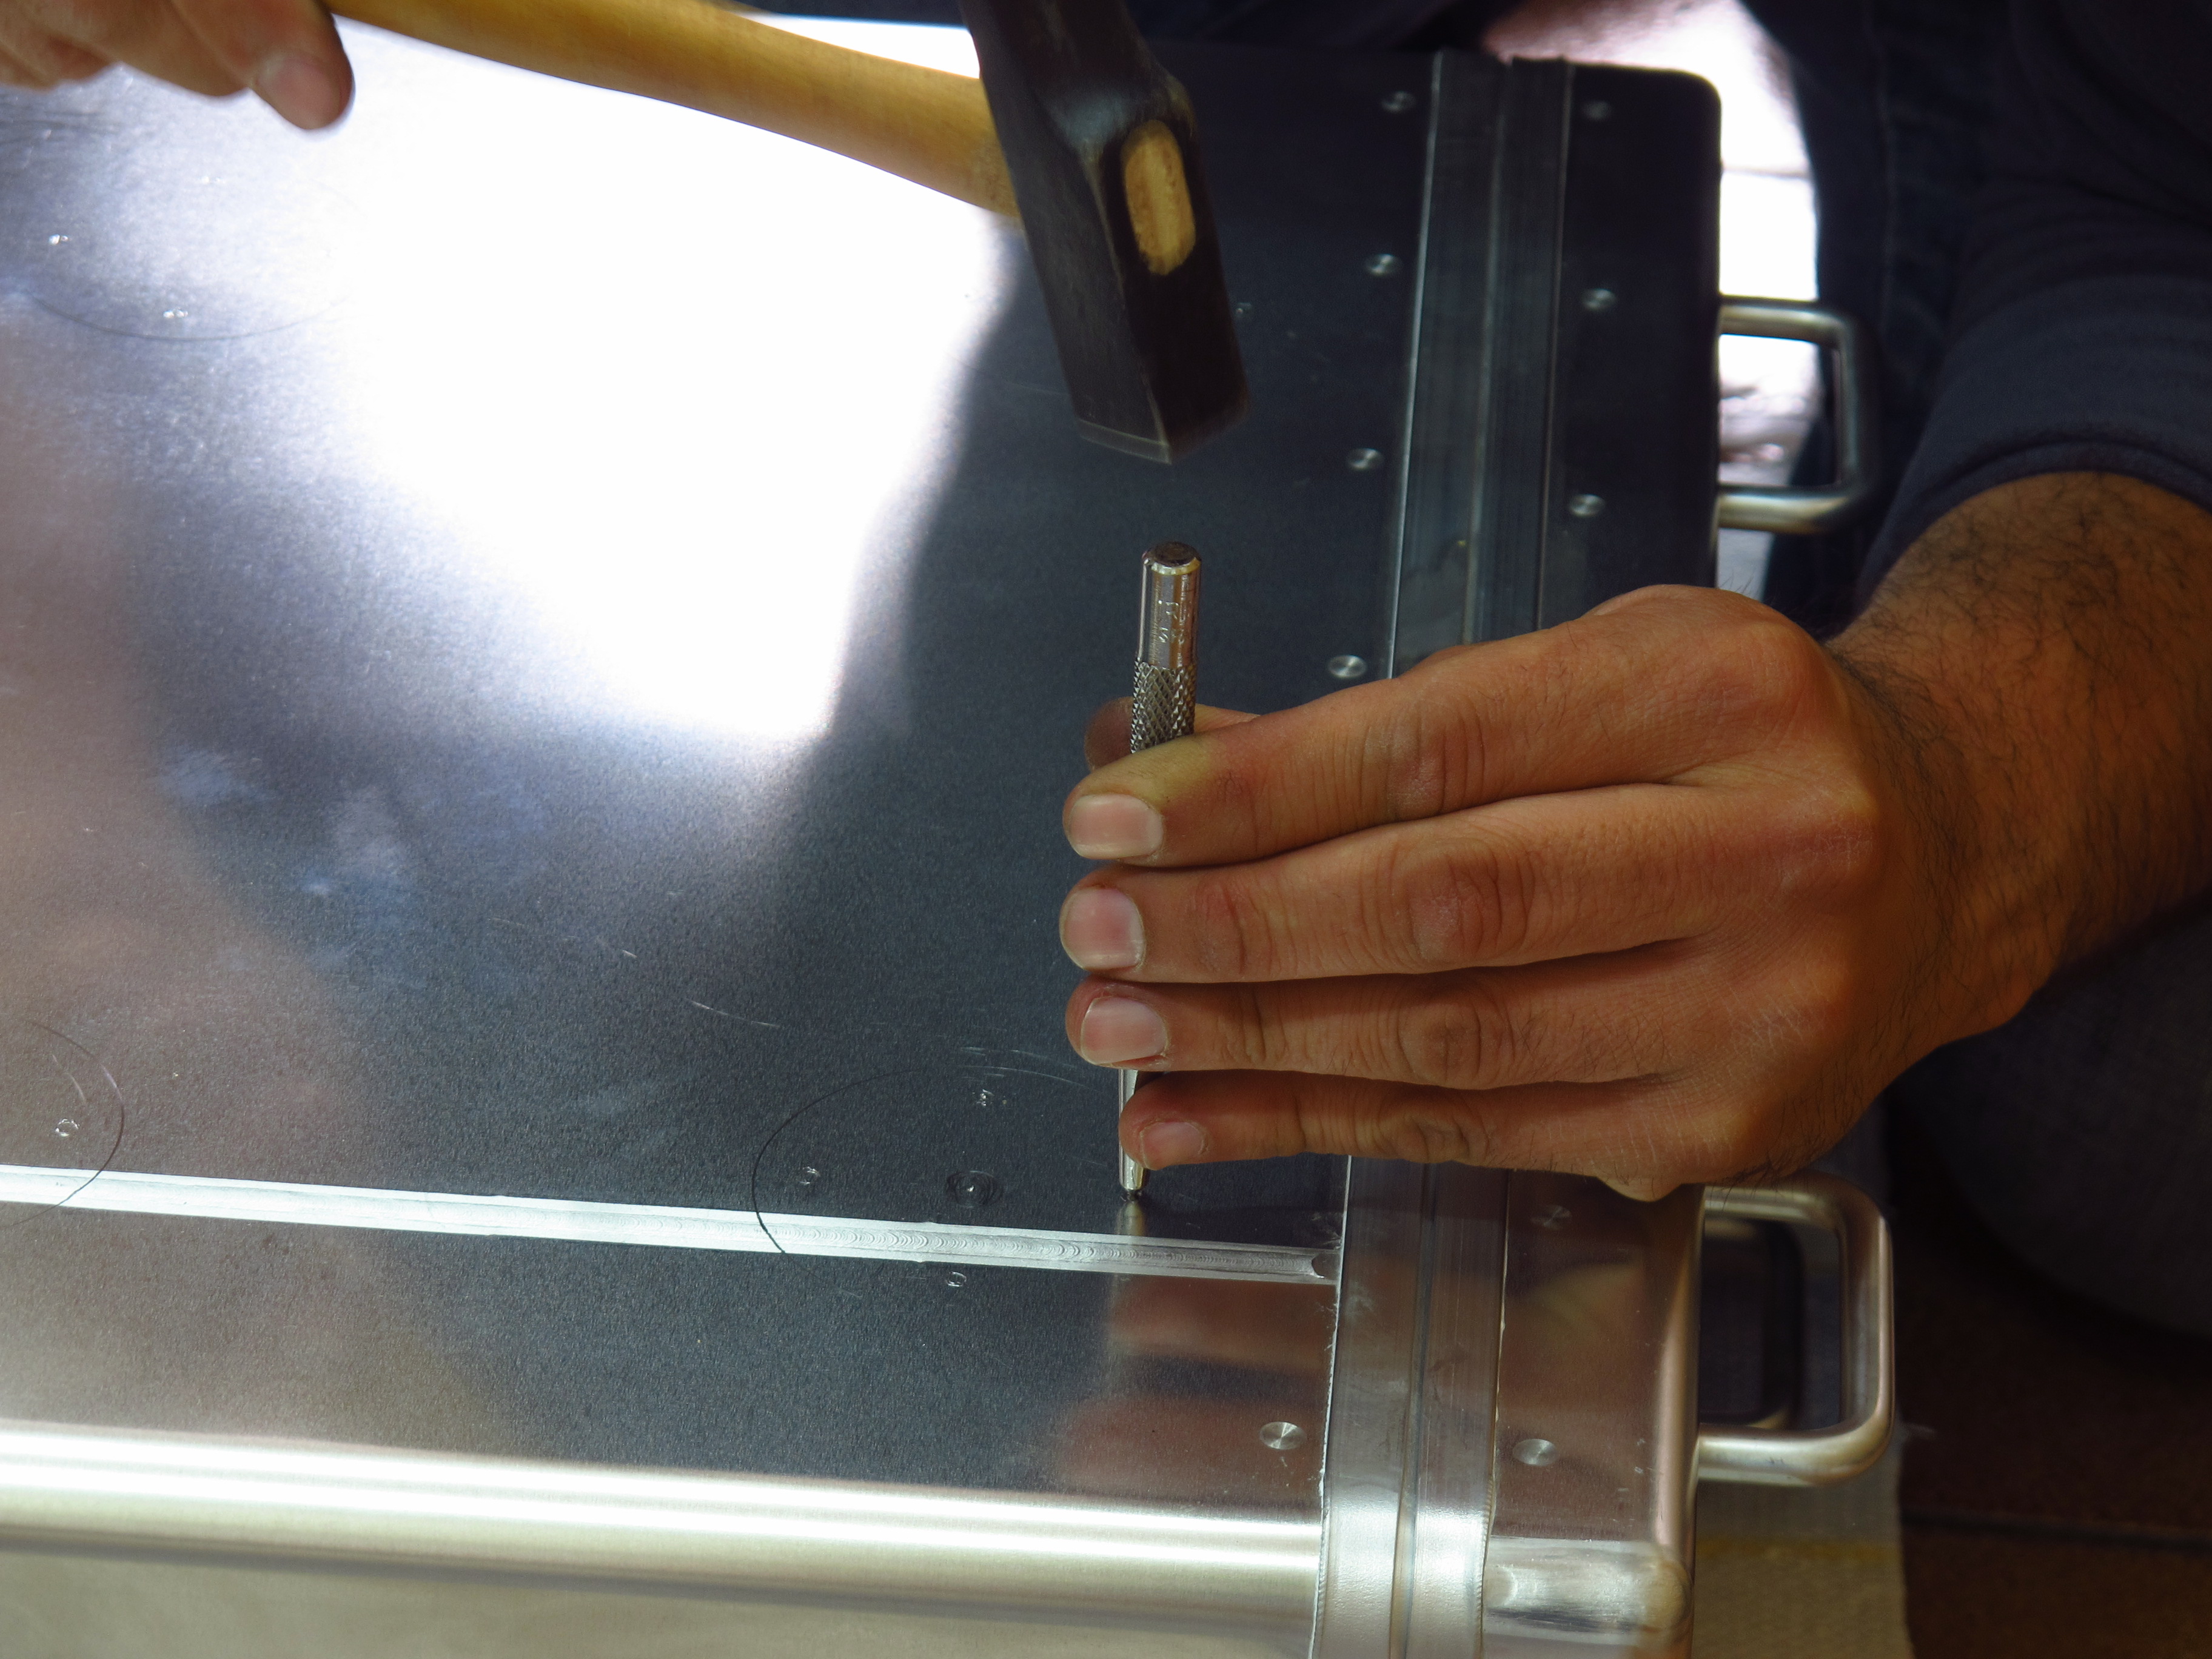
Once the points had been marked, I punched a small dent to make sure the drill would not slip and scratch the panniers and started drilling the holes, first with a 3mm drill and then with a 5 mm one. The two bigger holes for the rotating brackets were made with a 10mm one. All that was left then was to file any shavings and smooth the holes and screw the mounts in. It sounds quite straightforward, and truth be told, the process is not complicated, but it did take quite a long time to do it on both panniers.


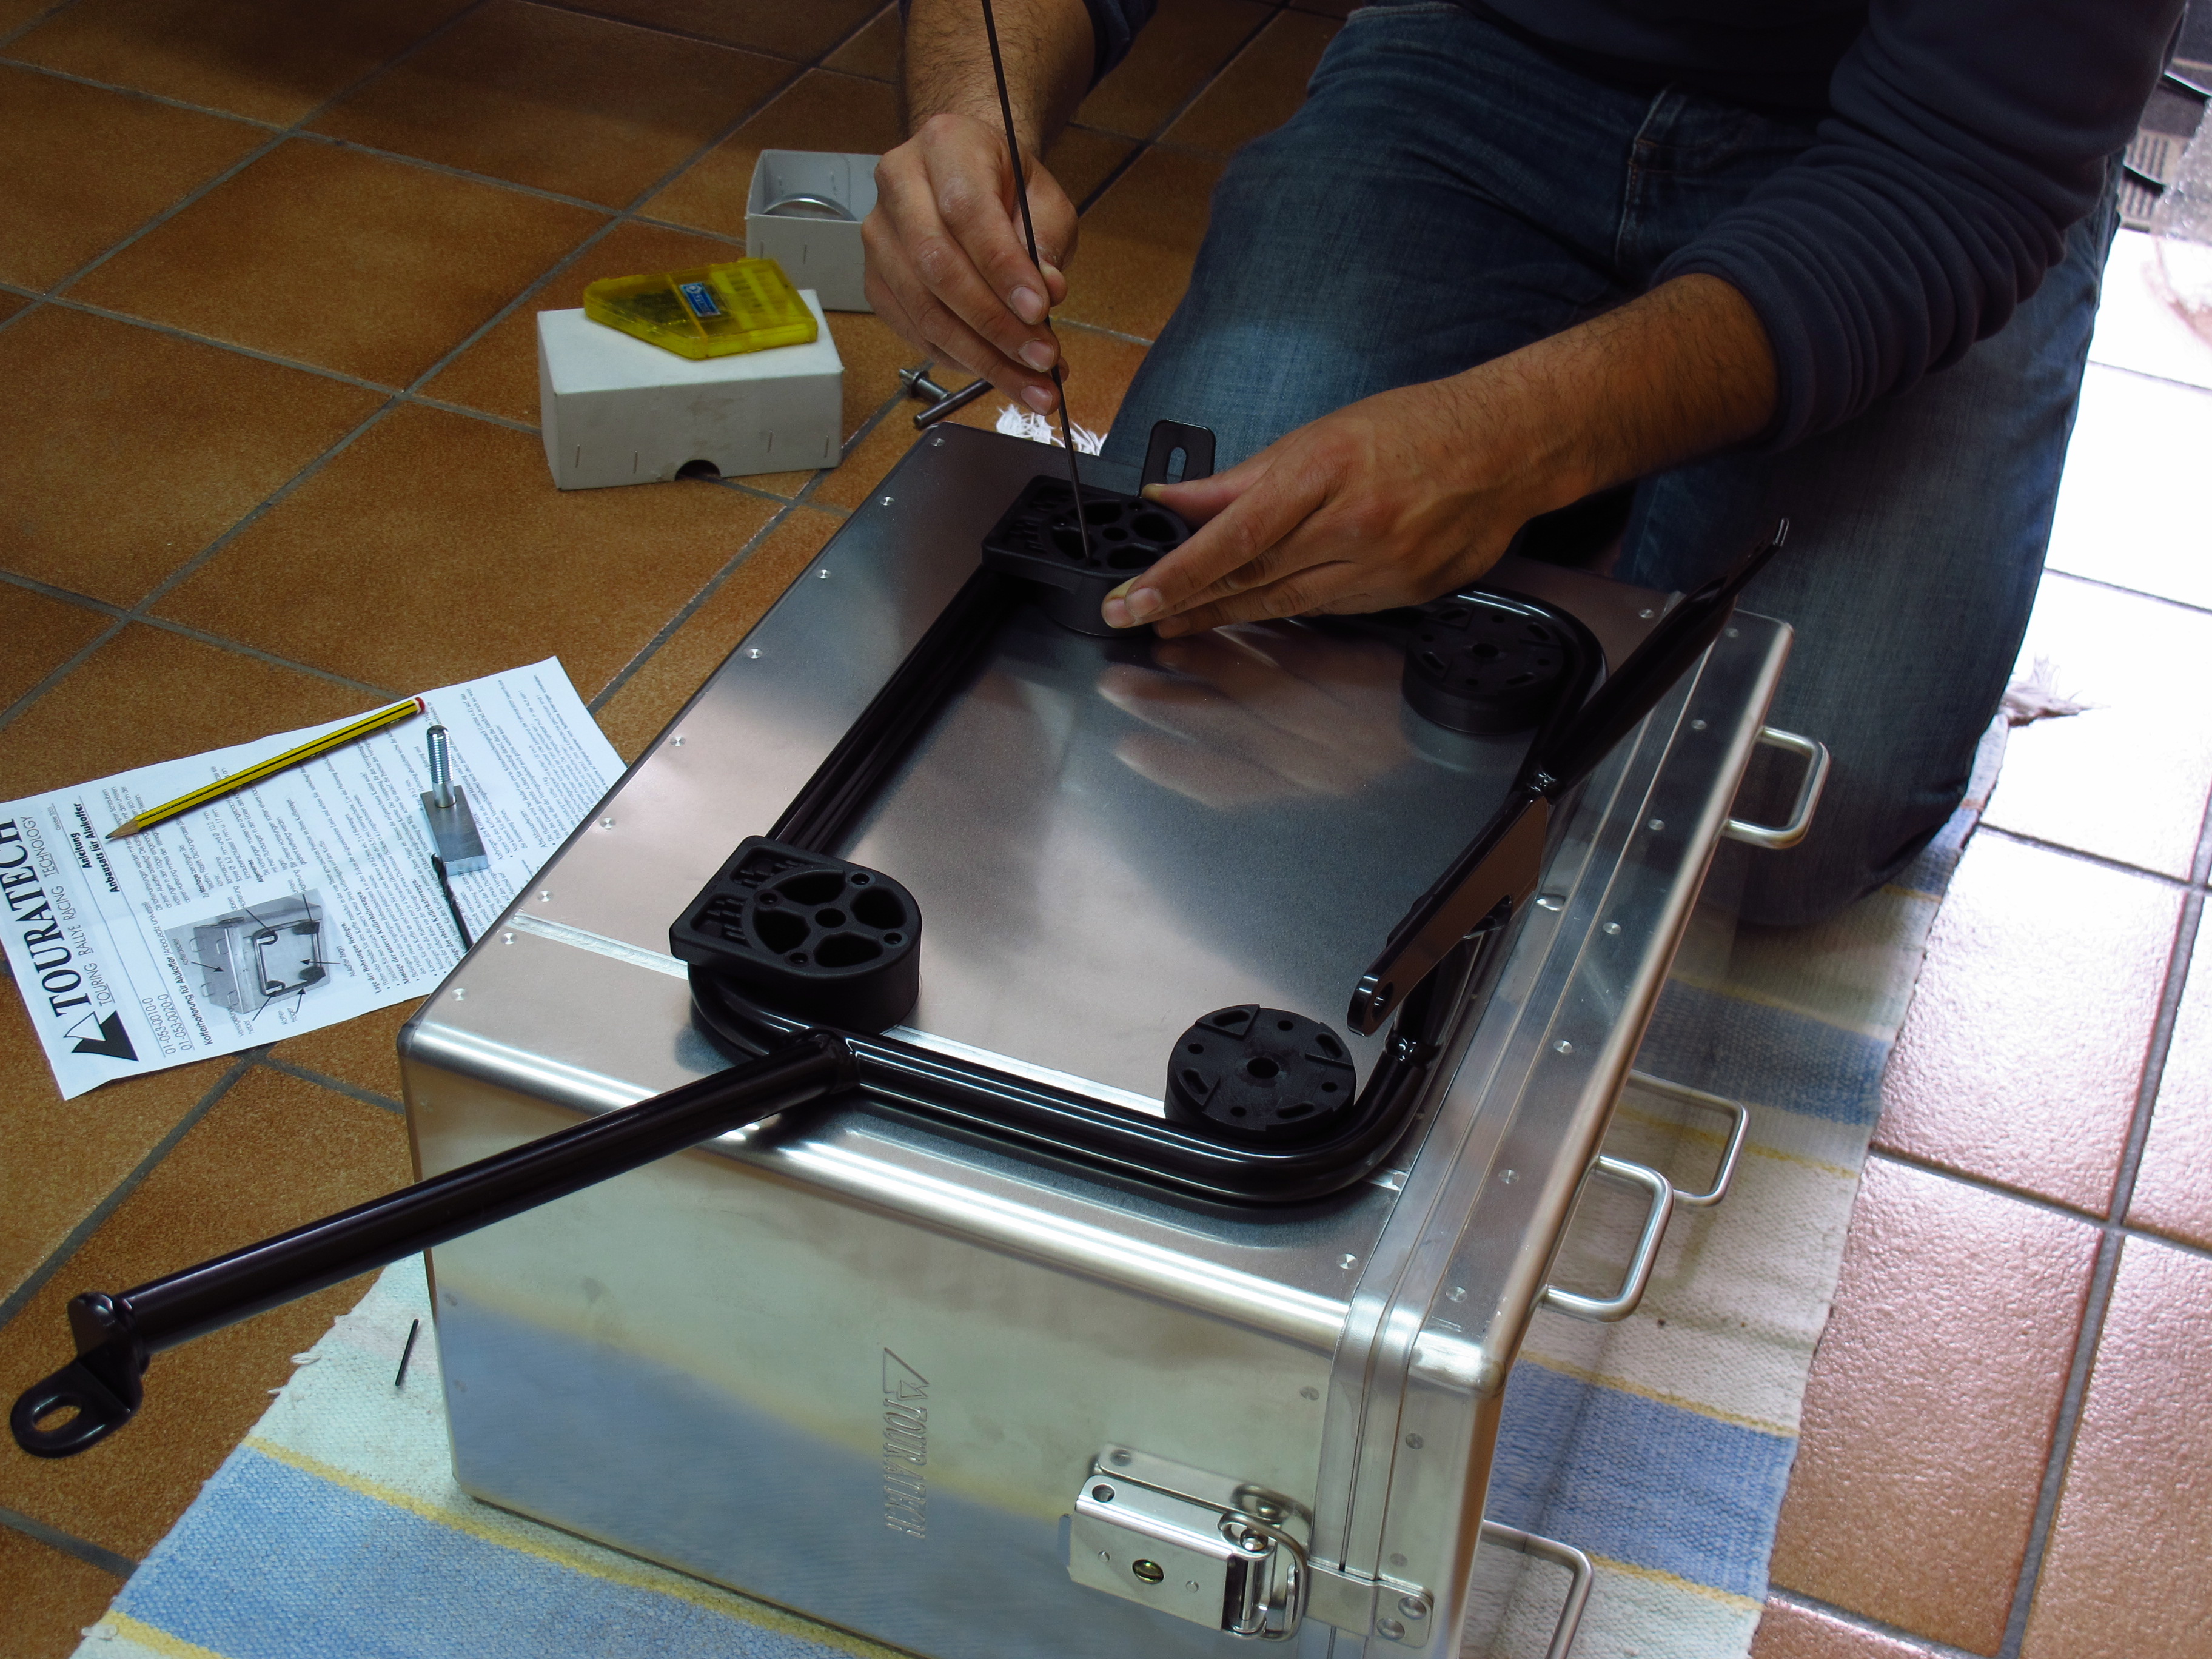
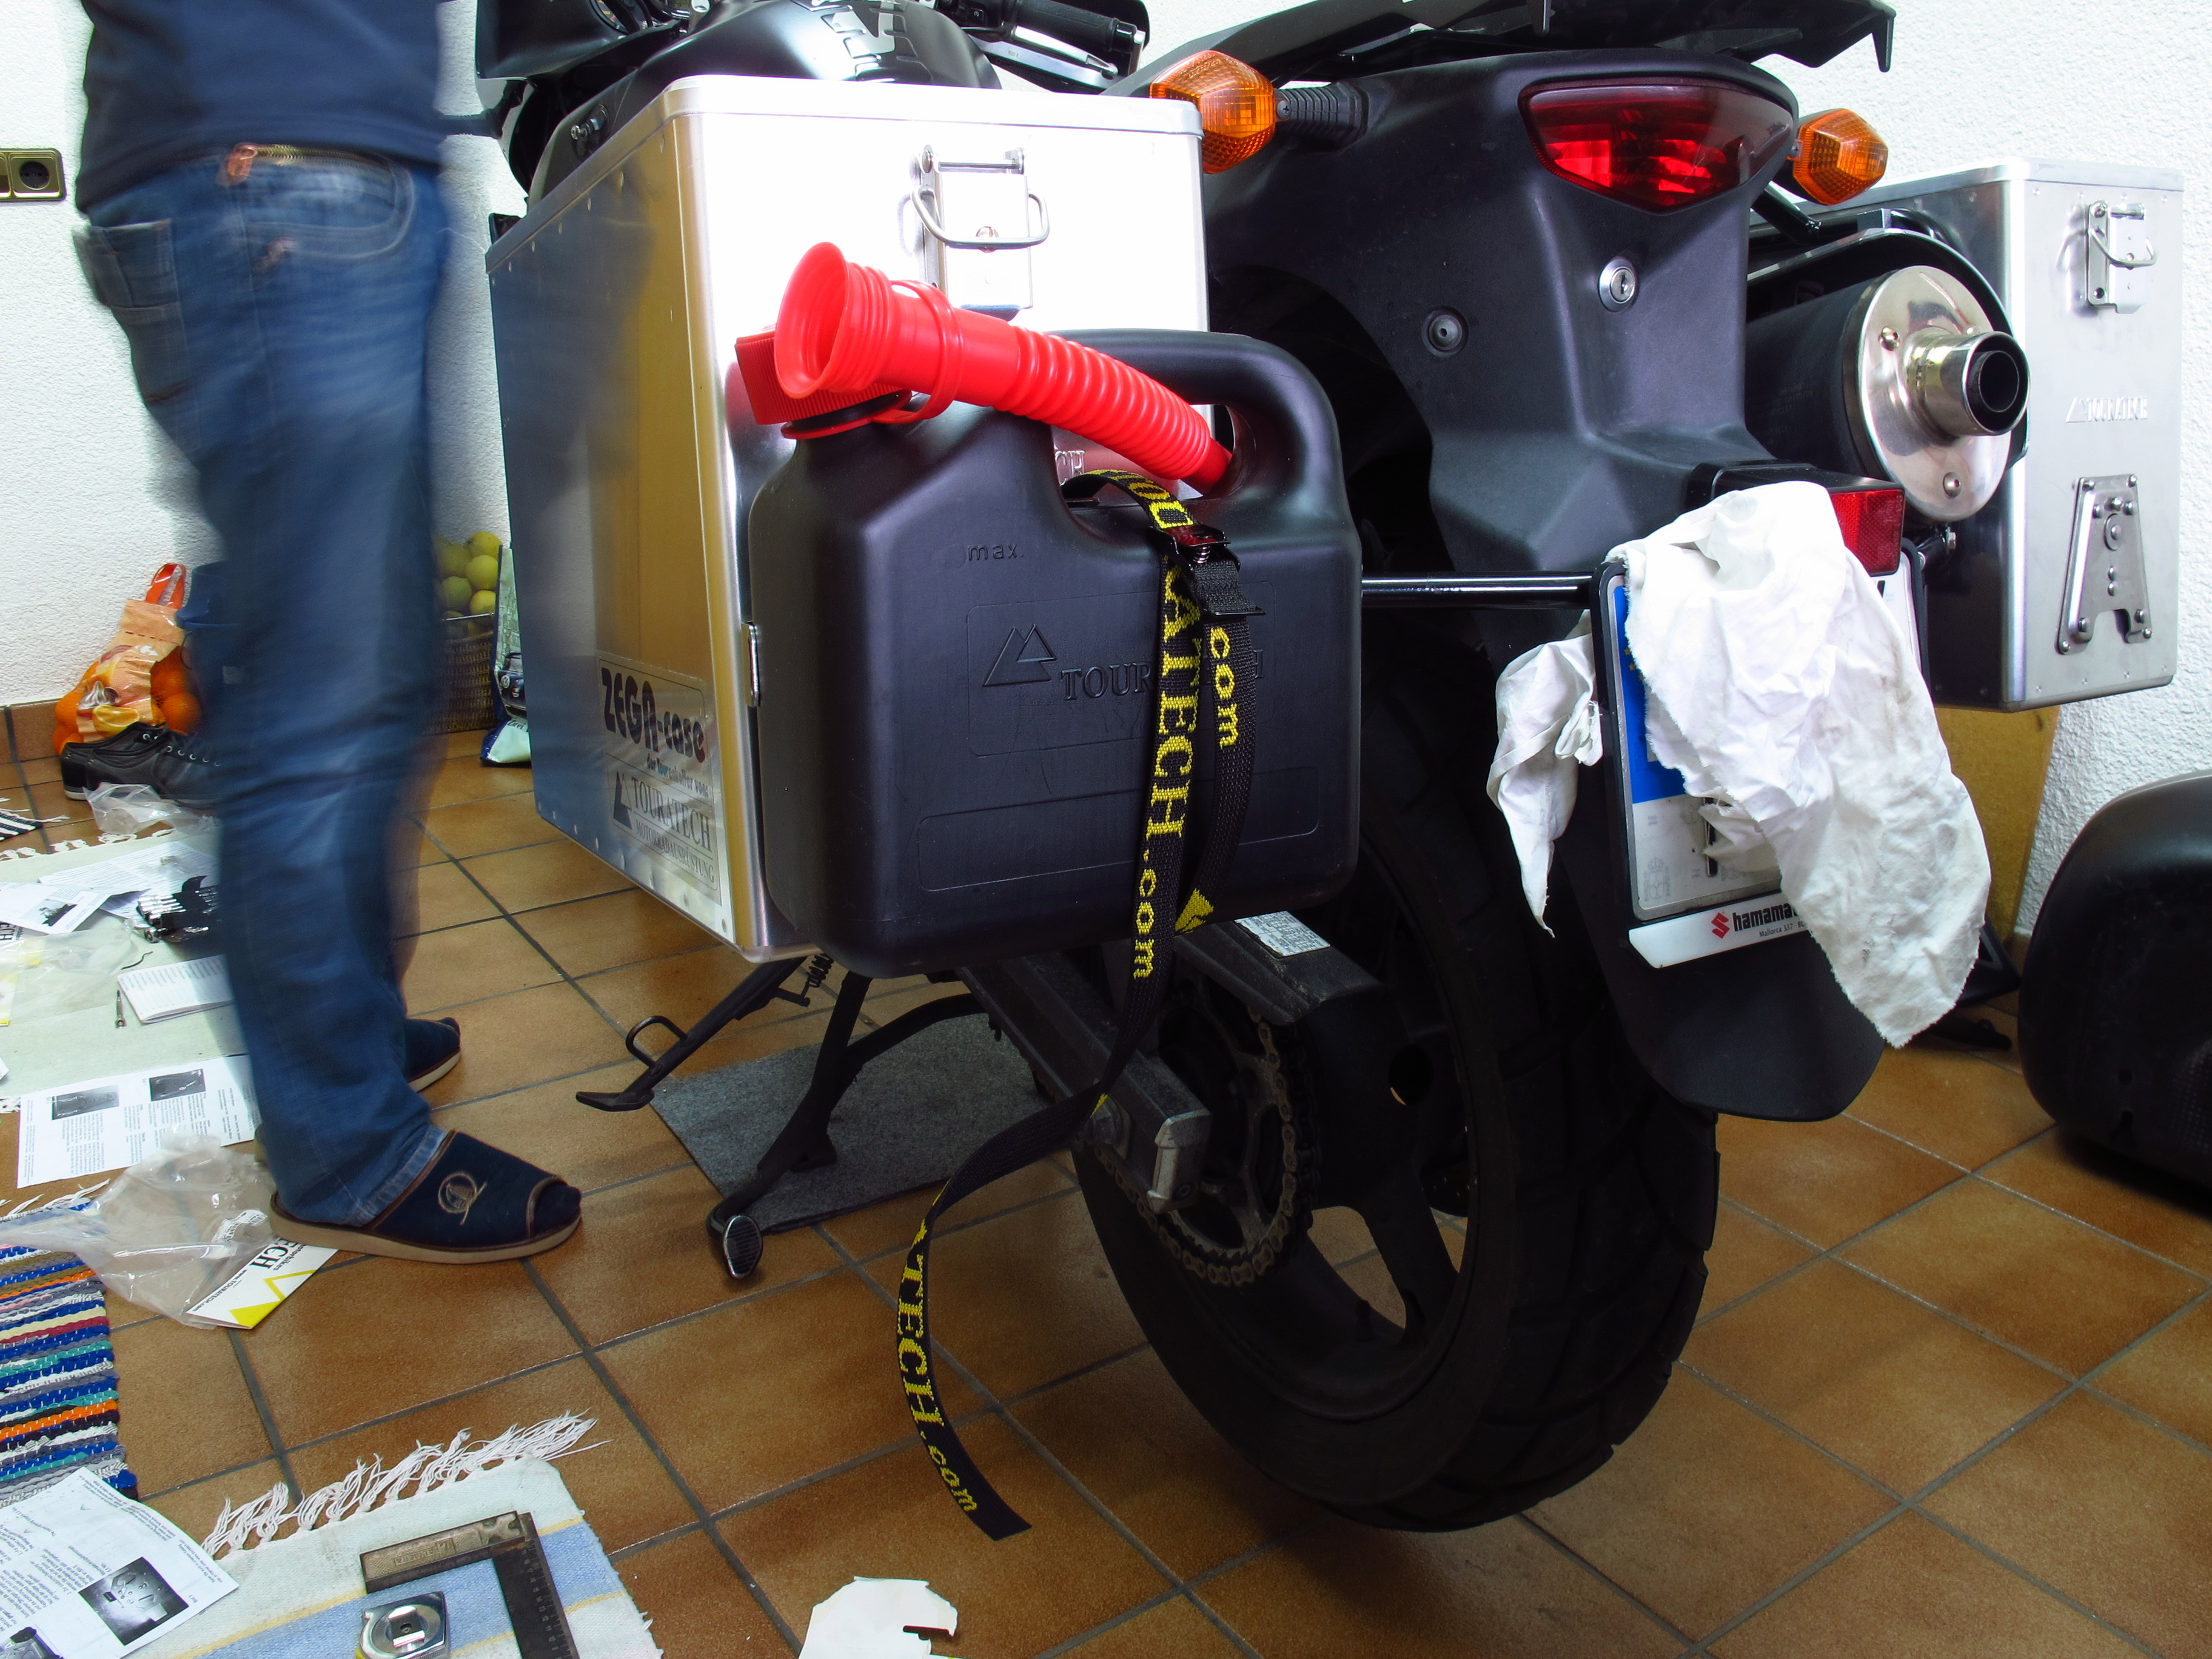
Now the panniers could be mounted on the bike, it was time to mark and drill the holes for the mounting plates that support the accessories I had bought for them: a holder for a 3-litre jerrycan and another one for a couple of bottles.


It was now time to install the GPS mount and the wiring that will keep it charged while it is attached to it. I did have to remove all the plastic fairings from both sides of the bike, but luckily I managed to get the wire through the front fairing and under the fuel tank without having to remove these.
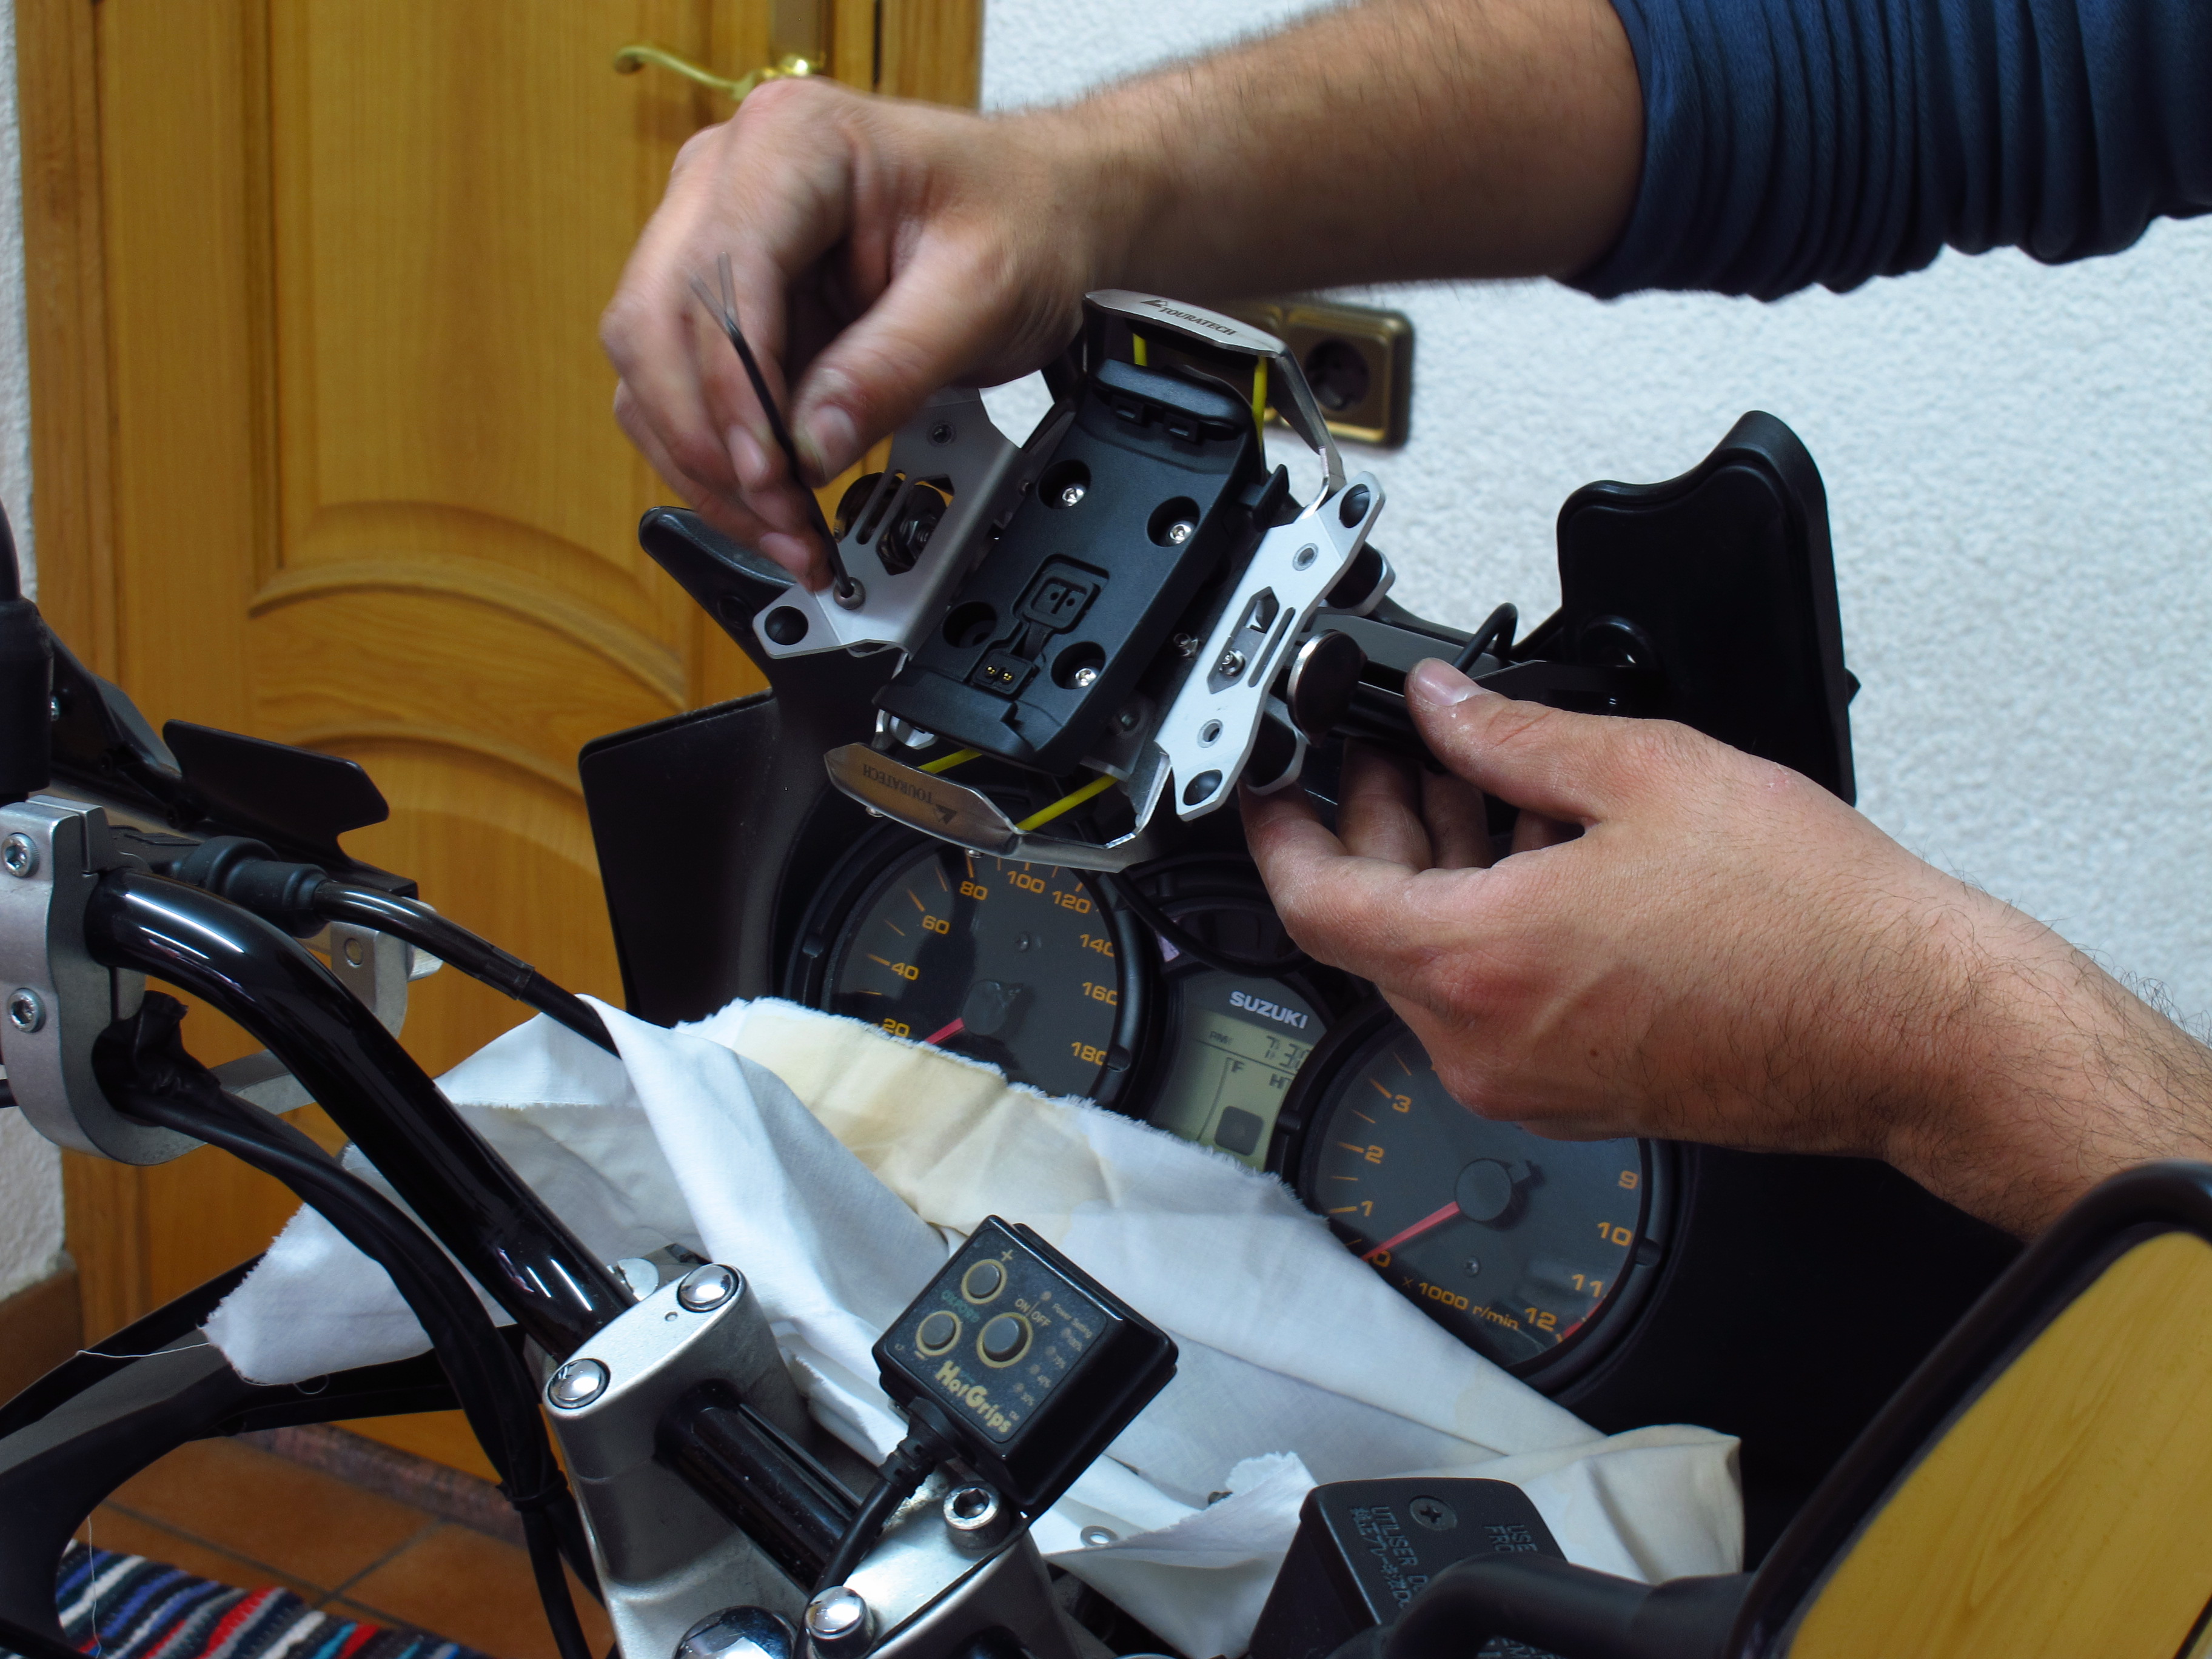
The Garmin Zumo I bought came with a RAM mount kit, but I prefer to use this one, as it is lockable, so I do not need to remove the unit every time I stop. I will recycle the RAM mount for the SPOT tracker.
Finally, I put everything back together and tested the GPS. It works!
This is how the bike looks now:


Looking good comrade, that’s exactly how I did mine. The Strom is an excellent choice too BTW – ride what you have/love. Bon voyage brother. There’s a bed and a beer here if your ever in blighty. x