How to carry two tires all the way to Volgograd and other stories

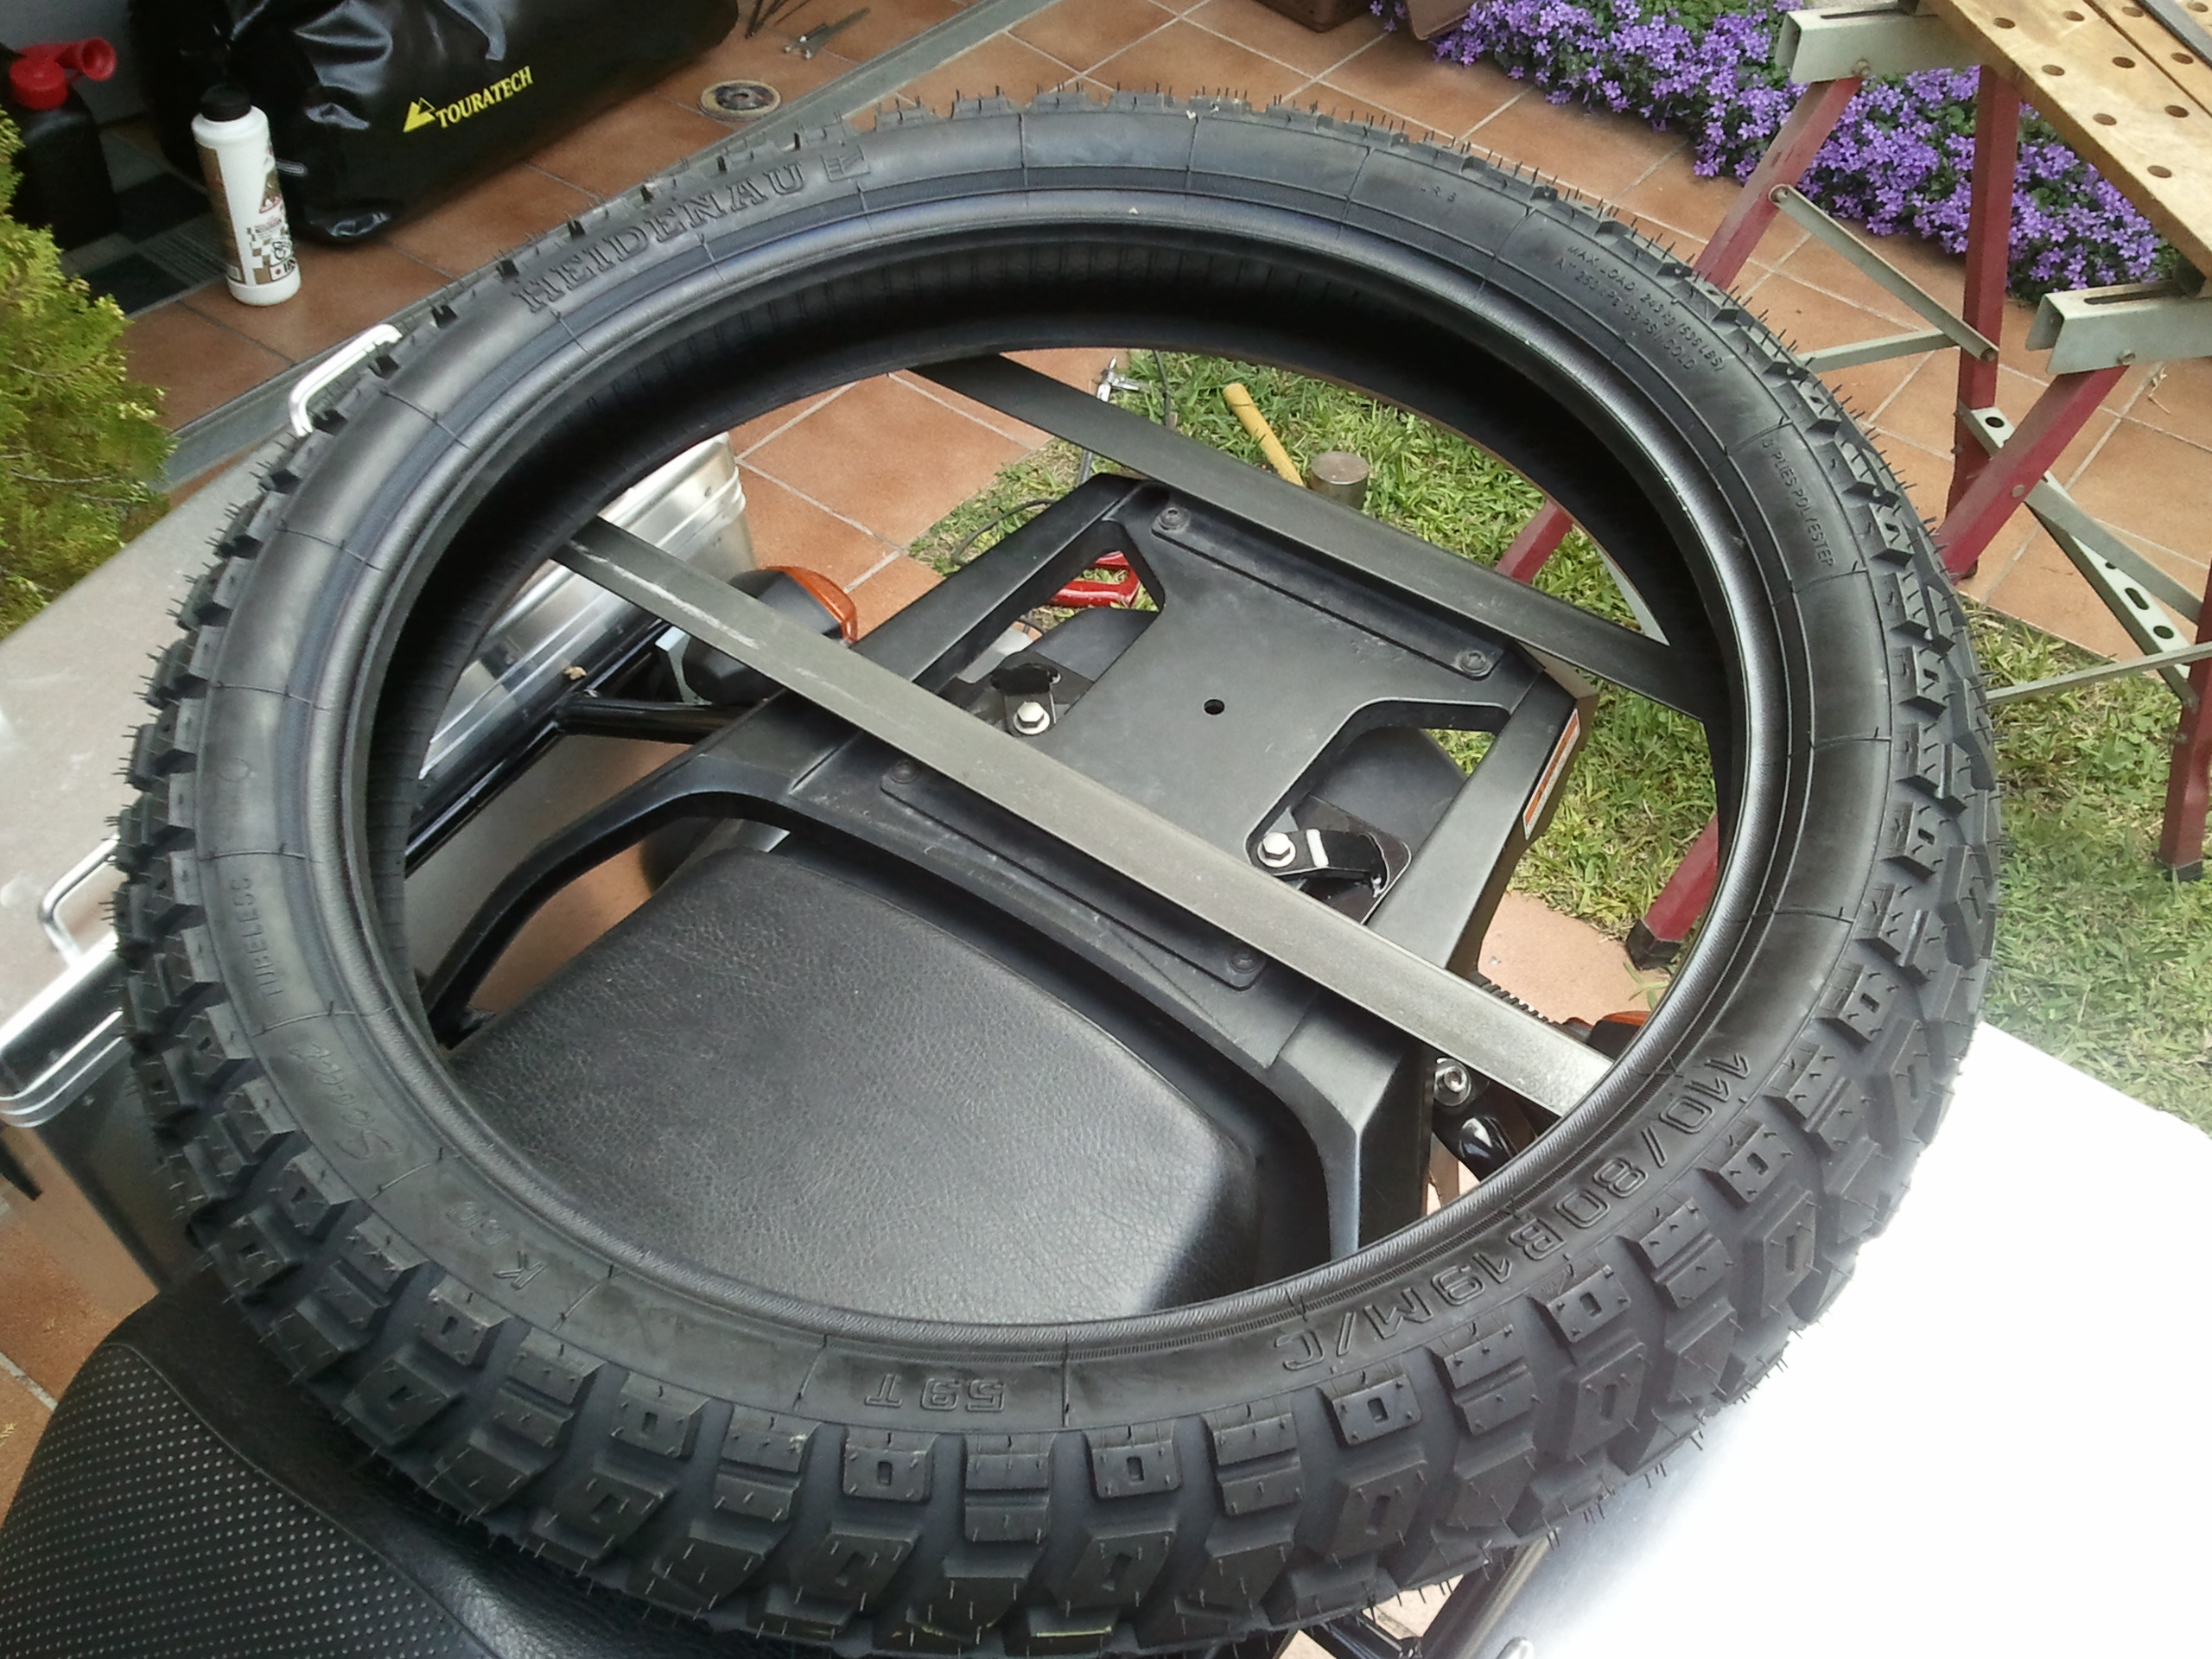
Tires are an important piece of kit for trips like this, and in my case the subject of much thought – not so much about which tires to use, but whether I should take a set with me or not.

I had decided that I would ride Europe in the tires I already have – a set of Michelin Anakee 2, they have plenty of thread left and lots of people have got very hard mileages out of them – and then swap them for a set of Heidenau K60s in Volgograd before starting the roughest part of the trip.

Most people say that it is hard to find the sizes I need for my bike in Russia, let alone Kazakhstan or Mongolia, so I could find a workshop when the moment came to change them and wait for them to order and have a set delivered, I could buy a set myself and send them ahead of me for them to be ready when I got to Volgograd or I could carry them with me from the start.

Waiting for tires to be delivered was not an option, since I do not want to spend any longer than necessary unless there is a problem, and forwarding them required having a contact in Volgograd to pick them up and store them, and they might be made to pay import taxes upon delivery. I imagine I could have arranged that through the HUBB, but it was too much hassle and I liked the idea of having a couple of spares with me if a puncture can not be easily fixed with a repair kit. I could always limp to or arrange to have the bike transported to the nearest workshop and have the tire changed.

So having made the decision to take the tires with me, I spent the weekend studying different ways to secure them to the bike.

I carry my camping/cooking equipment on one pannier;  the tools, repair kit, spares, maintenance kit on the other;  the paperwork, important items,  laptop, camera, etc. on the tank bag and the clothes, first aid kit and sewing kit on a waterproof rack bag.

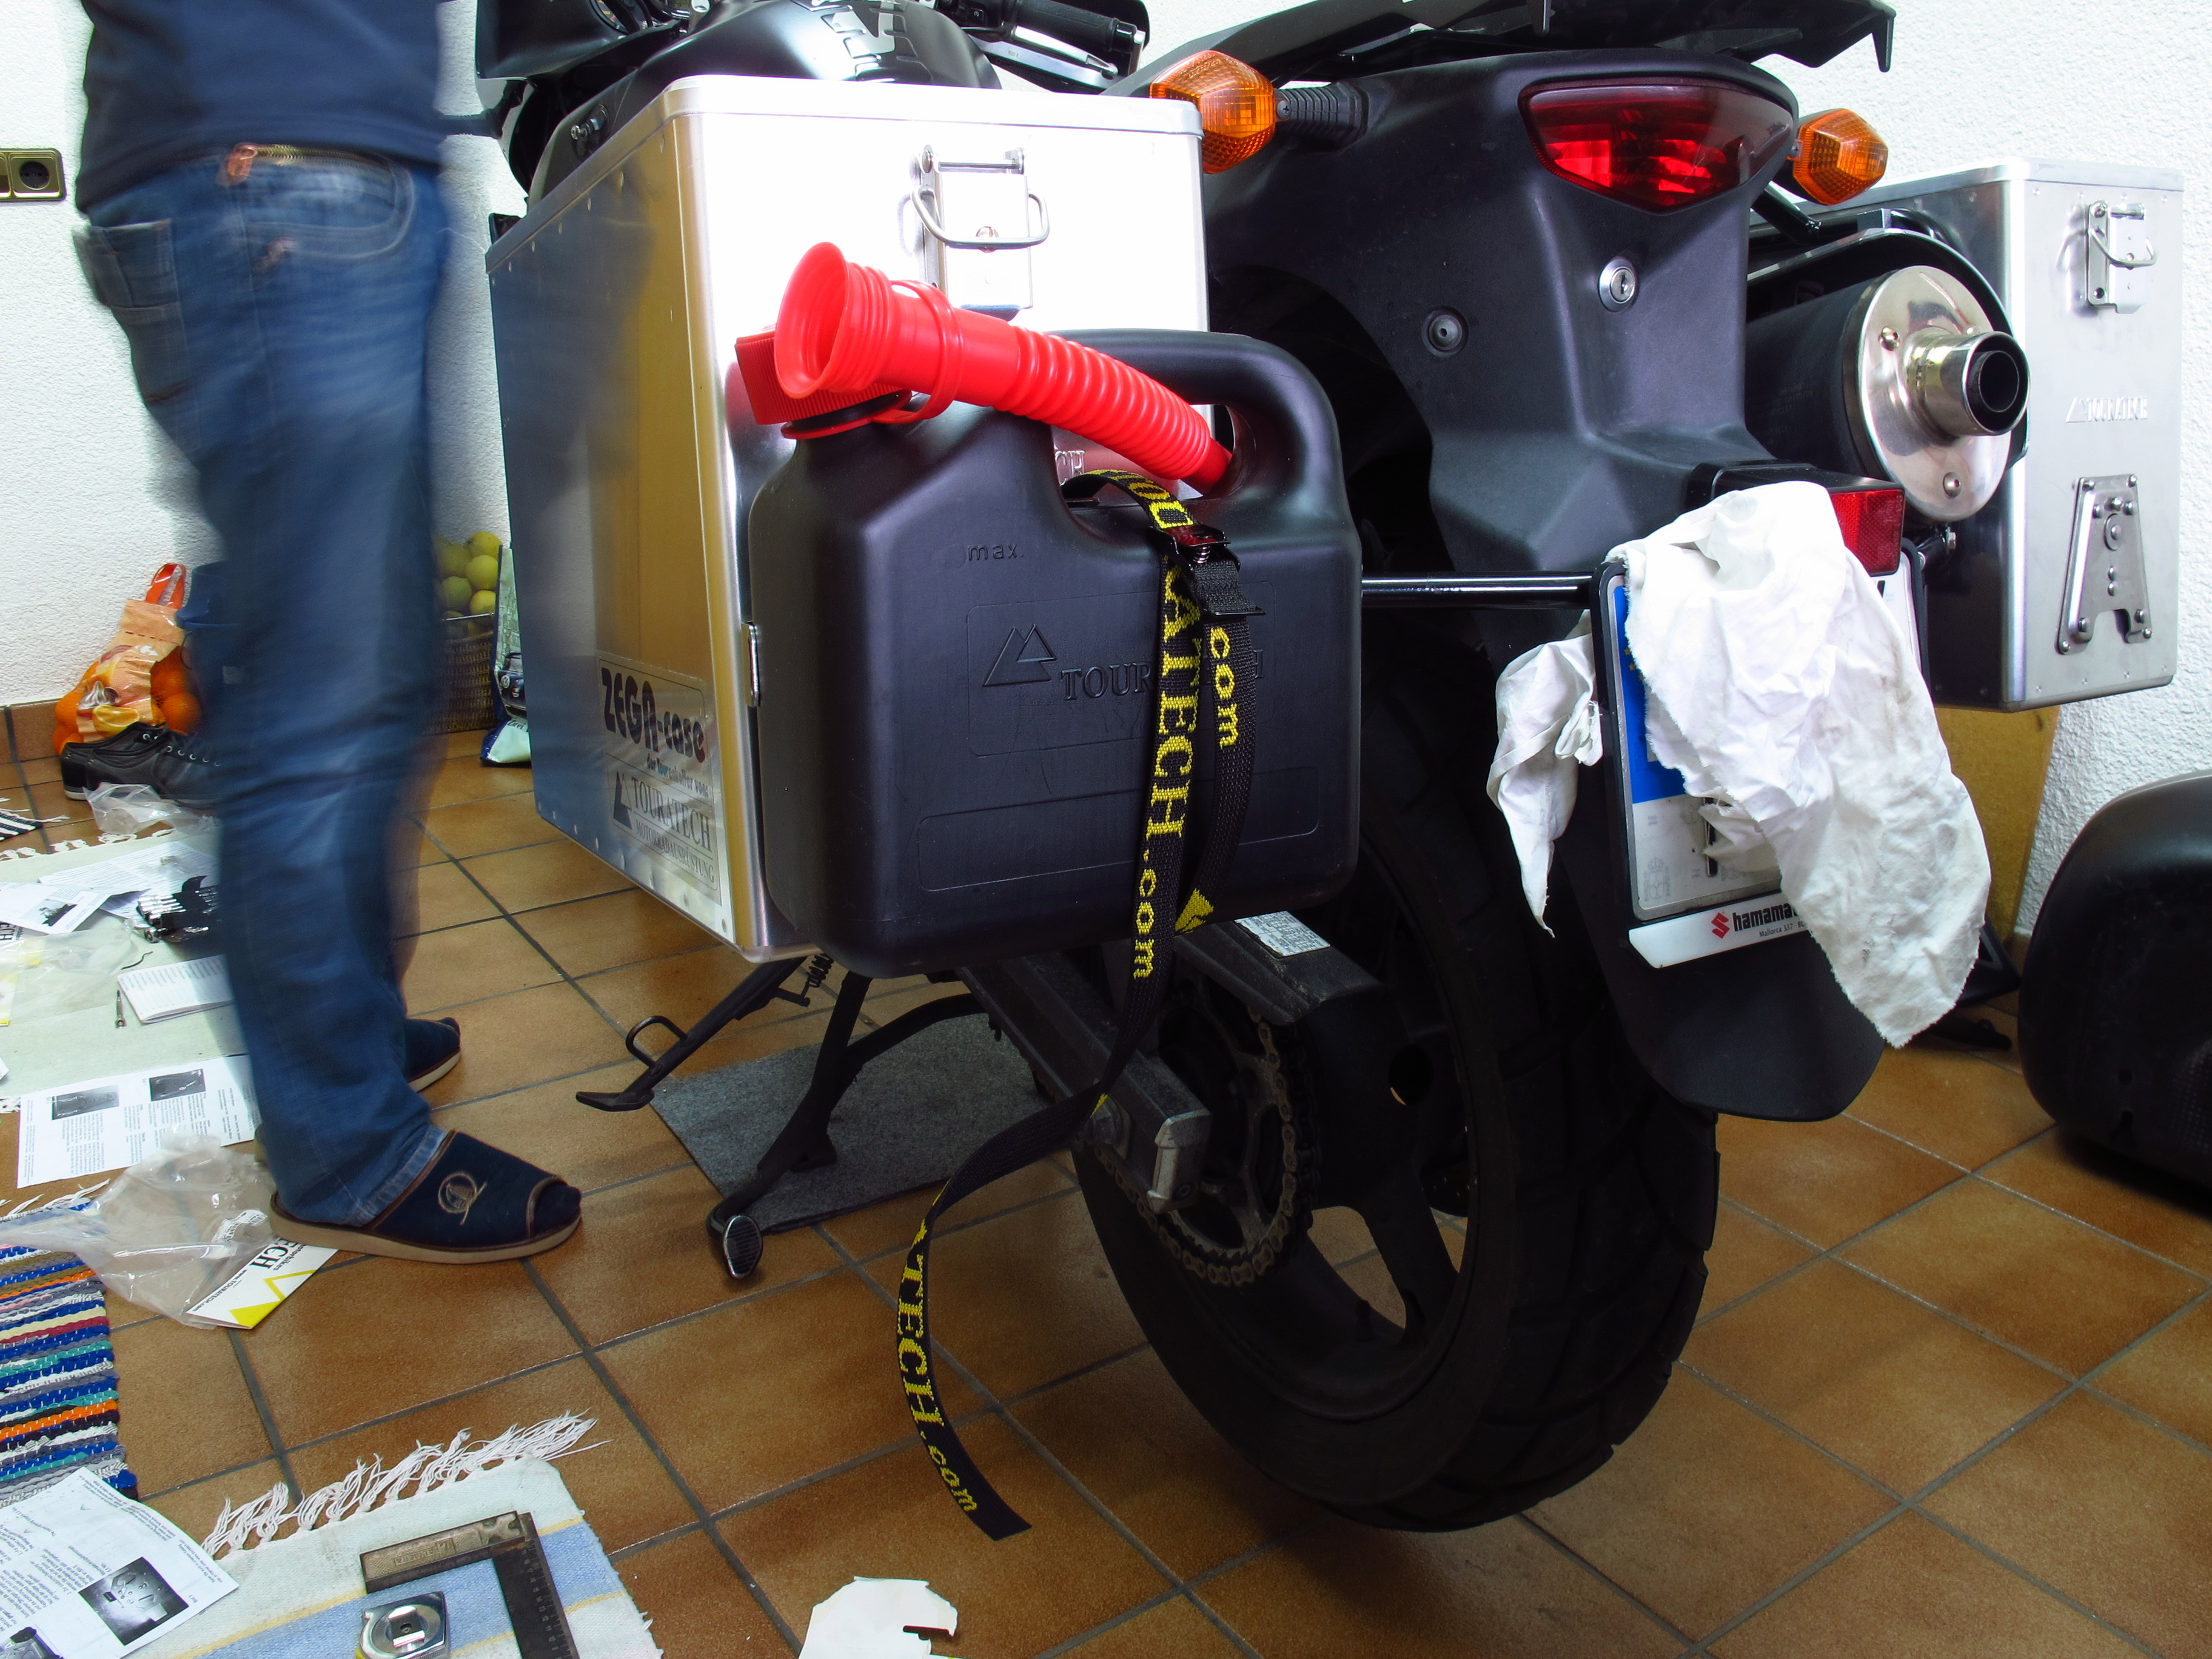
I quickly discarded the option of hanging the tires on the back of the bike – it pushed the CoG too far back and there are already a jerrycan and oil and grease bottles back there, not to mention that they would partially cover the rear light or the exhaust or the license plate depending on the position.

I have not fitted any tank saddlebags and I had seen pictures of a guy who had slung his tires over the tank and had them hanging on both sides of the bike. I tried that, but they are too big and when strapped tight they interfered with either my legs or the front wheel.

So they would have to share the rack and passenger seat space with my rack bag.

I tried different positions – the bag first and the two tires vertically behind it, the other way round, one tire standing behind me and another at the back, with the bag in between, one tire standing, the other flat and the bag on it, even have the tires standing on the panniers and the bag fitted through them… All positions looked awkward and had several disadvantages – water would accumulate on the inside of the tires, they stood too tall, I would have to remove them every time I wanted to take something from the bag or the bag itself (and that’s every single day)…

I did not want to have to remove them until the moment came to use them, the idea was to strap them securely and then lock them to the rack with a cable and a padlock the make them harder to steal. In the end then, the best position was to lay them flat and put the bag on top of them.

There were two thing I did not like about this option – the whole thing was rather tall (it almost reaches to my shoulders) and there was a big unused space inside the tires. However, after some thinking I found a good compromise.

I was going to carry my provisions inside the rack bag (I got it big because I did not want to carry too many smaller ones), but if I used the space in the tires to carry them the bag would be emptier. Not only that, but the stuff inside would be easily compressible (mostly clothes) so it would flatten more against the tires and enable me to roll the top of the bag more times, thus making it more waterproof. It was decided.

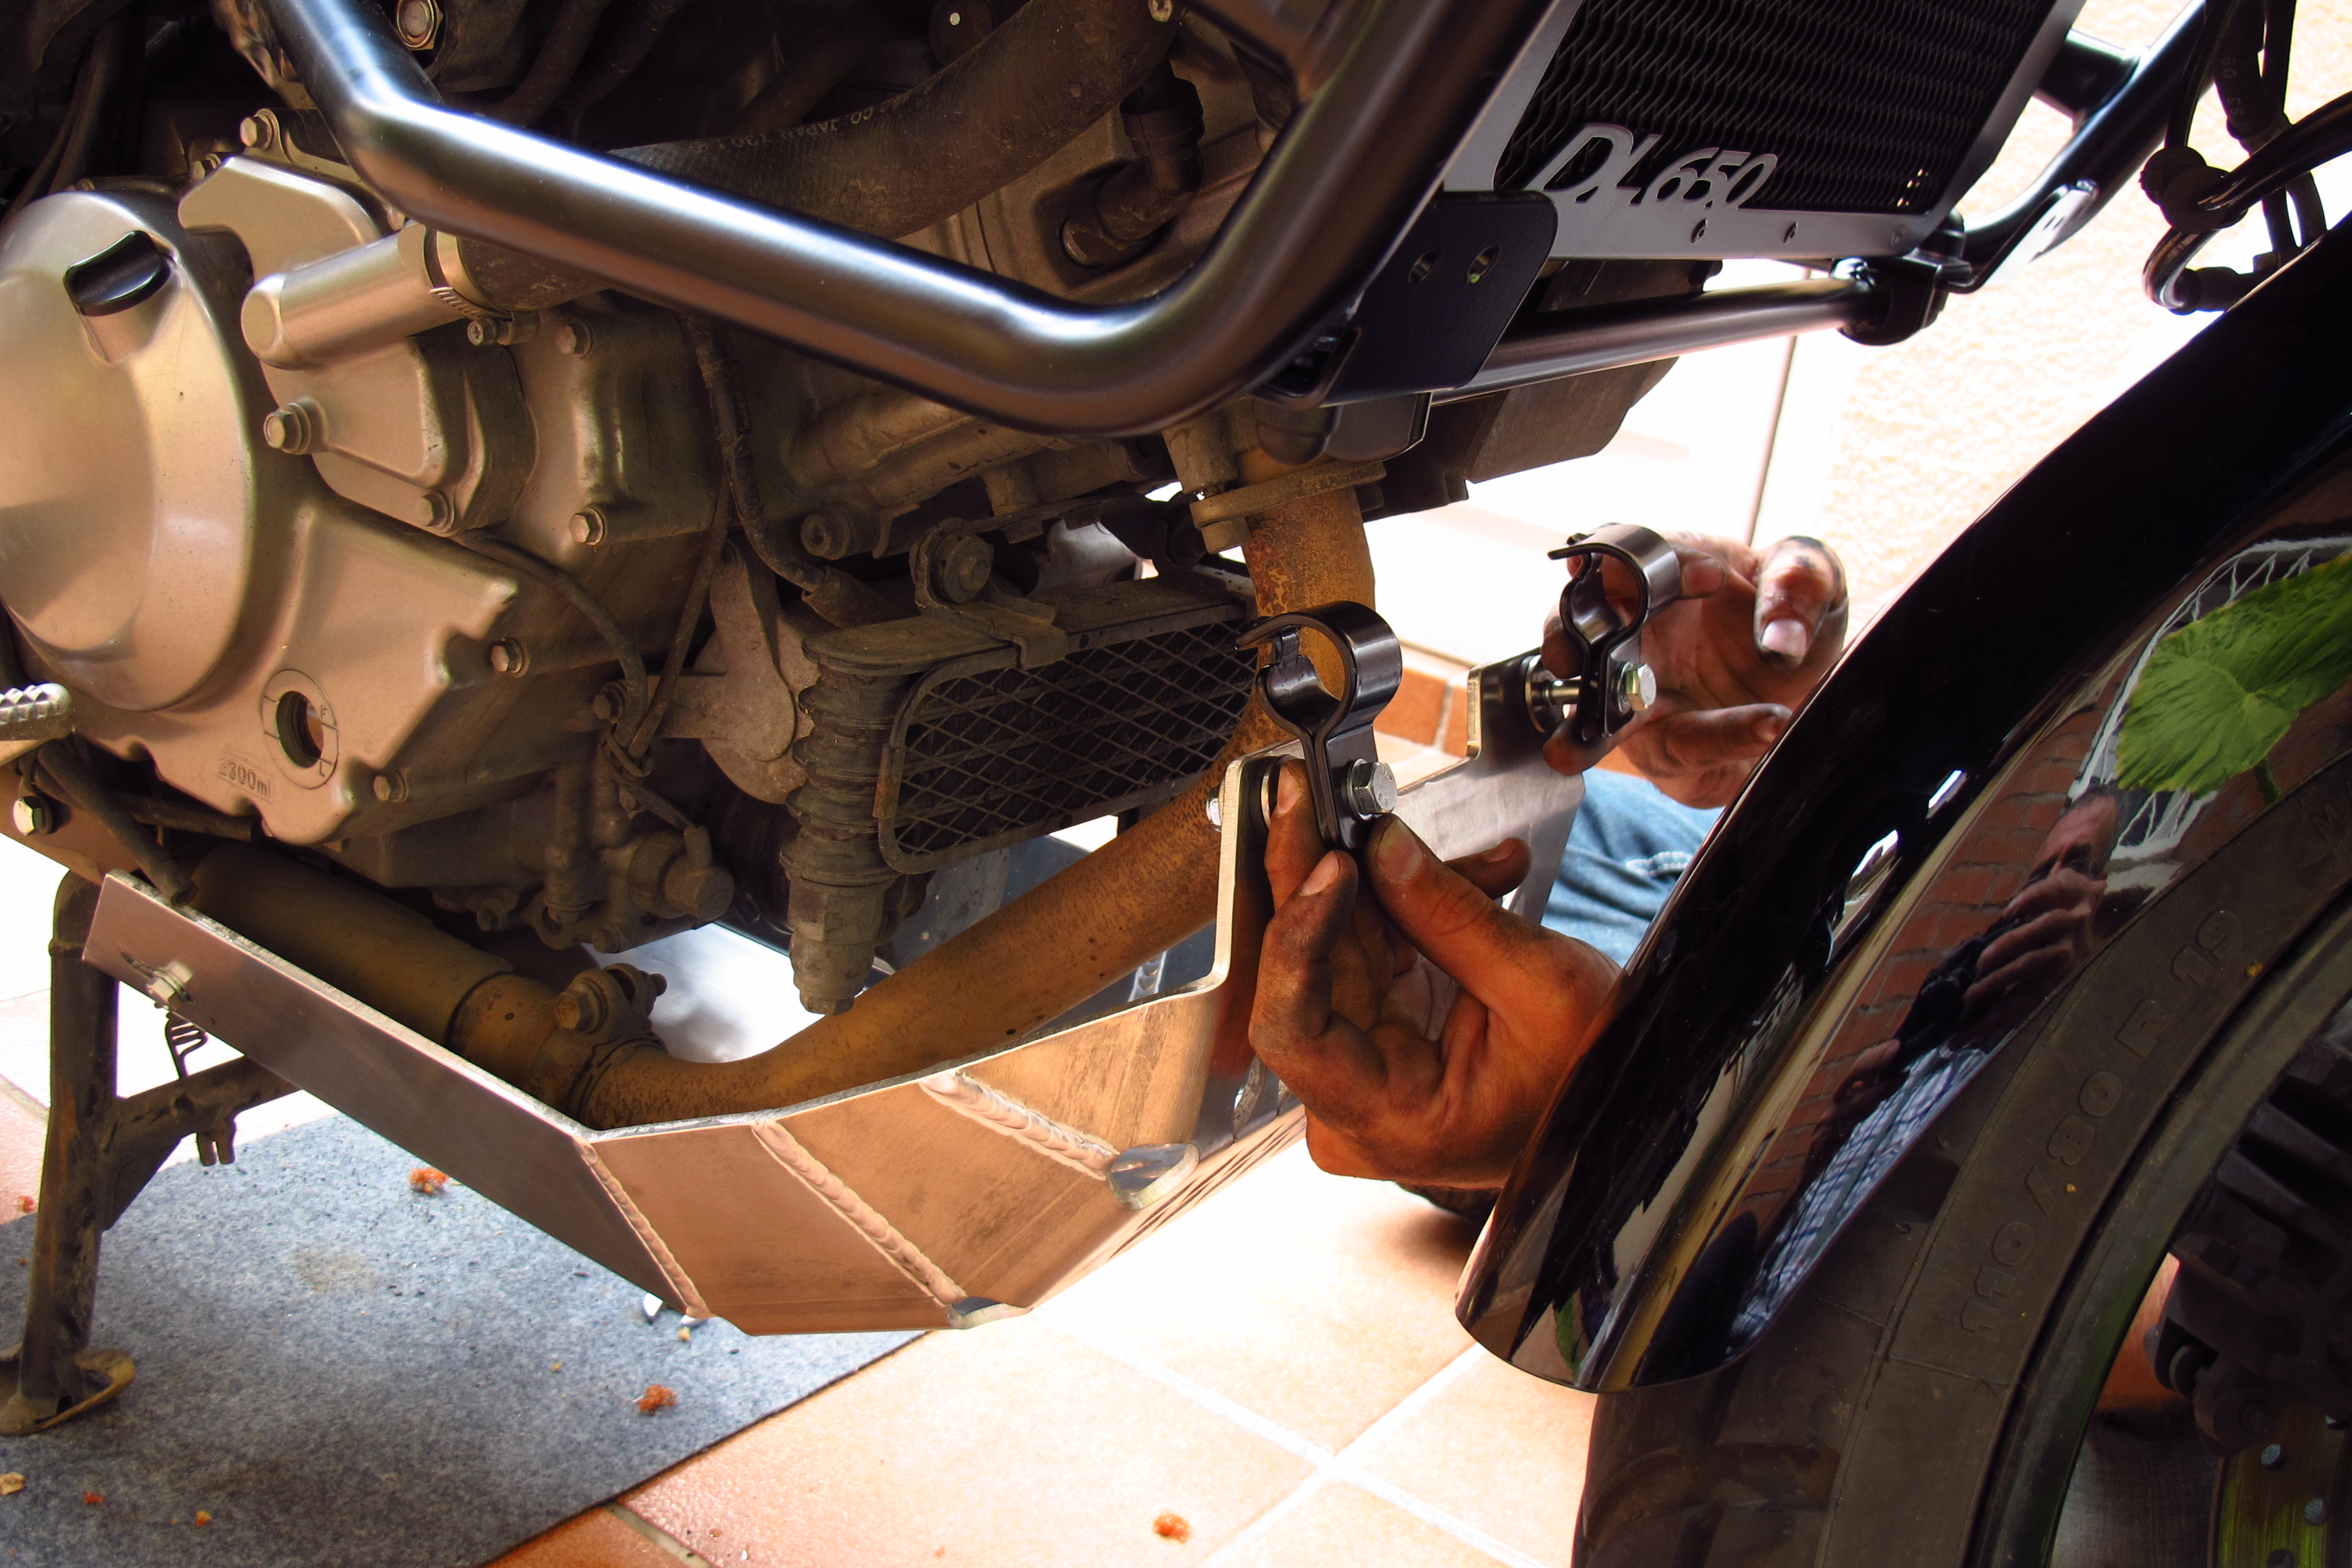
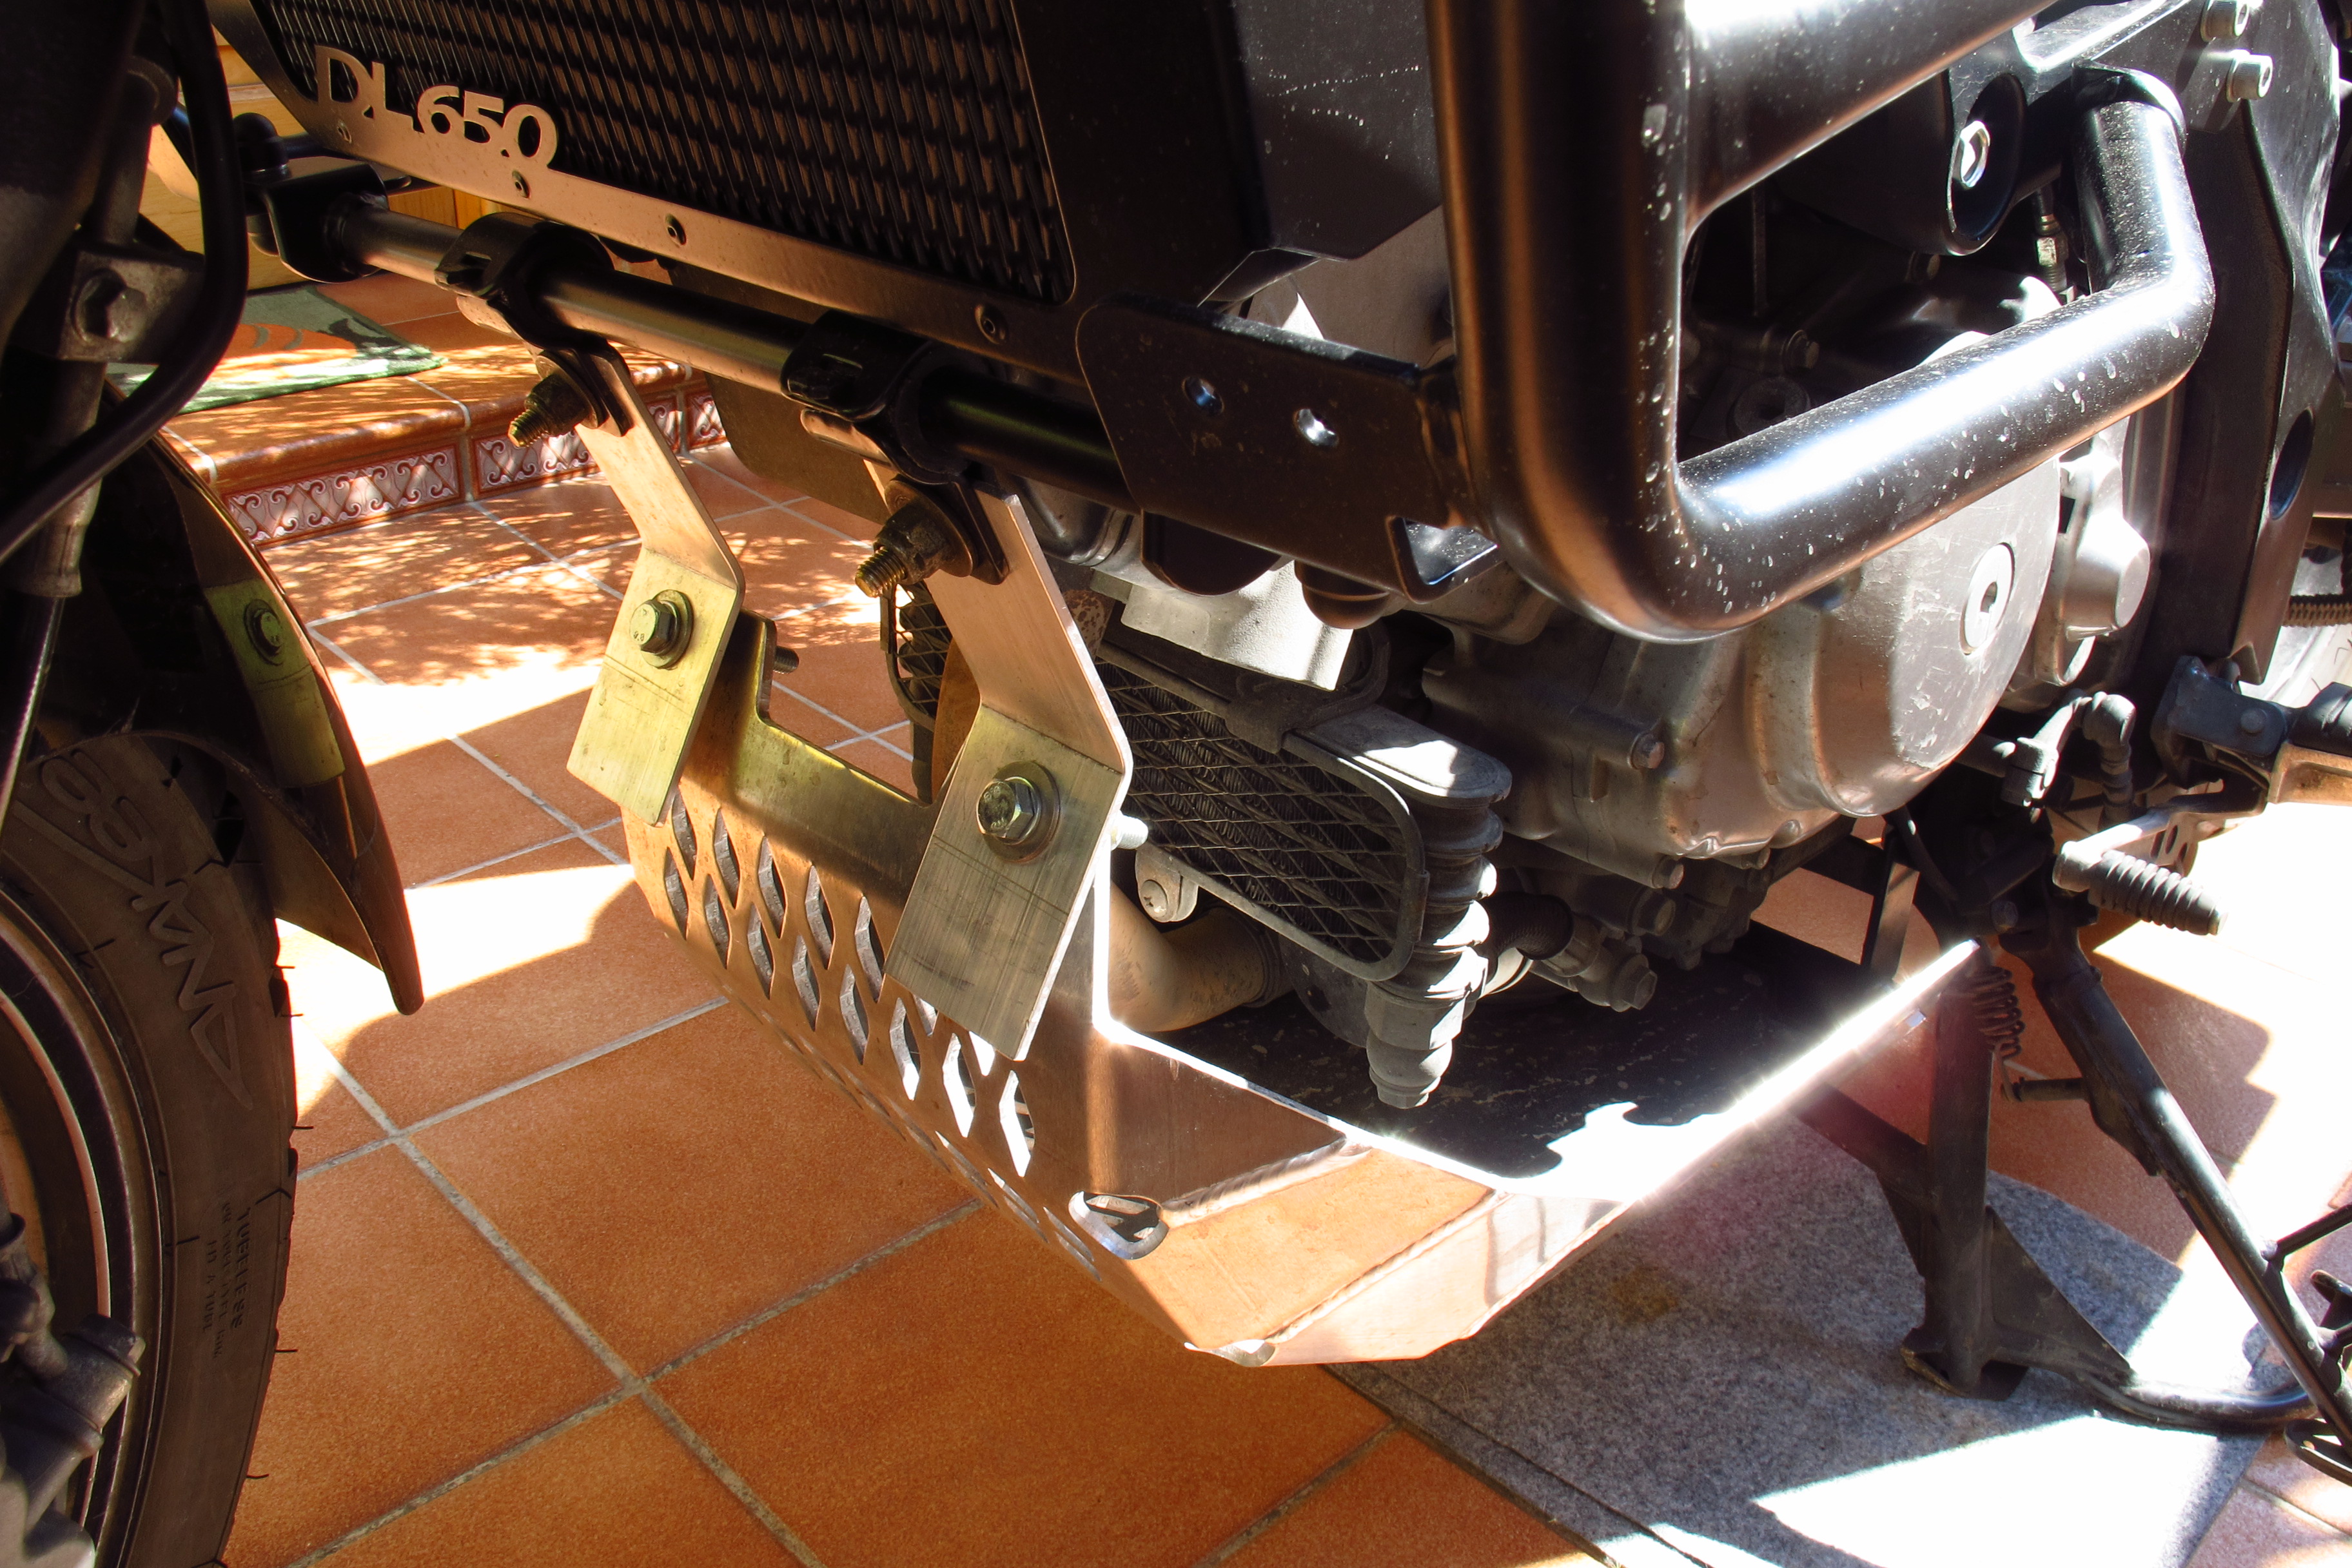
Lying flat on the seat and the rack, the tires took quite a lot of space, and if I sat comfortably without them touching my back, the were a couple of cm too far back, so they did not rest on the rack, which meant I had to do something to support them there. I had removed the top case but I had not fitted a base to the rack, there was only the original one, and I did not want to pay through the nose for a rack extension just to have one end of the tires rest on it, so I decided to make my own tire rack.

I got a couple of L section steel rails – aluminum was lighter, but it was too flexible, and the steel rails are very strong for what they weigh – and started to work on them to make them fit the mounting points on the bike rack.

IMG_59012013-05-12 12.19.42


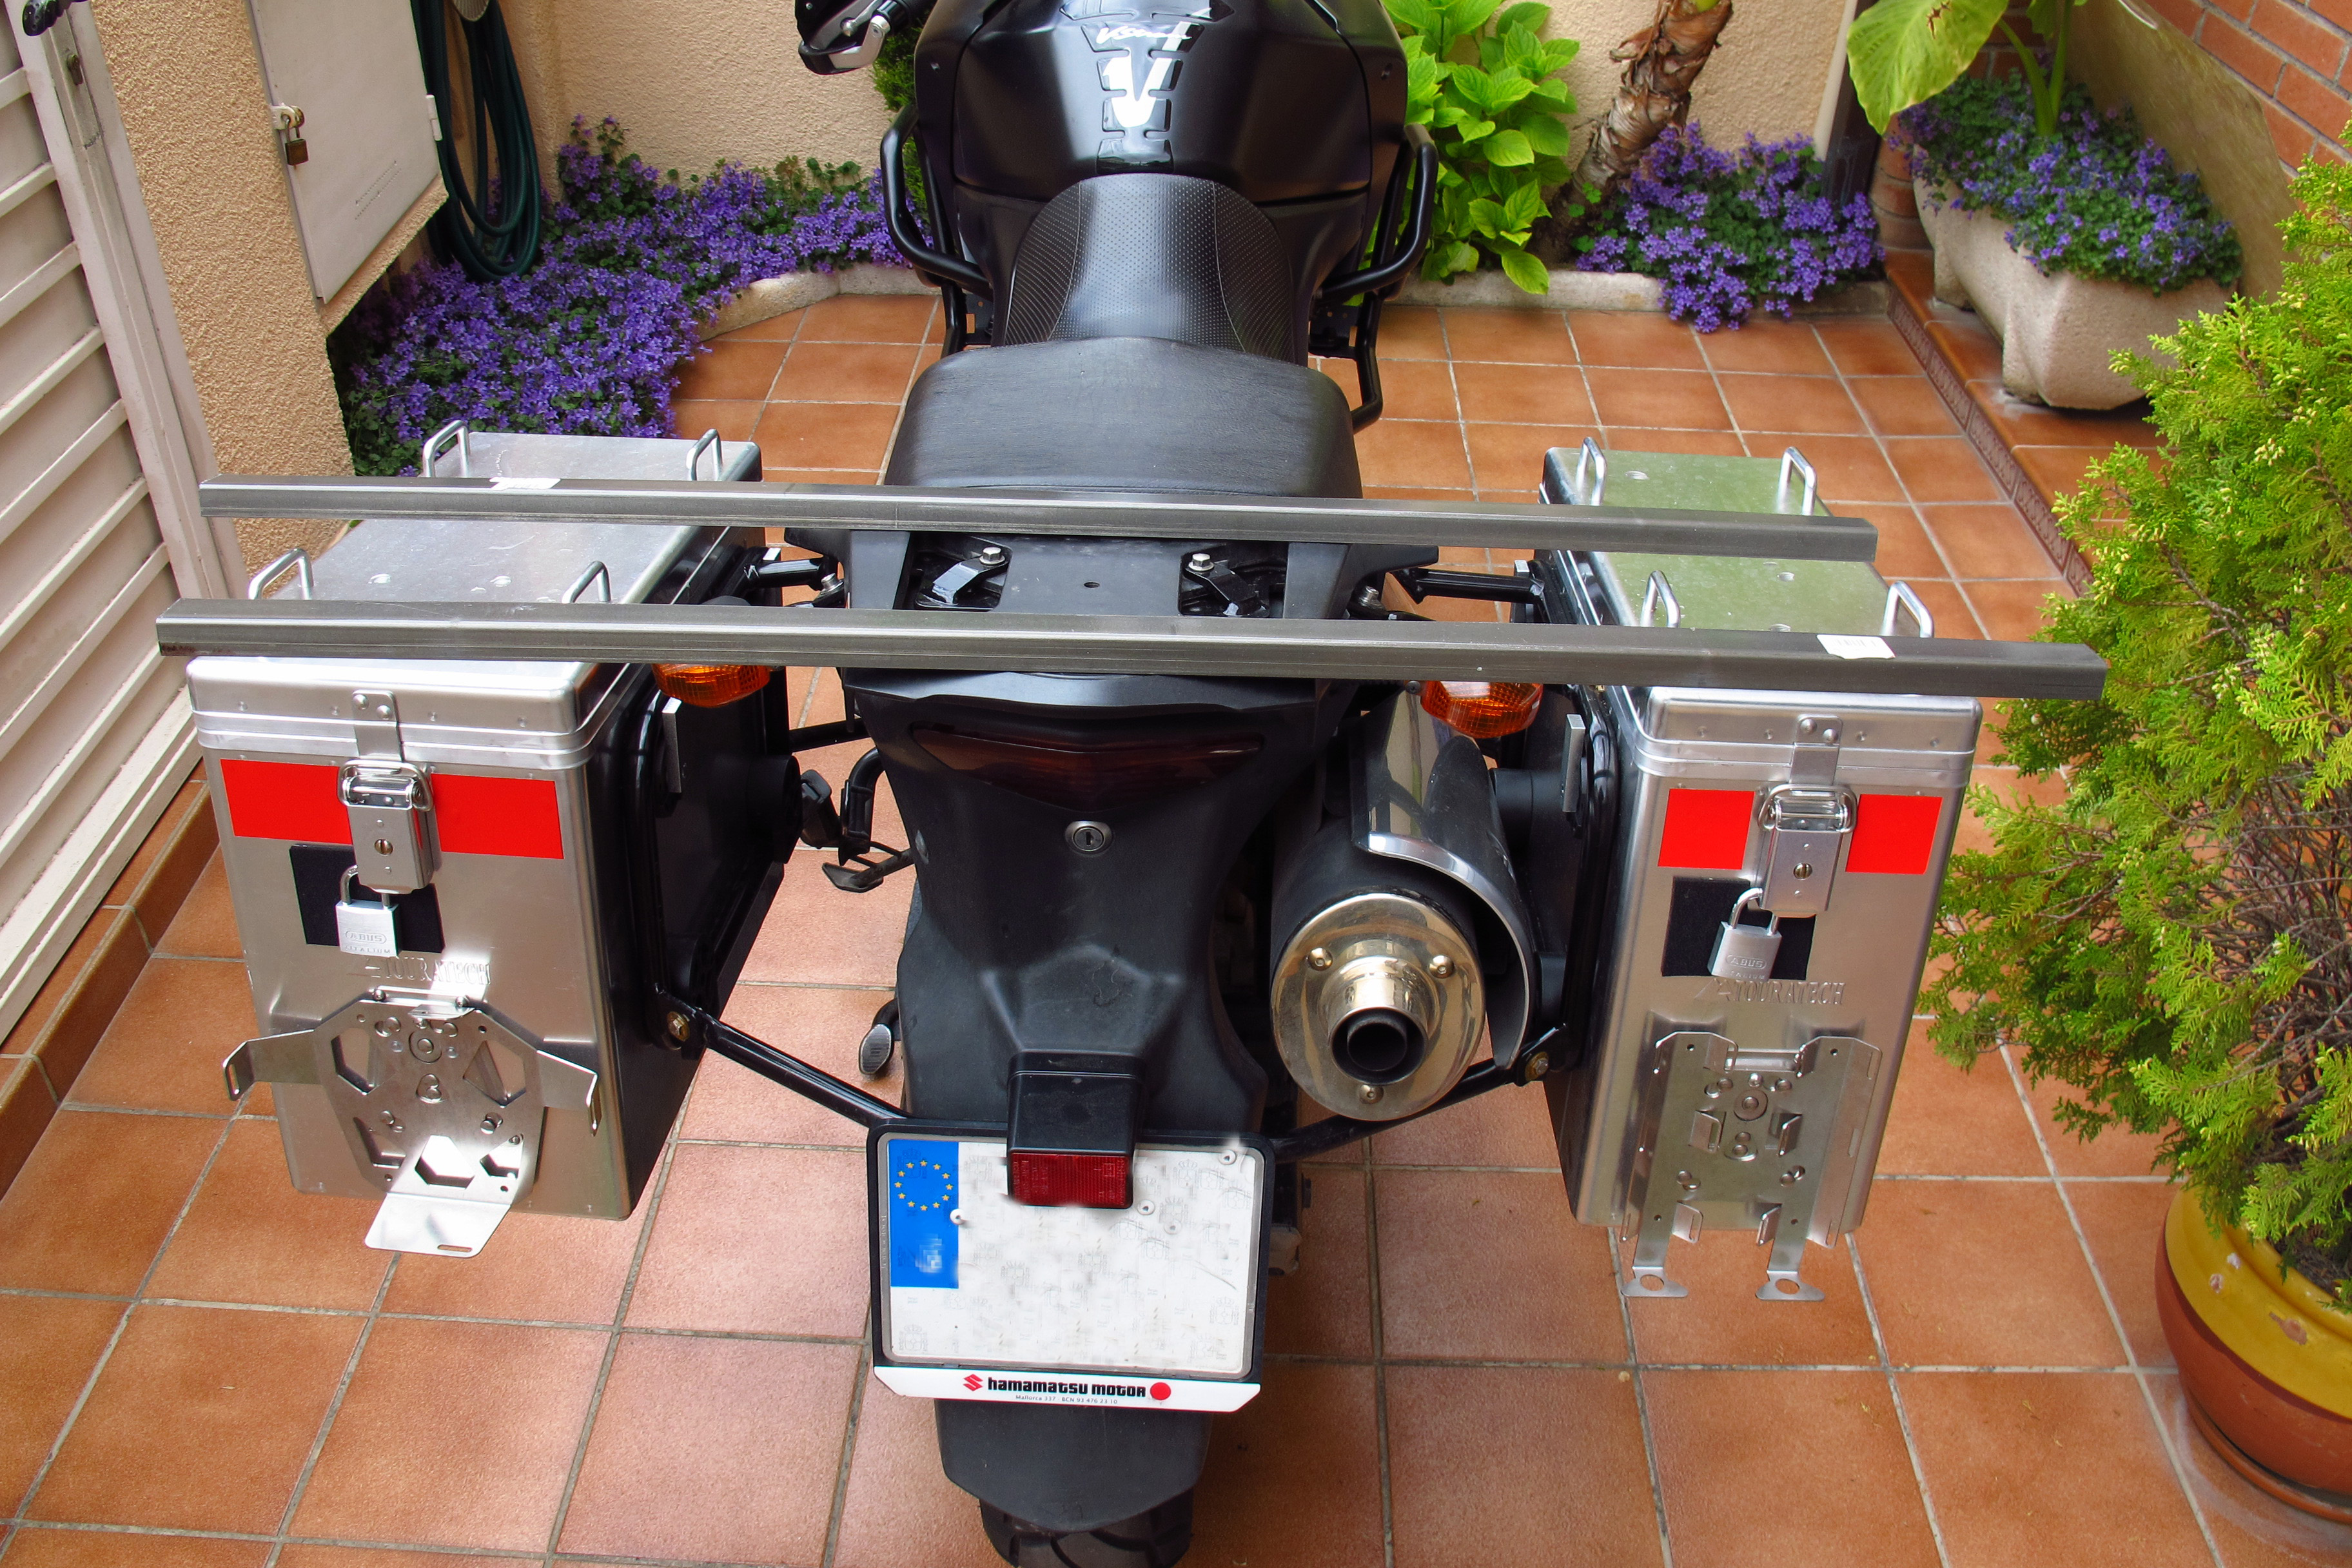
I have to say that I had the privilege of having my father’s assistance and advice on this, a natural-born engineer (and one of the best I know, at that) so for the price of a couple of bits of metal and a few hours of work in great company I got a perfect custom-made tire rack. Suck that up, Touratech.

2013-05-12 11.55.47


2013-05-12 12.05.07

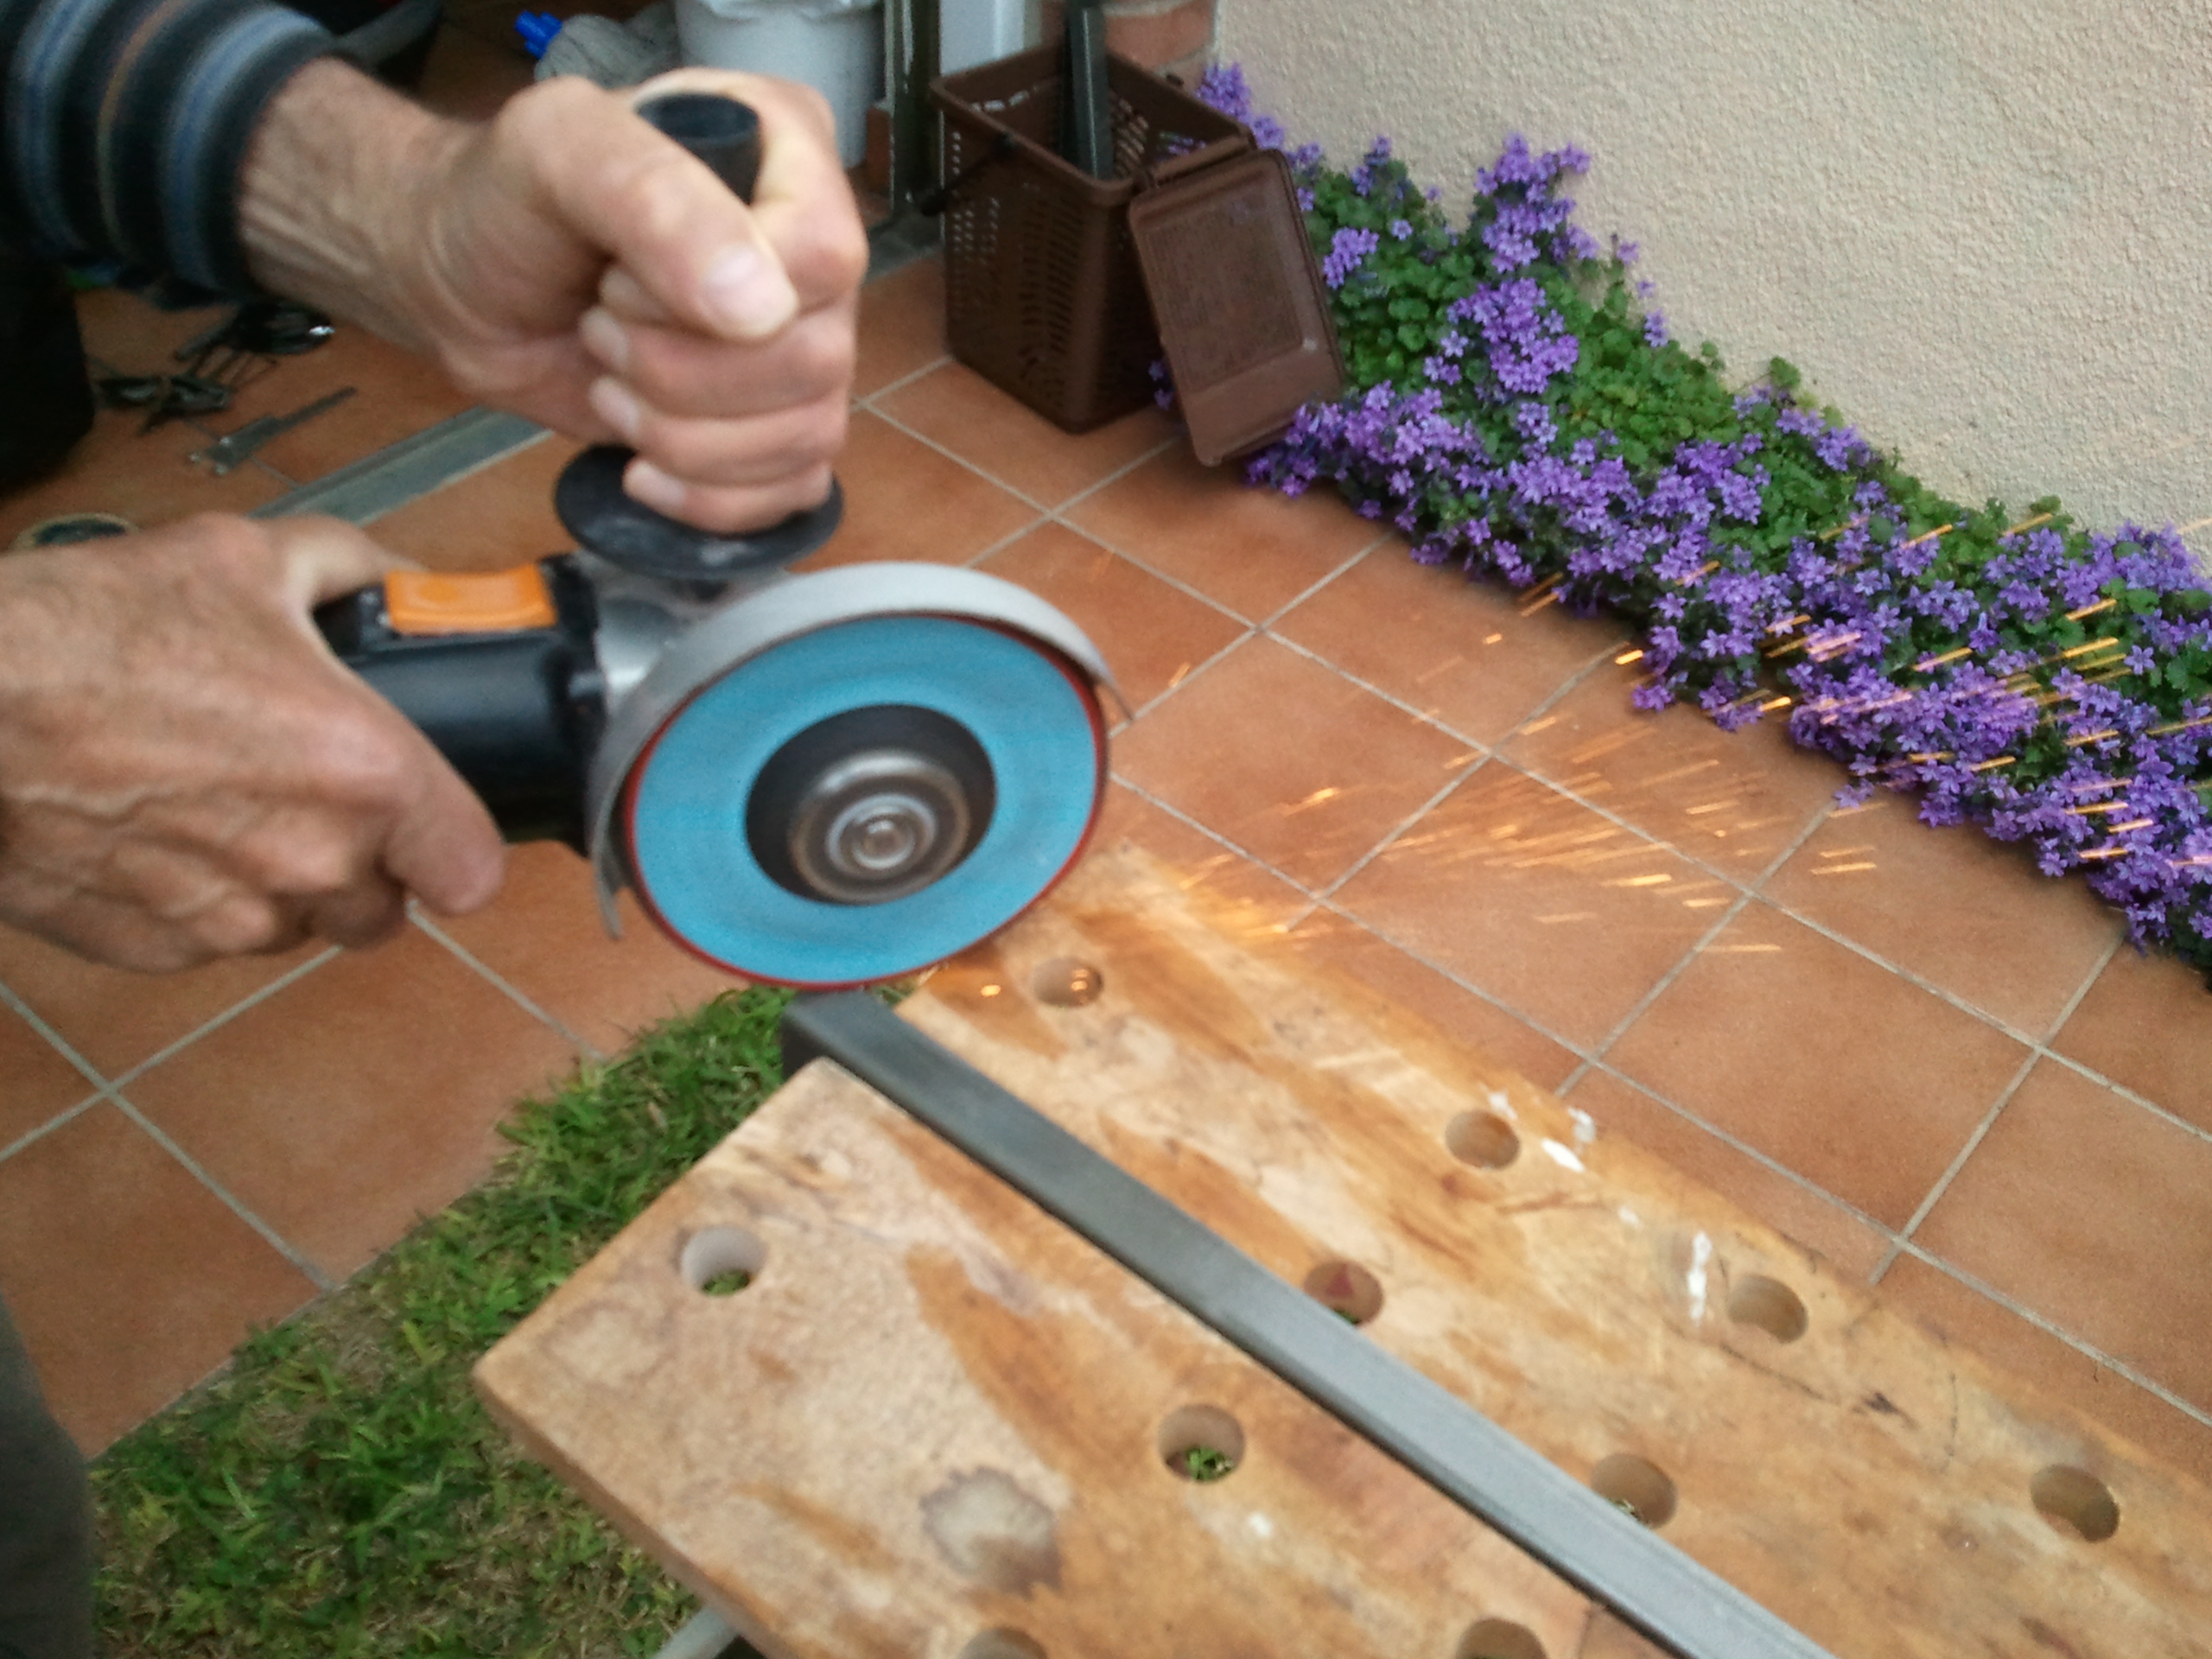
We cut them to the appropriate length, filed off the edges, shaped the lower side to make it fit flush with the bike rack without losing any structural rigidity and drilled the mounting points and while we were at it, a whole at each end that makes a handy attachment point.

2013-05-12 12.19.59


2013-05-12 12.50.10

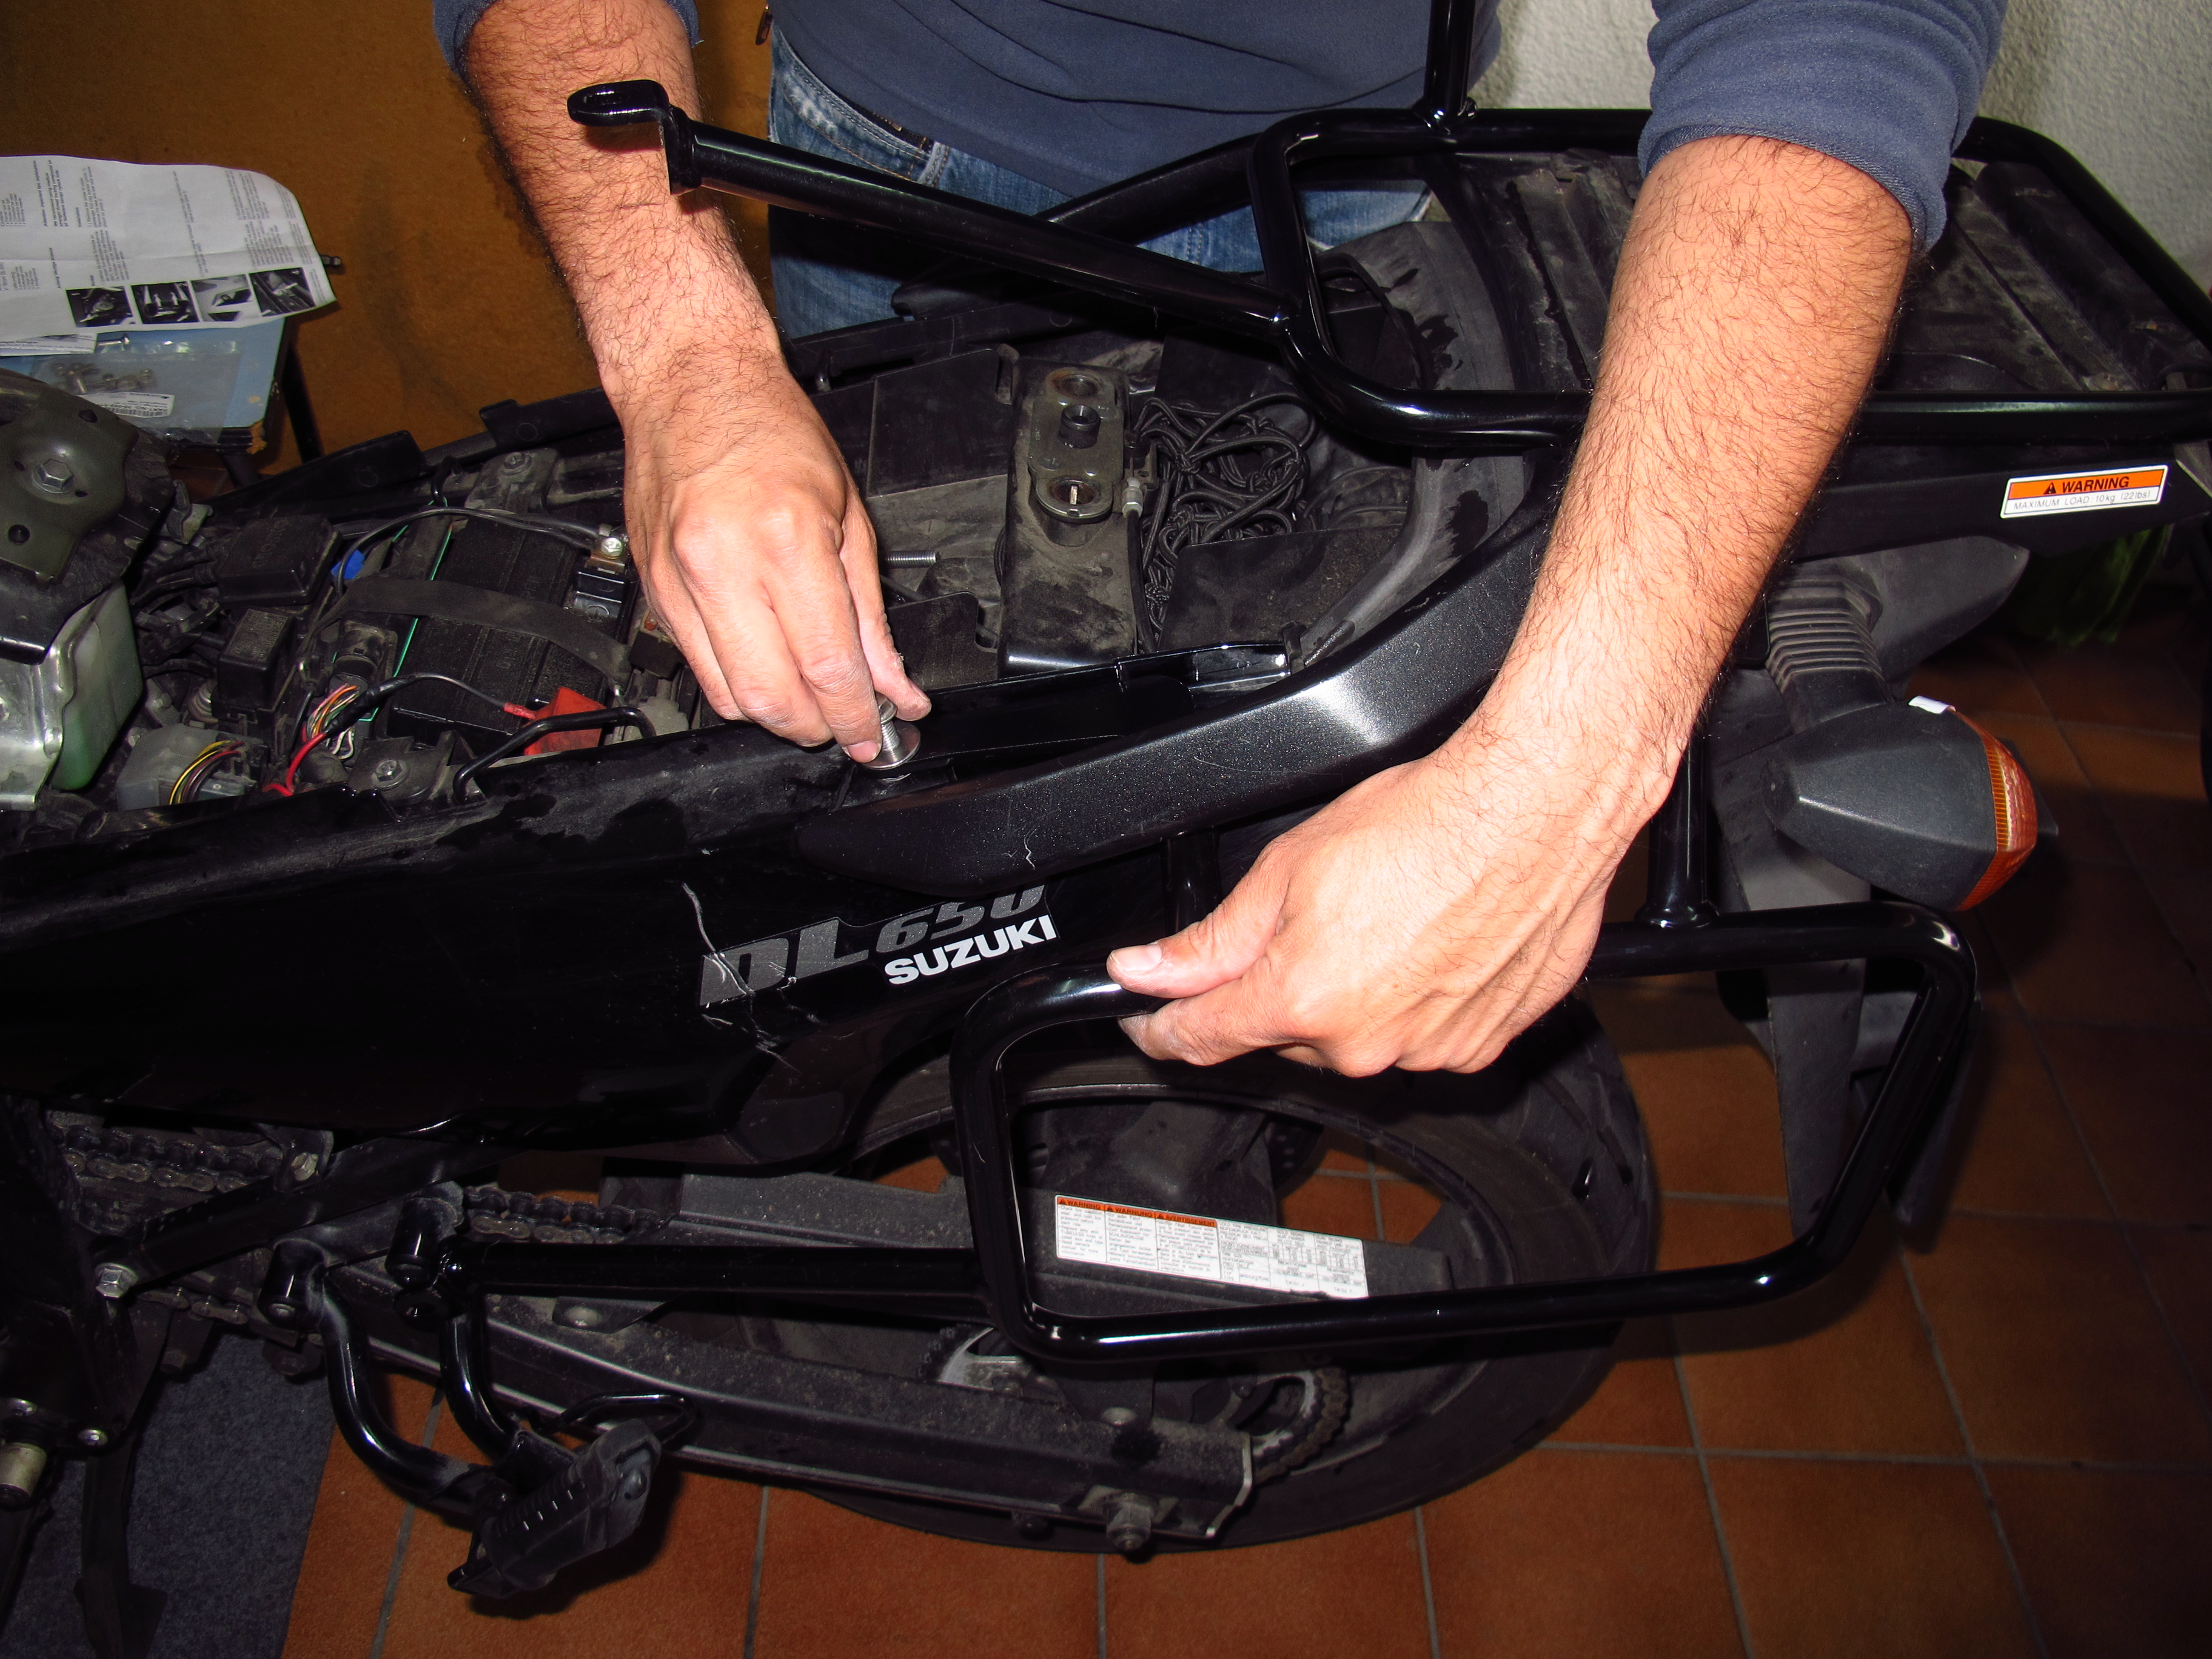
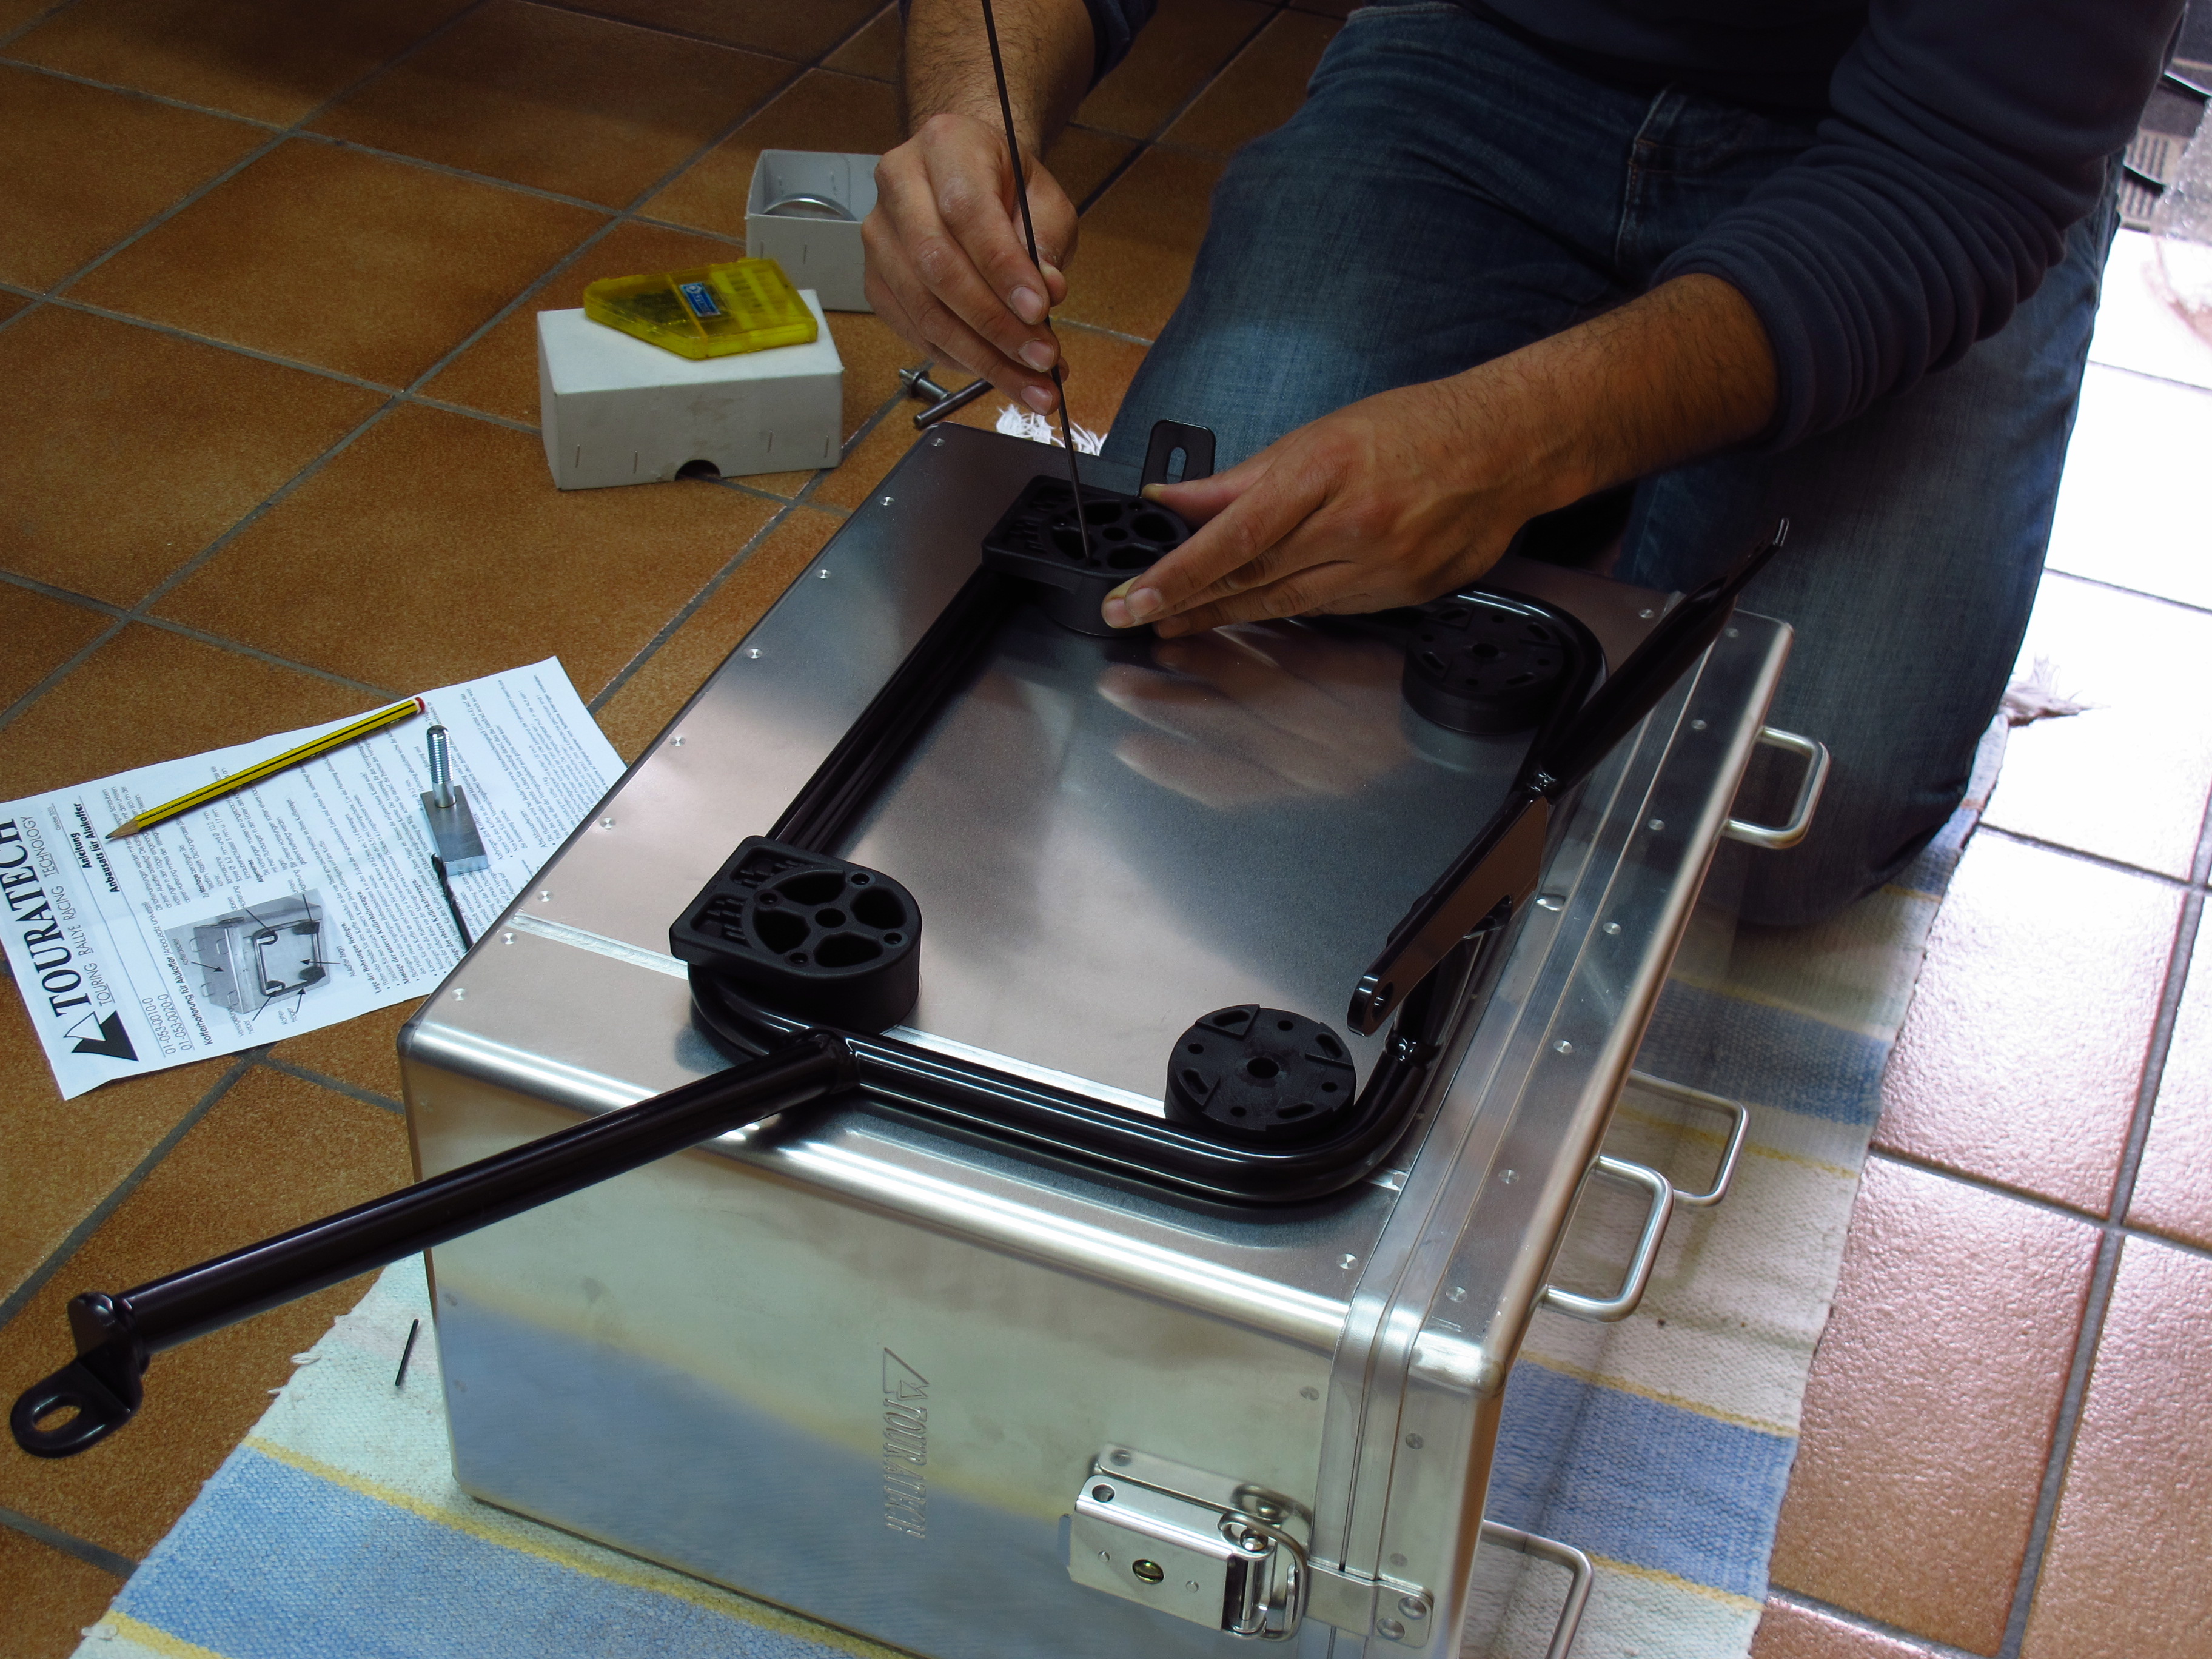
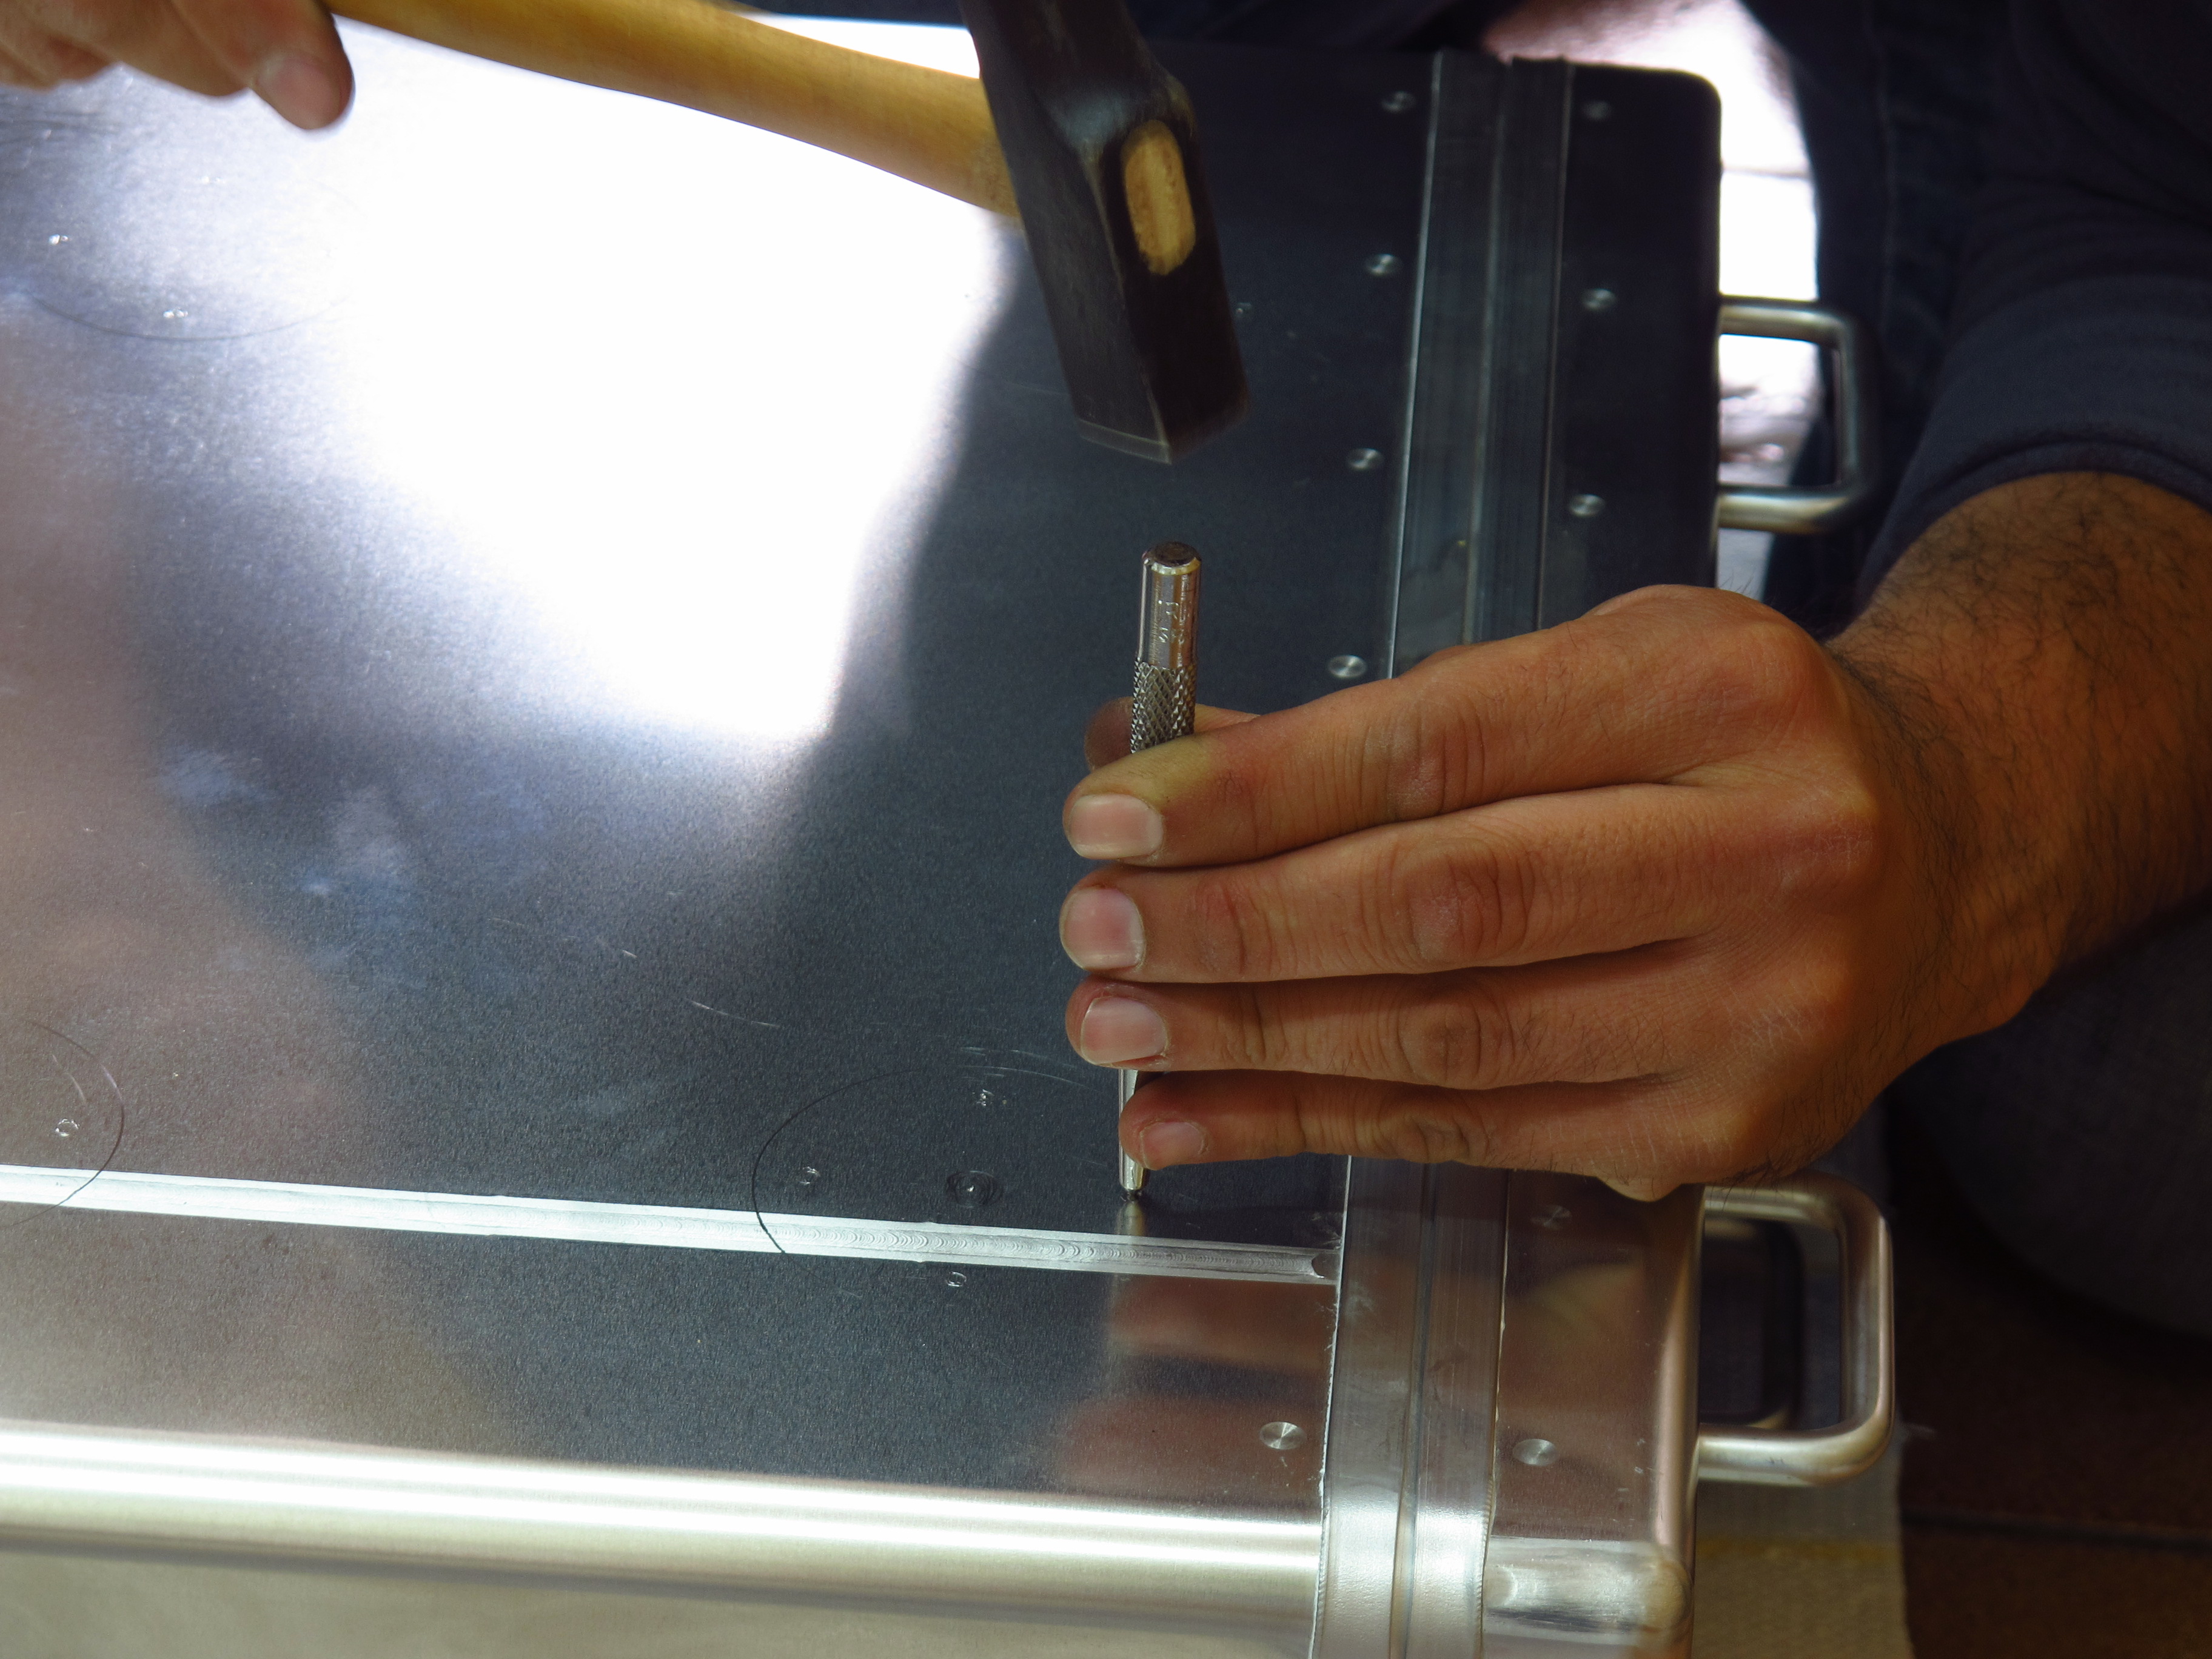
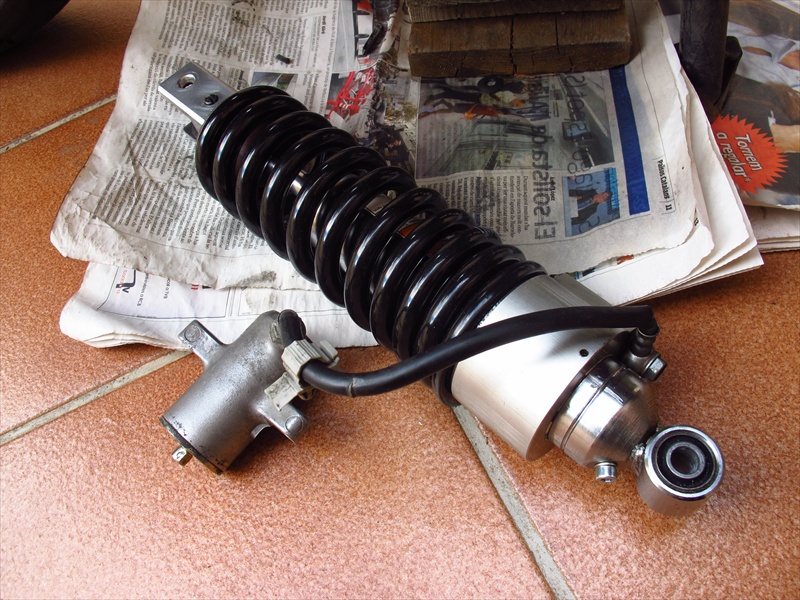
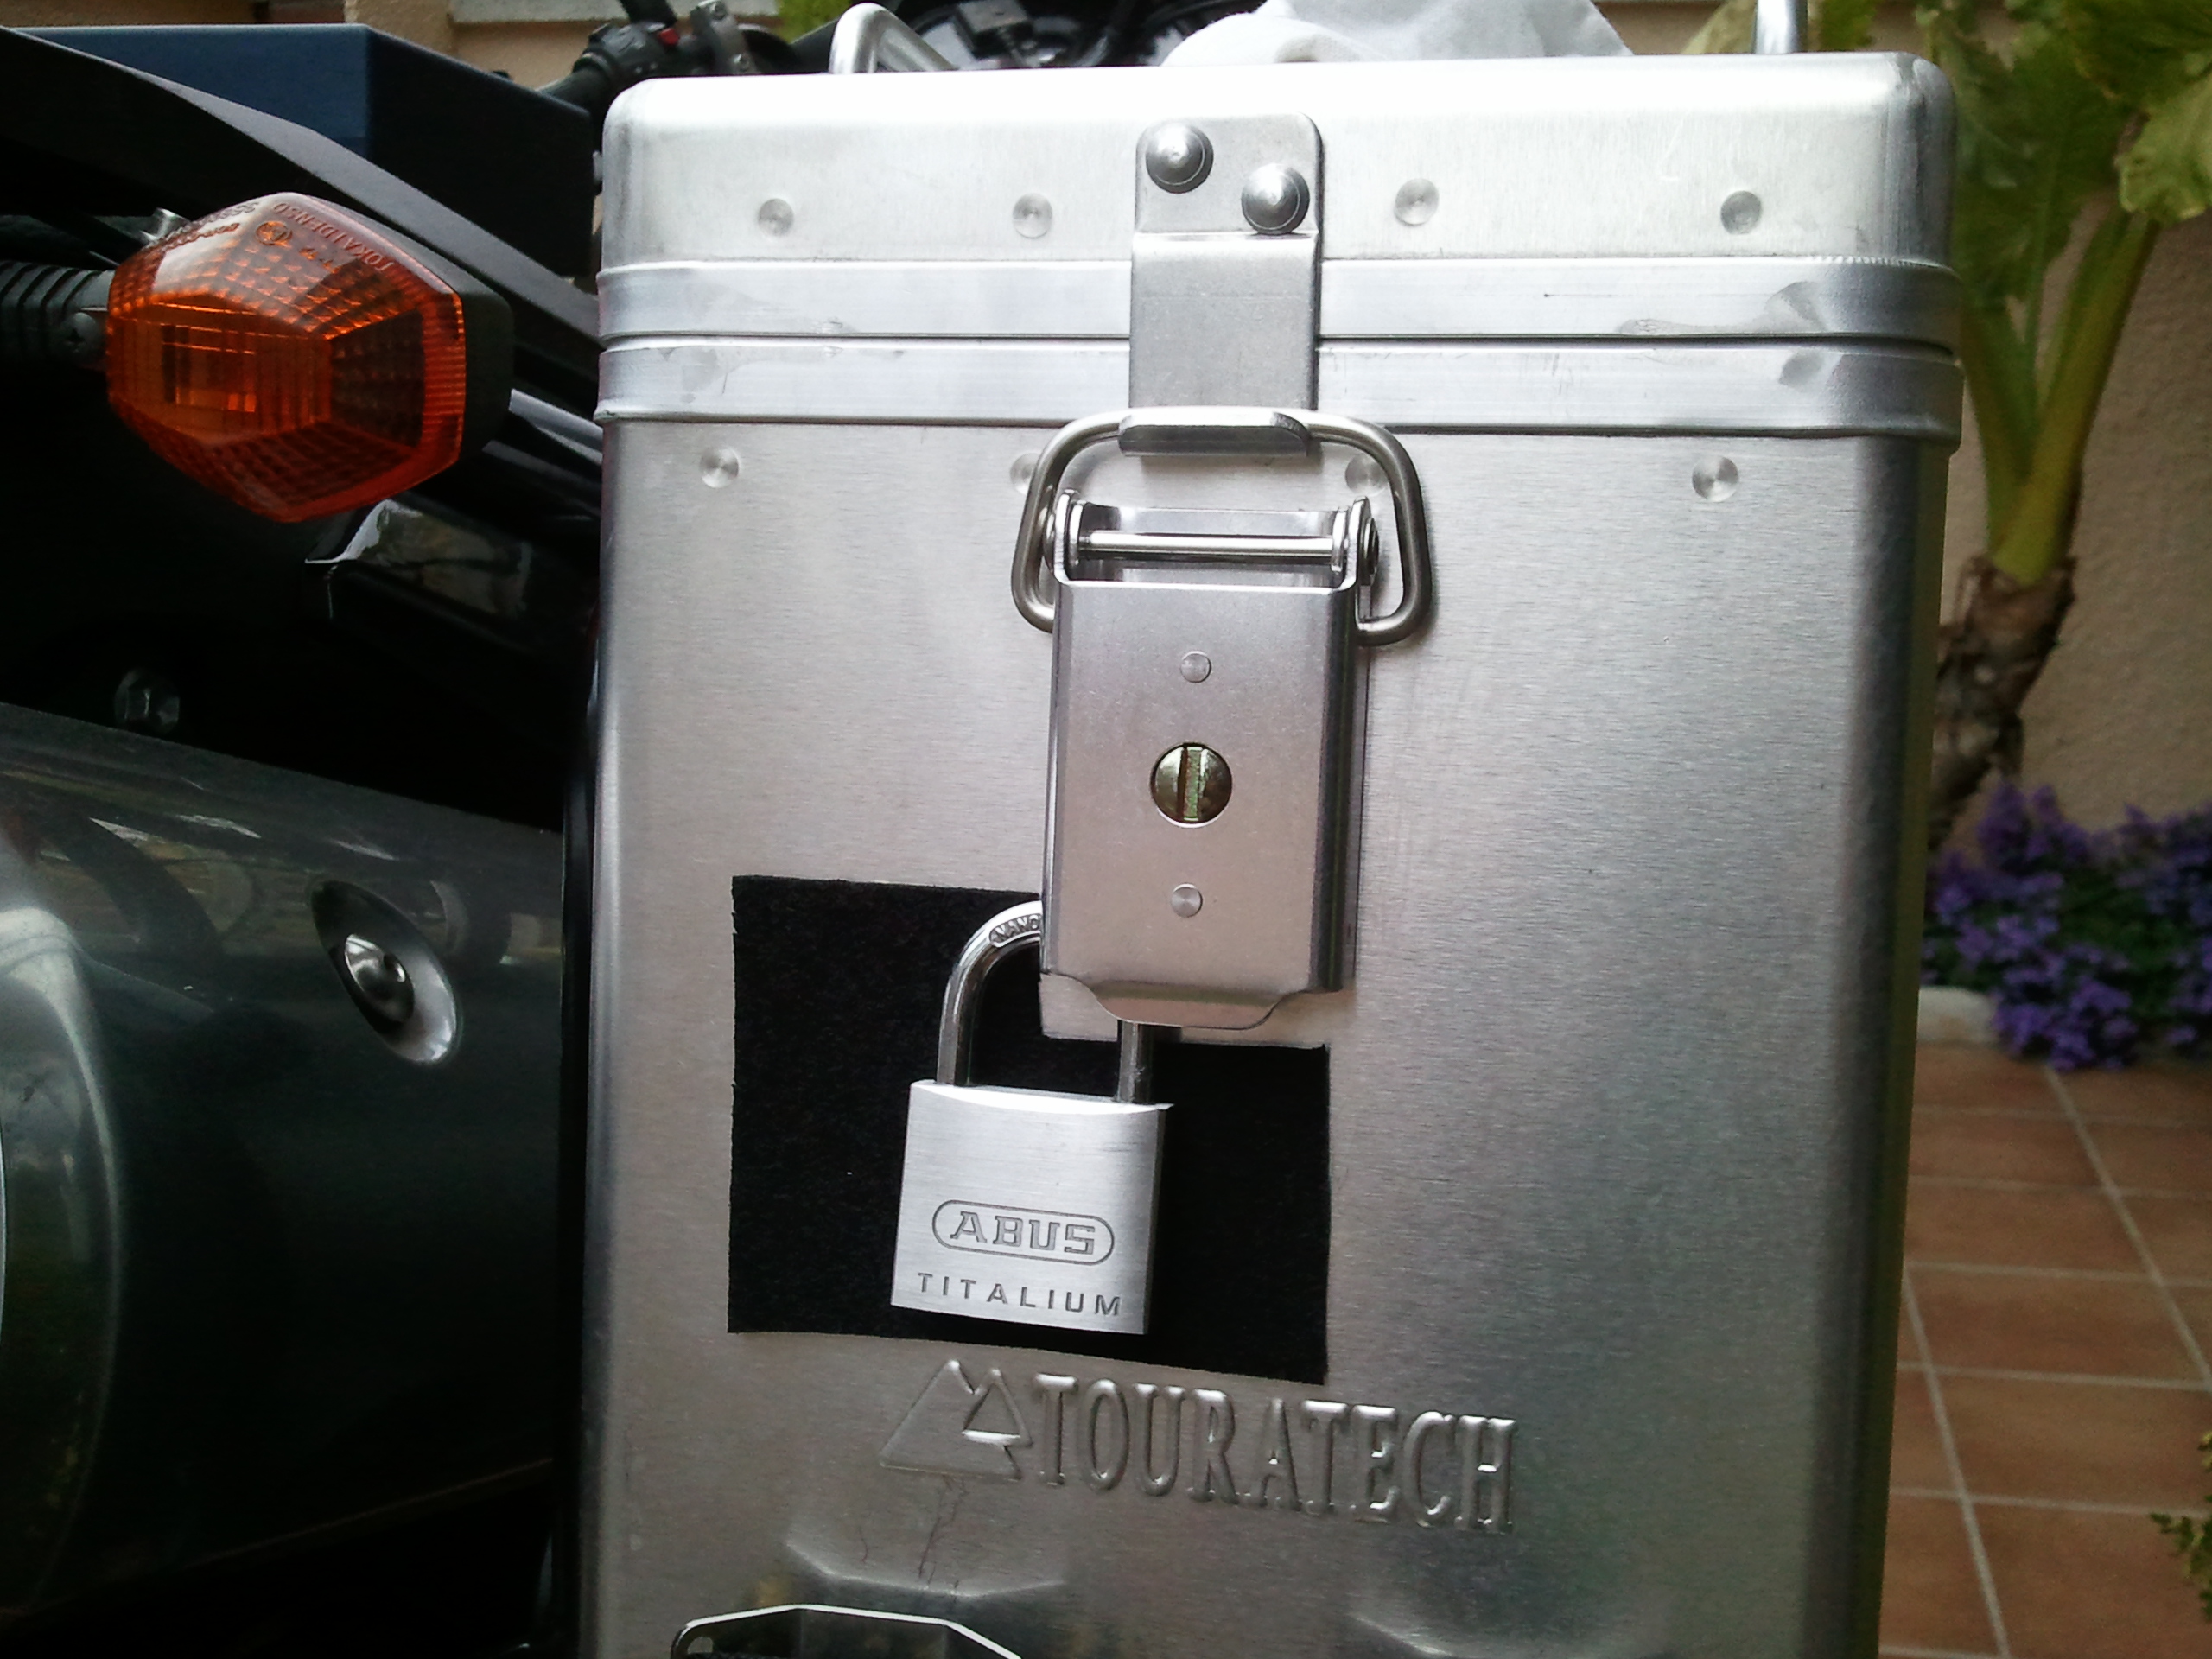
Apart from that, I also spent some time improving/customizing the Touratech panniers. I had got four padlocks to lock them and they are great – light and they are all opened with the same key, but in only two days riding around they had started to scratch the aluminum, and they rattle as hell between 5 and 6k rpm, which is the usual working range of the bike…

2013-05-11 20.05.562013-05-11 20.06.35

So I got some adhesive foam and cut four protectors to stick under them. I also got some reflective tape to put at the back of the panniers, I want to make myself well visible, especially in those parts of the world where drivers are not as used to the presence of motorbikes as in Barcelona.

2013-05-11 20.07.392013-05-11 20.16.51

Finally, I got some cheap bicycle bottles and bottle holders and fitted them to the front of the panniers. I hope the air stream will keep them cool and they will make a nice extra supply of water for the harder parts of the trip.

IMG_5912IMG_5913

Installing the crash bars, headlight guard and skid plate

Well, it has been a very productive week and weekend! Unfortunately that means that I am now behind in keeping the blog up to date, there’s a lot to write about; I will do it on separate posts. First one:

A couple of weekends ago I got down to installing the crash bars, headlight guard and skid plate, which I had not had time to install when I did the panniers and GPS mount. I had seen some people have trouble aligning the mounting points with the chassis on YouTube tutorials, but I am happy to say I had absolutely no problem. The only setback came from the long screw that goes from one side of the chassis to the other and supports the engine block. The crash bars that were installed on the bike when I bought it second hand were the original Suzuki ones, and they are attached to that screw. I imagine that when you buy them the mounting kit includes a longer screw that enables you to attach them. I removed the crash bars and saw that with separator washers the screw had enough thread in it to stay in place effectively, so I thought I would have no problems installing the Hepco & Becker bars, which attach to different mounting points. However, they partially cover the recess on the chassis where this screw is located, and because the longer screw I had in my bike protruded out of the chassis, it was impossible to fit them.

So, a week later and having purchased the original screw from a Suzuki dealer I was able to fit the bars without any problems. They offer far greater protection than the original ones, are thicker and look cooler.

The problem came, however, when I had to install the skid plate. Adventure MotoStuff had supplied it with a mounting kit for the Hepco & Becker crash bars, but from what I could gather from the pictures, Hepco & Becker had discontinued the bars for the pre-2012 V-Strom and developed new ones for the new model. Since both bikes have the same chassis  the bars will also fit the older ones, and these are the bars that I had bought. However, AdventureMotoStuff had sent me the kit for the older model, which has a lower crossbar, so the mounting brackets were about 100 mm too low.

IMG_5868

Now, on a previous post I made positive comments about this company’s customer service, when I was trying to decided which combination of crash bars and skid plate to use I wrote to them and they replied promptly with clear and useful information. I am afraid that I will have to withdraw those comments now… I sent them an email explaining the problem I had and including some pictures for reference, inquiring whether they manufactured mounting brackets for the new bars or not. That was two weeks ago. I am still awaiting their reply.

Seeing I was not going to get any help from them, I bought an aluminium bar and built my own extension to fit the skid plate. Here’s the result:

IMG_5890

It is a lot more solid than it looks or than I expected it to be, so I am quite optimistic that it will work without problems during the trip.

Finally, I fit the headlight guard. The V-Strom has enormous headlights and they are very exposed to small stones flying from the road or even small falls, so I decided this was a must. However, with such big headlights the mesh I had to fit was enormous, unlike the more discreet protectors for, say, a GS. Even so, once fitted it looks better than I expected.

IMG_5876

Installing the panniers and GPS mount

A couple of weeks ago a huge parcel was delivered to my apartment; I was not there, so the doorwoman picked it up as she usually does in these cases. But this time, when I say “pick up” what I mean is “took delivery”, because it was such a big box that the poor woman could not move it on her own. My flatmate got home before I did and he managed to get it on the elevator and drag it into the flat.

IMG-20130422-WA0004

It was the last big purchase in preparation for the trip: a pair of Touratech Zega panniers, mounting frames for my bike, some accessories for the panniers, a headlight guard, a Garmin GPS and a mount for the GPS.

Now I only needed the time to install everything on the bike, and the perfect moment came last weekend. A rainy weekend meant that my plans to go cycling on Saturday had to be scrapped, so I went to my parent’s and got down to it.

I knew I would need at least a whole day for the panniers and the GPS base, as the latter meant taking appart all the fairings and maybe remove the fuel tank to get the wiring from the battery to the front of the bike, and the former came without the mounting parts installed. I got the panniers without them for two reasons: Firstly, if I did it myself, I could position the panniers exactly where I wanted on the bike, and secondly and most important, it saved quite a lot money. The only drawback? It takes time, because it means that 18 holes have to be drilled on each pannier, and that’s after having taken all the right measurements.

Having learnt from Steve Stallebrass’ blog that it is quite hard to mark the drilling points while holding the panniers against the frames on the bike, I first installed the frames on the bike, had a passenger sit on it to make sure the panniers left room for her legs to rest comfortably on the footpegs and then marked the general position of the pannier in relation to the frame.

IMG_5766

I then removed one side of the frame (no need to remove the other, since the rectangular frame the panniers attach to is identical on both sides) and marked the exact drilling points comfortably with the pannier lying on the floor.

IMG_5786

Once the points had been marked, I punched a small dent to make sure the drill would not slip and scratch the panniers and started drilling the holes, first with a 3mm drill and then with a 5 mm one. The two bigger holes for the rotating brackets were made with a 10mm one. All that was left then was to file any shavings and smooth the holes and screw the mounts in. It sounds quite straightforward, and truth be told, the process is not complicated, but it did take quite a long time to do it on both panniers.

IMG_5791IMG_5792IMG_5794IMG_5797

Now the panniers could be mounted on the bike, it was time to mark and drill the holes for the mounting plates that support the accessories I had bought for them: a holder for a 3-litre jerrycan and another one for a couple of bottles.

IMG_5807

IMG_5808

It was now time to install the GPS mount and the wiring that will keep it charged while it is attached to it. I did have to remove all the plastic fairings from both sides of the bike, but luckily I managed to get the wire through the front fairing and under the fuel tank without having to remove these.

IMG_5806

The Garmin Zumo I bought came with a RAM mount kit, but I prefer to use this one, as it is lockable, so I do not need to remove the unit every time I stop. I will recycle the RAM mount  for the SPOT tracker.

Finally, I put everything back together and tested the GPS. It works!

This is how the bike looks now:

IMG_5810

IMG_5809

New springs, brake pads, tyres and rear brake disc

High on the long list of things to be done to the bike in preparation for the trip was upgrading the suspension, since it is one of the components that is going to suffer more due to the weight the bike will be carrying and the condition of the roads and dirt tracks I will be travelling through.

I had had a crash nine months ago and as a result of that the fork had bent. A friend of mine who had just opened a workshop managed to straighten it again and it was fine for on road riding, no vibration, no strange behaviour, but the repair was noticeable and I did not want to take the risk of putting a fork in such state to the test on the roads in Mongolia, so I decided to replace the bars, and since I was going to take the whole thing apart in the process, replace the springs as well.

I had originally intended to get all this suspension work done at the workshop, but I was lucky enough to find a pair of second-hand bars through the owner’s website in Spain, and then I thought that by doing the work myself I would save a lot of money, so I studied the service manuals and a good tutorial I found on the internet and got down to it.

I got a set of stiffer, progressive springs made by HyperPro from Touratech. It included front and rear springs and fork oil. Annoyingly, it only included a litre of oil, and a V-Strom needs 538 ml of oil per tube, so a litre was not enough and I had to buy another litre… I also bought inner seals and dust seals.

2012-12-30 14.22.59

Taking the fork out of the bike was quite a straightforward task. I put it on a few blocks of wood under the engine block to lift the front wheel off the ground and proceeded to remove all the necessary parts, which was easier than I expected. The front wheel comes off after loosening the bolt at the bottom of the right bottle and removing the axe/bolt, The brake calipers are held in place by four bolts that came off easily, leaving them hanging on the brake lines and then I just had to remove the rest of parts attached to the suspension bottles, which included brake lines, speed and ABS sensor cables and the mudguard.

The former were a matter of removing a few small screws, the latter took a bit more work. It is possible to remove the front mudguard of a V-Strom without removing the fork, but it is hard and you risk scratching or worse, cracking it. So the easier way (and the one recommended in the workshop manual) is to loosen one suspension arm and remove it while holding the mudguard to prevent it from falling on the floor, and then it comes out easily.

IMG_4400

After that I removed the other arm and had them ready to be taken apart and rebuilt.

Once they were out I saw that the accident damage was very obvious and I was glad I had decided to change them.

2012-12-31 10.06.22

I unscrewed the suspension preload assembly from the top of both arms, took the old springs out and poured the oil into a plastic tray.

IMG_4392

IMG_4219

Then I removed the dust seals with a couple of small screwdrivers and the rings that hold the inner seals in place.

IMG_4214

IMG_4225

After that, the only thing left to do was to remove the bolts that hold the bottom of the suspension arms in place and prevent them from coming out. I had read that this was the hard part, as sometimes the arm might turn with the bolt, making it necessary to introduce a special tool into the bottle to hold everything in place (you can’t clamp the arm, as it is aluminium and therefore very easy to damage), but I had no problem and both bolts came out without offering any resistance.

IMG_4224

Now the arms were ready to be taken out of the bottles. It is just a matter of pulling out hard and suddenly. I had previously taken apart the second-hand fork I had bought, so I just had to take the arms from that one, fit all the seals and put everything back together.

IMG_4215

IMG_4227

The other hard part is pushing the seals into place, and again, a specific tool is required, but I just manufactured one using a PVC pipe. It worked great!

IMG_4237

Once everything was in place and well screwed together, I filled each tube with the required amount of fork oil, pumped the air out, dropped the new springs inside and put the preload assembly back on top of everything. Now they were ready to be put back on the bike!

IMG_4241

IMG_4243

However, since I had removed the brake callipers, I took the chance to replace the brake pads as well, as they were quite worn out and it was something I did not want to have to carry with me on the road, so I changed both front and back brake pads.

And as usual, one thing leads to another… Both tyres needed replacing as well, and trying to find a good deal on the internet, I ran into a guy from the owner’s club who had had a write-off with his almost new bike, and I got a pair of Michelin Anakee 2 with only 3,000 km on them. As I was also looking for a new rear brake disc and the guy didn’t feel like removing the tyres from the rims, I got the whole assembly thrown into the deal, which was great! I also bought a fuel pump from him, just in case, as it is not the kind of thing you can easily find in the middle of nowhere and they are quite expensive. I still have to find the time to fit it and test it. I’ll report when it’s done.

IMG_4303

One last thing I needed to do was to replace the rear spring, but since my bike has quite high mileage, I also wanted to do something about the shock absorber. This is the part that will suffer more on a trip like this, so I started looking at what choices I had. Replacing it for a better one was horribly expensive, so I got a new spring and found a guy that rebuilt it for a fraction of the price. Now it is as good as new and with a stiffer spring. Removing the rear shock and preload adjust set from the bike was not an easy task though. To do this you’re supposed to remove the preload adjuster knob, but the bolt was in very bad condition and it was impossible, so I had to take half the bike apart and then twist, push, swear and swat to make it fit through the rear sub-frame.

IMG_4286

Once it was out I was able to put it on a proper work surface and replace that bolt. Putting everything back in was a much easier task.

IMG_4285

IMG_4287

At this point the bike had been off the road for over a week and as you can imagine, I was itching to go for a ride and test it. It was bound to feel completely different with new tyres, suspension and brakes! It did not disappoint, it feels like a new bike.

First full service

Wanting to learn as much as possible about mechanics before setting off this summer, last October I decided to do a full service to the bike, that is, changing the oil, oil filter, spark plugs and air filter.

The idea was to lear how to take apart and but back together the basic parts to access the mechanicals and be able to service the bike with a minimum of tools. Not easy, since the bike has quite a lot of plastic fairings (there’s some joking on the internet about how it floats if try to cross a river), but I had downloaded the workshop manuals and there is a lot of information on the net, especially on the Spanish and international owner’s websites, as well as several very useful videos on YouTube such as this one.

I discovered I would need to add a few things to the tiny toolkit I had purchased – I needed a small allen key (3mm) to remove some screws on the front fairing and a 14mm socket to remove the fuel tank, as well as a tool to remove the oil filter (impossible to loosen it by hand).

Aside from these few tools, the kit I had and the tools that came with the bike were enough to change the oil, the oil and air filters, and all four spark plugs – including having to loosen the radiator from its lower mounting points to access the front spark plug.

I am quite happy to report that a regular service would present no big problems on the road. But some issues still need to be solved, such as how to properly dispose of the used oil. I would not want to just throw it away in the middle of the Mongolian countryside!