
As I explained when I fitted the fuse box to the AT, I still had to install a few last things, most of which requiered routing wires from the handlebars and front part of the bike, under the fuel tank, and to the box under the seat. Space is tight, the fuel tank had to come out and I did not want to have to do it every time I was going to fit something, so I waited patiently until all parts had been delivered and got down to it with only a week to spare before the AT’s first big trip. I was going to fit:
- Front fog lamps
- Heated grips
- 12V socket
- Chain oiler system
- Pre-wiring for rear fog lamp (I still have not received the Holan top case)
I needed the bike to go work, so I only had one afternoon to get everything done. In the days before I did all my homework, drawing the electrical schemes, cutting the wires, fitting the connector plugs, protecting them with heat shrink tubing, and generally pre fitting everything I could before the wiriing.
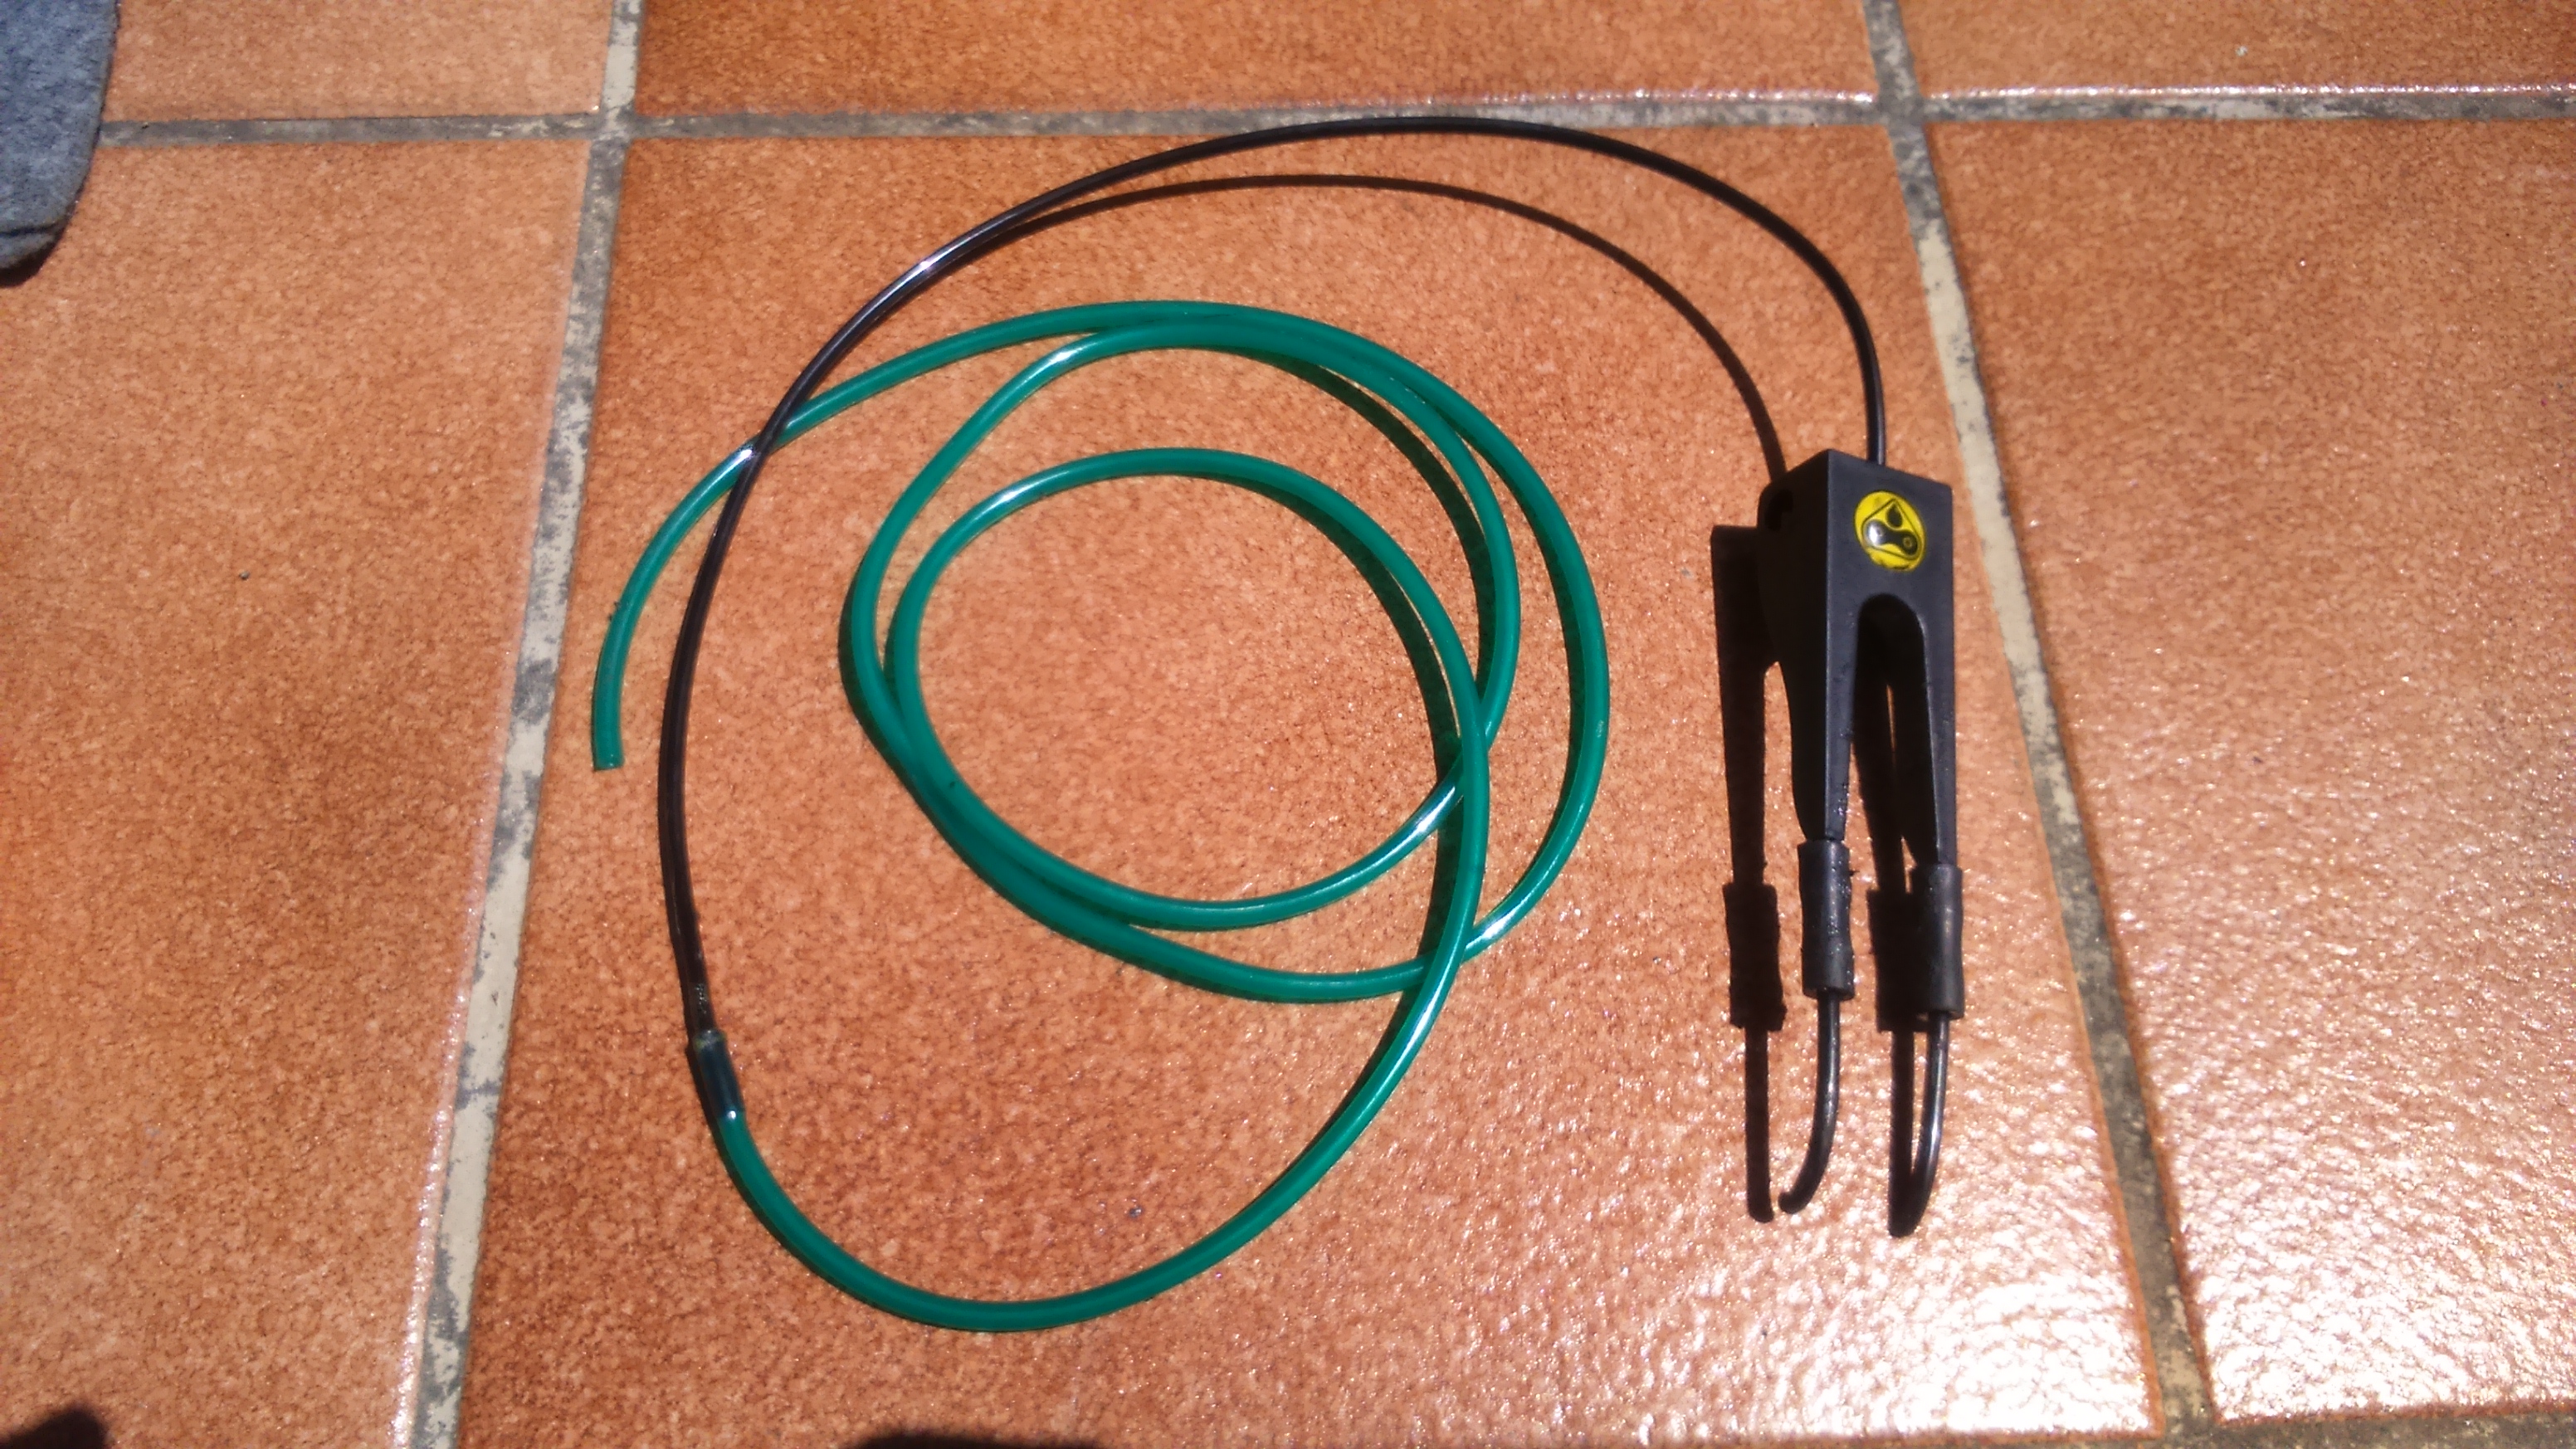
The chosen chain oiler was a PDoiler system, which is cheaper than a Scottoiler electronic system but still provides instant control of the amount of oil delivered to the chain. I was not convinced by the wicker system, though, so I replaced that with a Scottoiler dual injector.
 I put the oil reservoir/pump combo on the right side of the subframe, behind the passenger footpeg. It does not stand out and it is the optimal position to route the wire to the fuse box and the oil tube to the swingarm and to the chain.
 The dual injector is suposed to be mounted on the swingarm with zip ties or with special adhesive tape, but I went for a more elegant solution and bolted it to the chain guide under the swingarm, which is in the perfect position in the AT.
 The injector is covered, so it is virtually invisible, and it is more securely mounted. This only requieres measuring the position, removing the chain guide and drilling a hole in it of the same diametre of the bolt included with the injector.
 To fit the injector in the correct position you can then use the plastic spacers provided with it or a few washers for more precise adjustment.
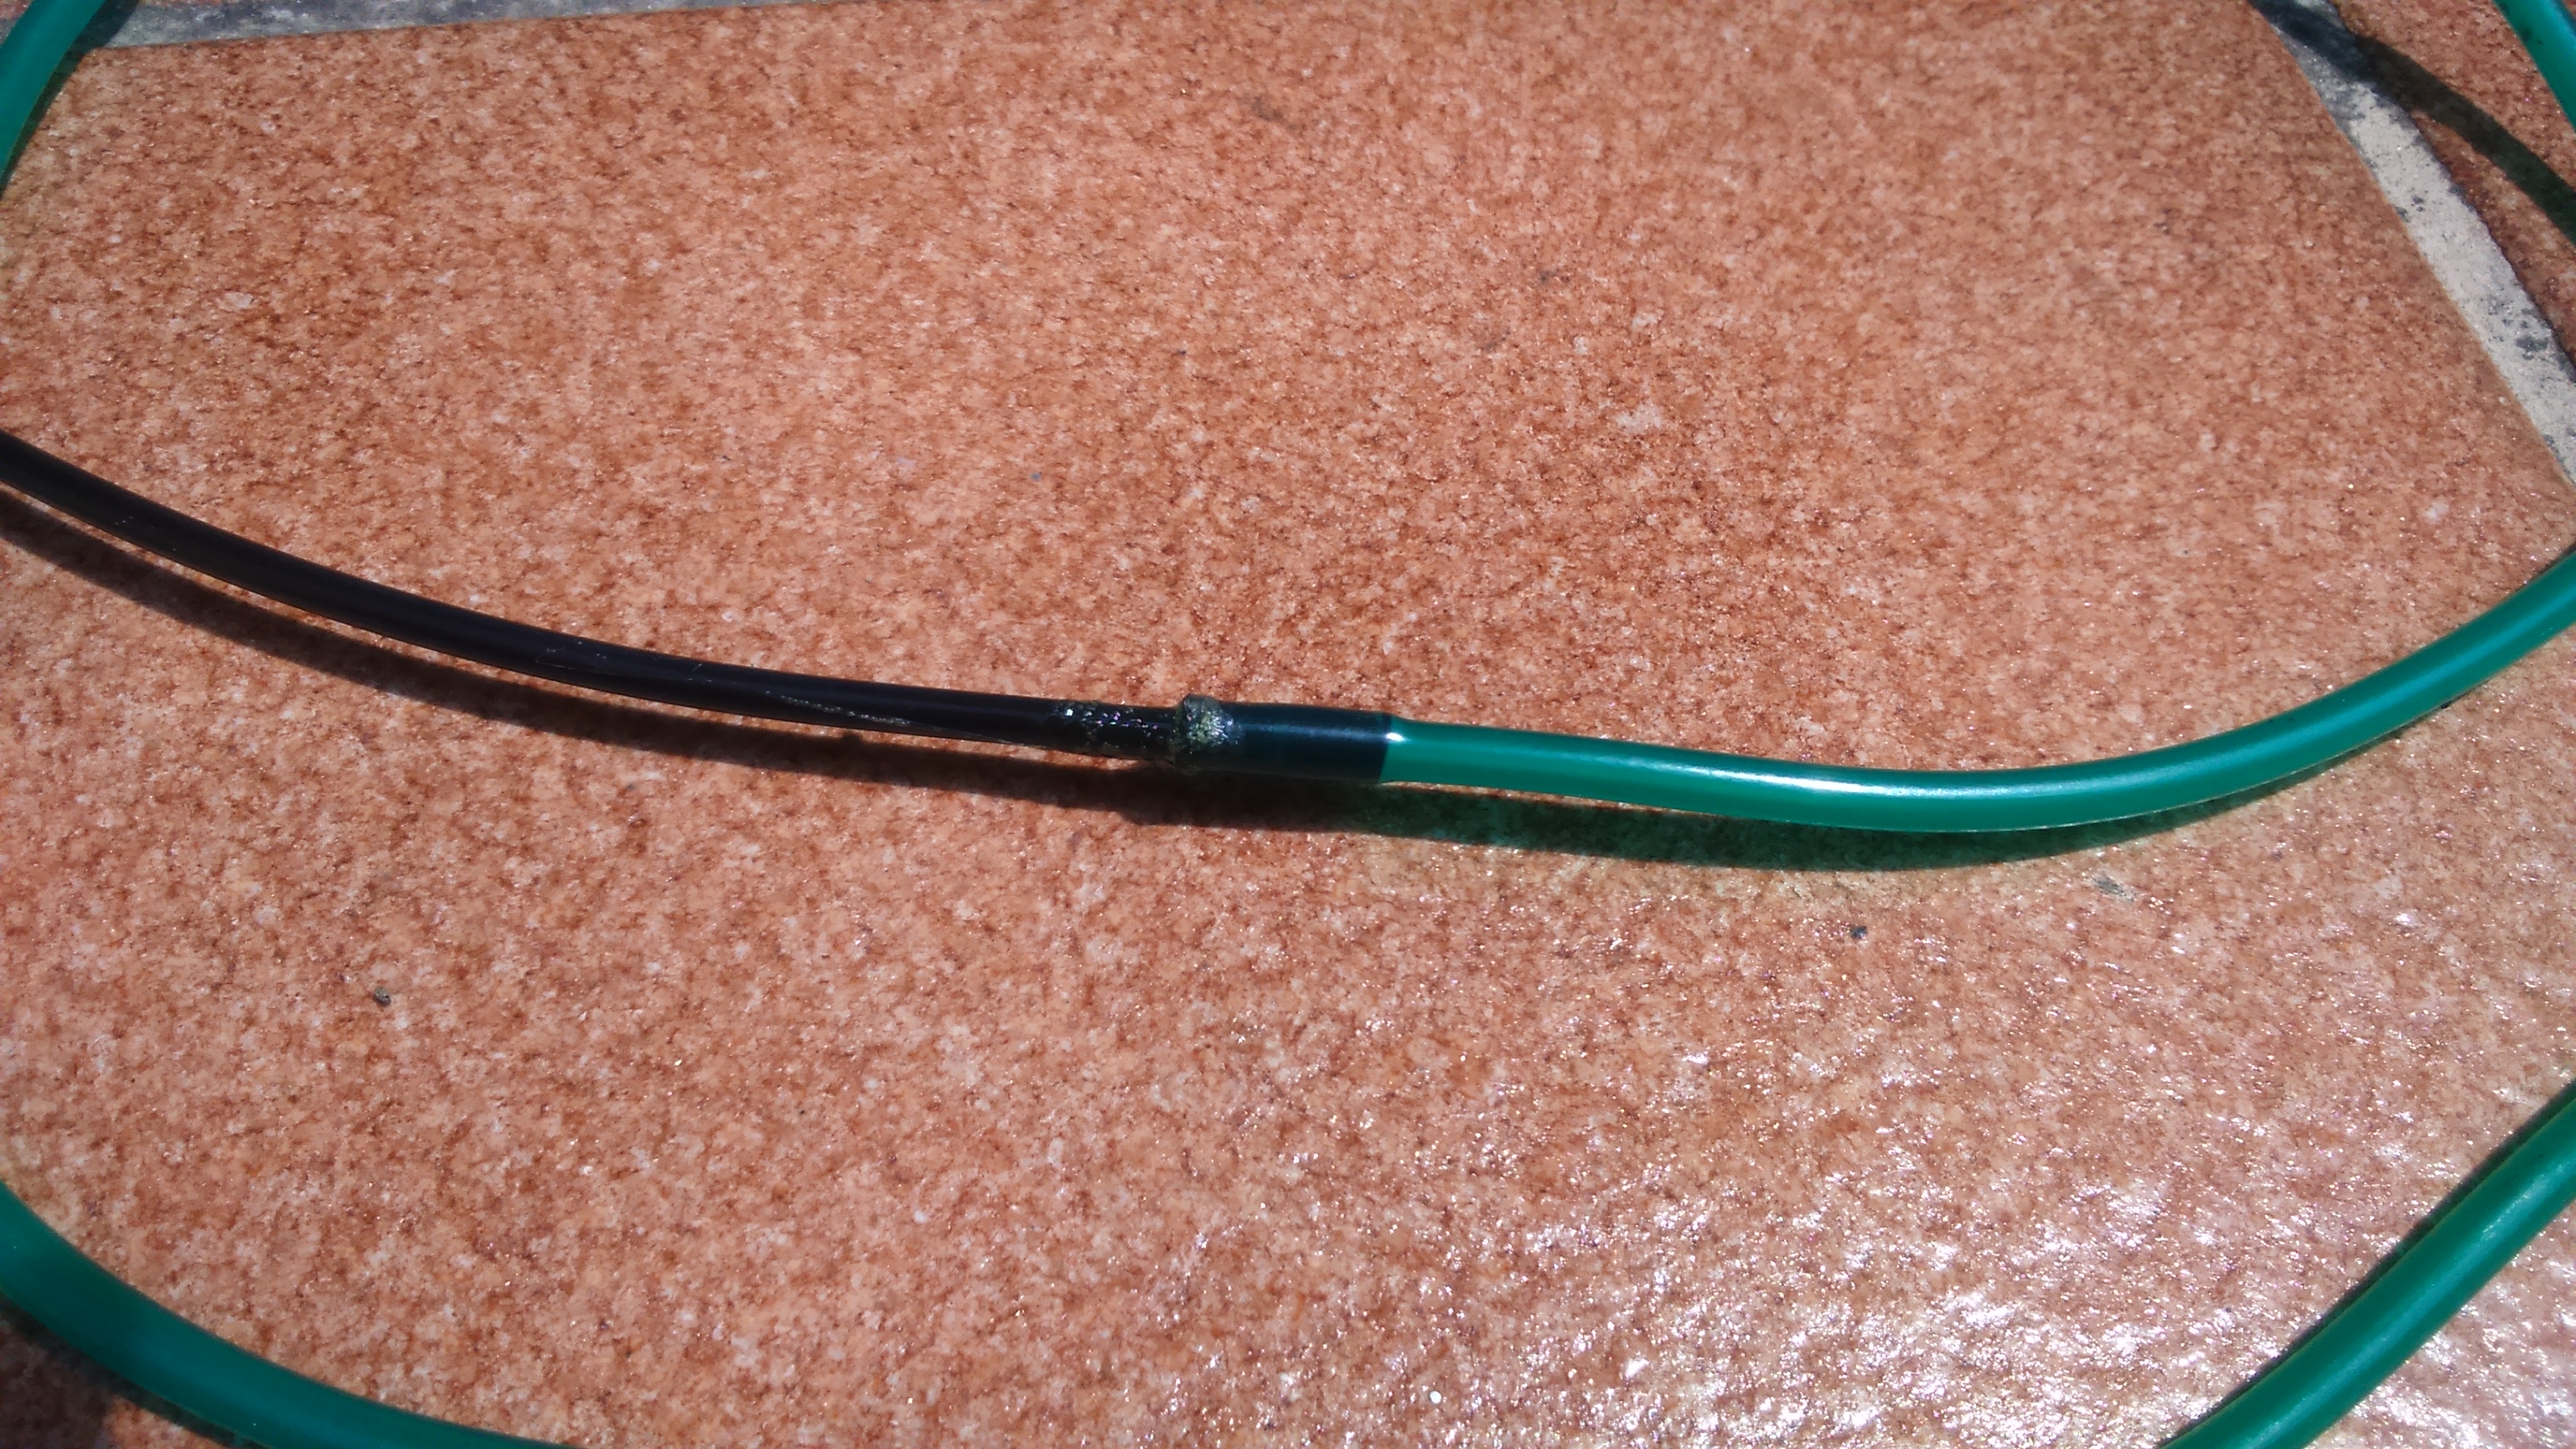
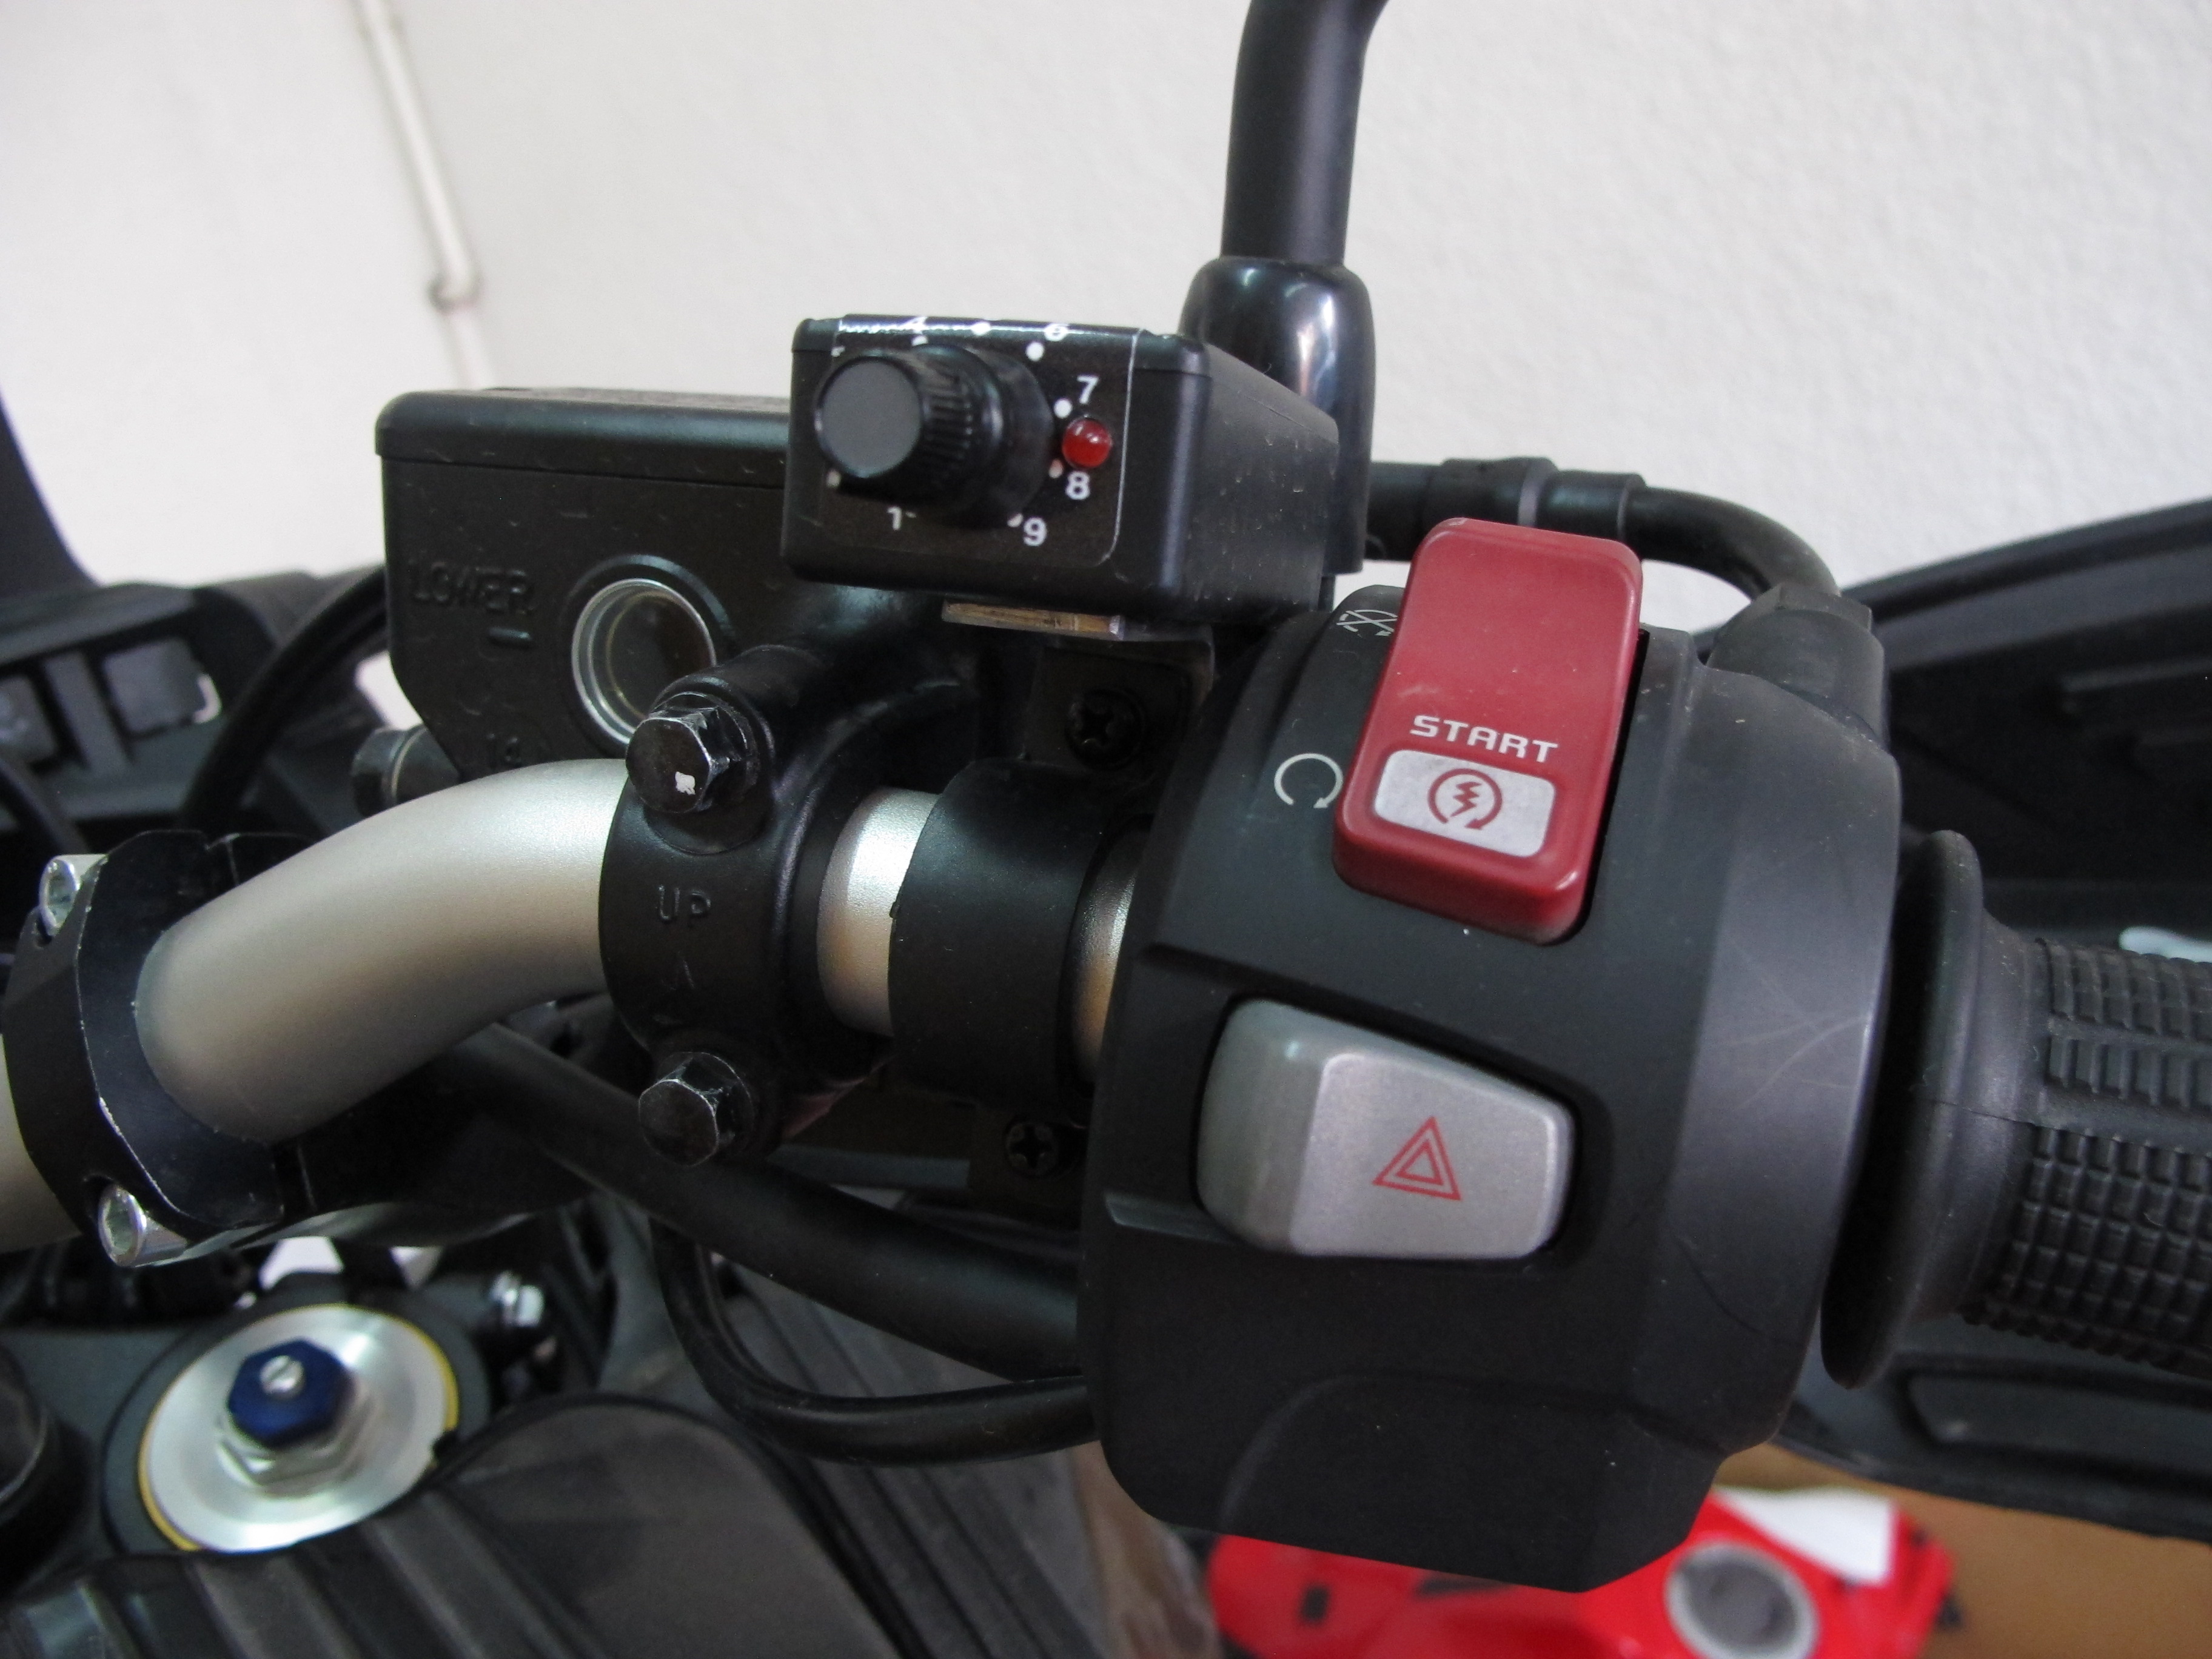
 I used the provided adhesive plastic clips to route the oil tube and I fabricated a support to fit the the oiler control knob on the handlebars using the mounting that came with the 12V socket.
 Then the day came. Right after lunch I started removing the fairings on the bike. The first time I did that I complained that it took too long, but as I learnt this second time, if you have the right tools and know what you are doing, you can remove everything reasonably fast. One thing I was worried about were the crash bars. I did not know whether it would be possible to remove the fairings with them on, as it was on the V-Strom.
It is not. At least with the Holan crash bars. The good news is that you don’t really need to remove them – if you loosen the bottom mounting point and remove the two bolts under the headlight, the whole assembly pivots forward and out of the way. I assume that with the PRO model four more bolts need to be removed from the radiatiors mounting points.
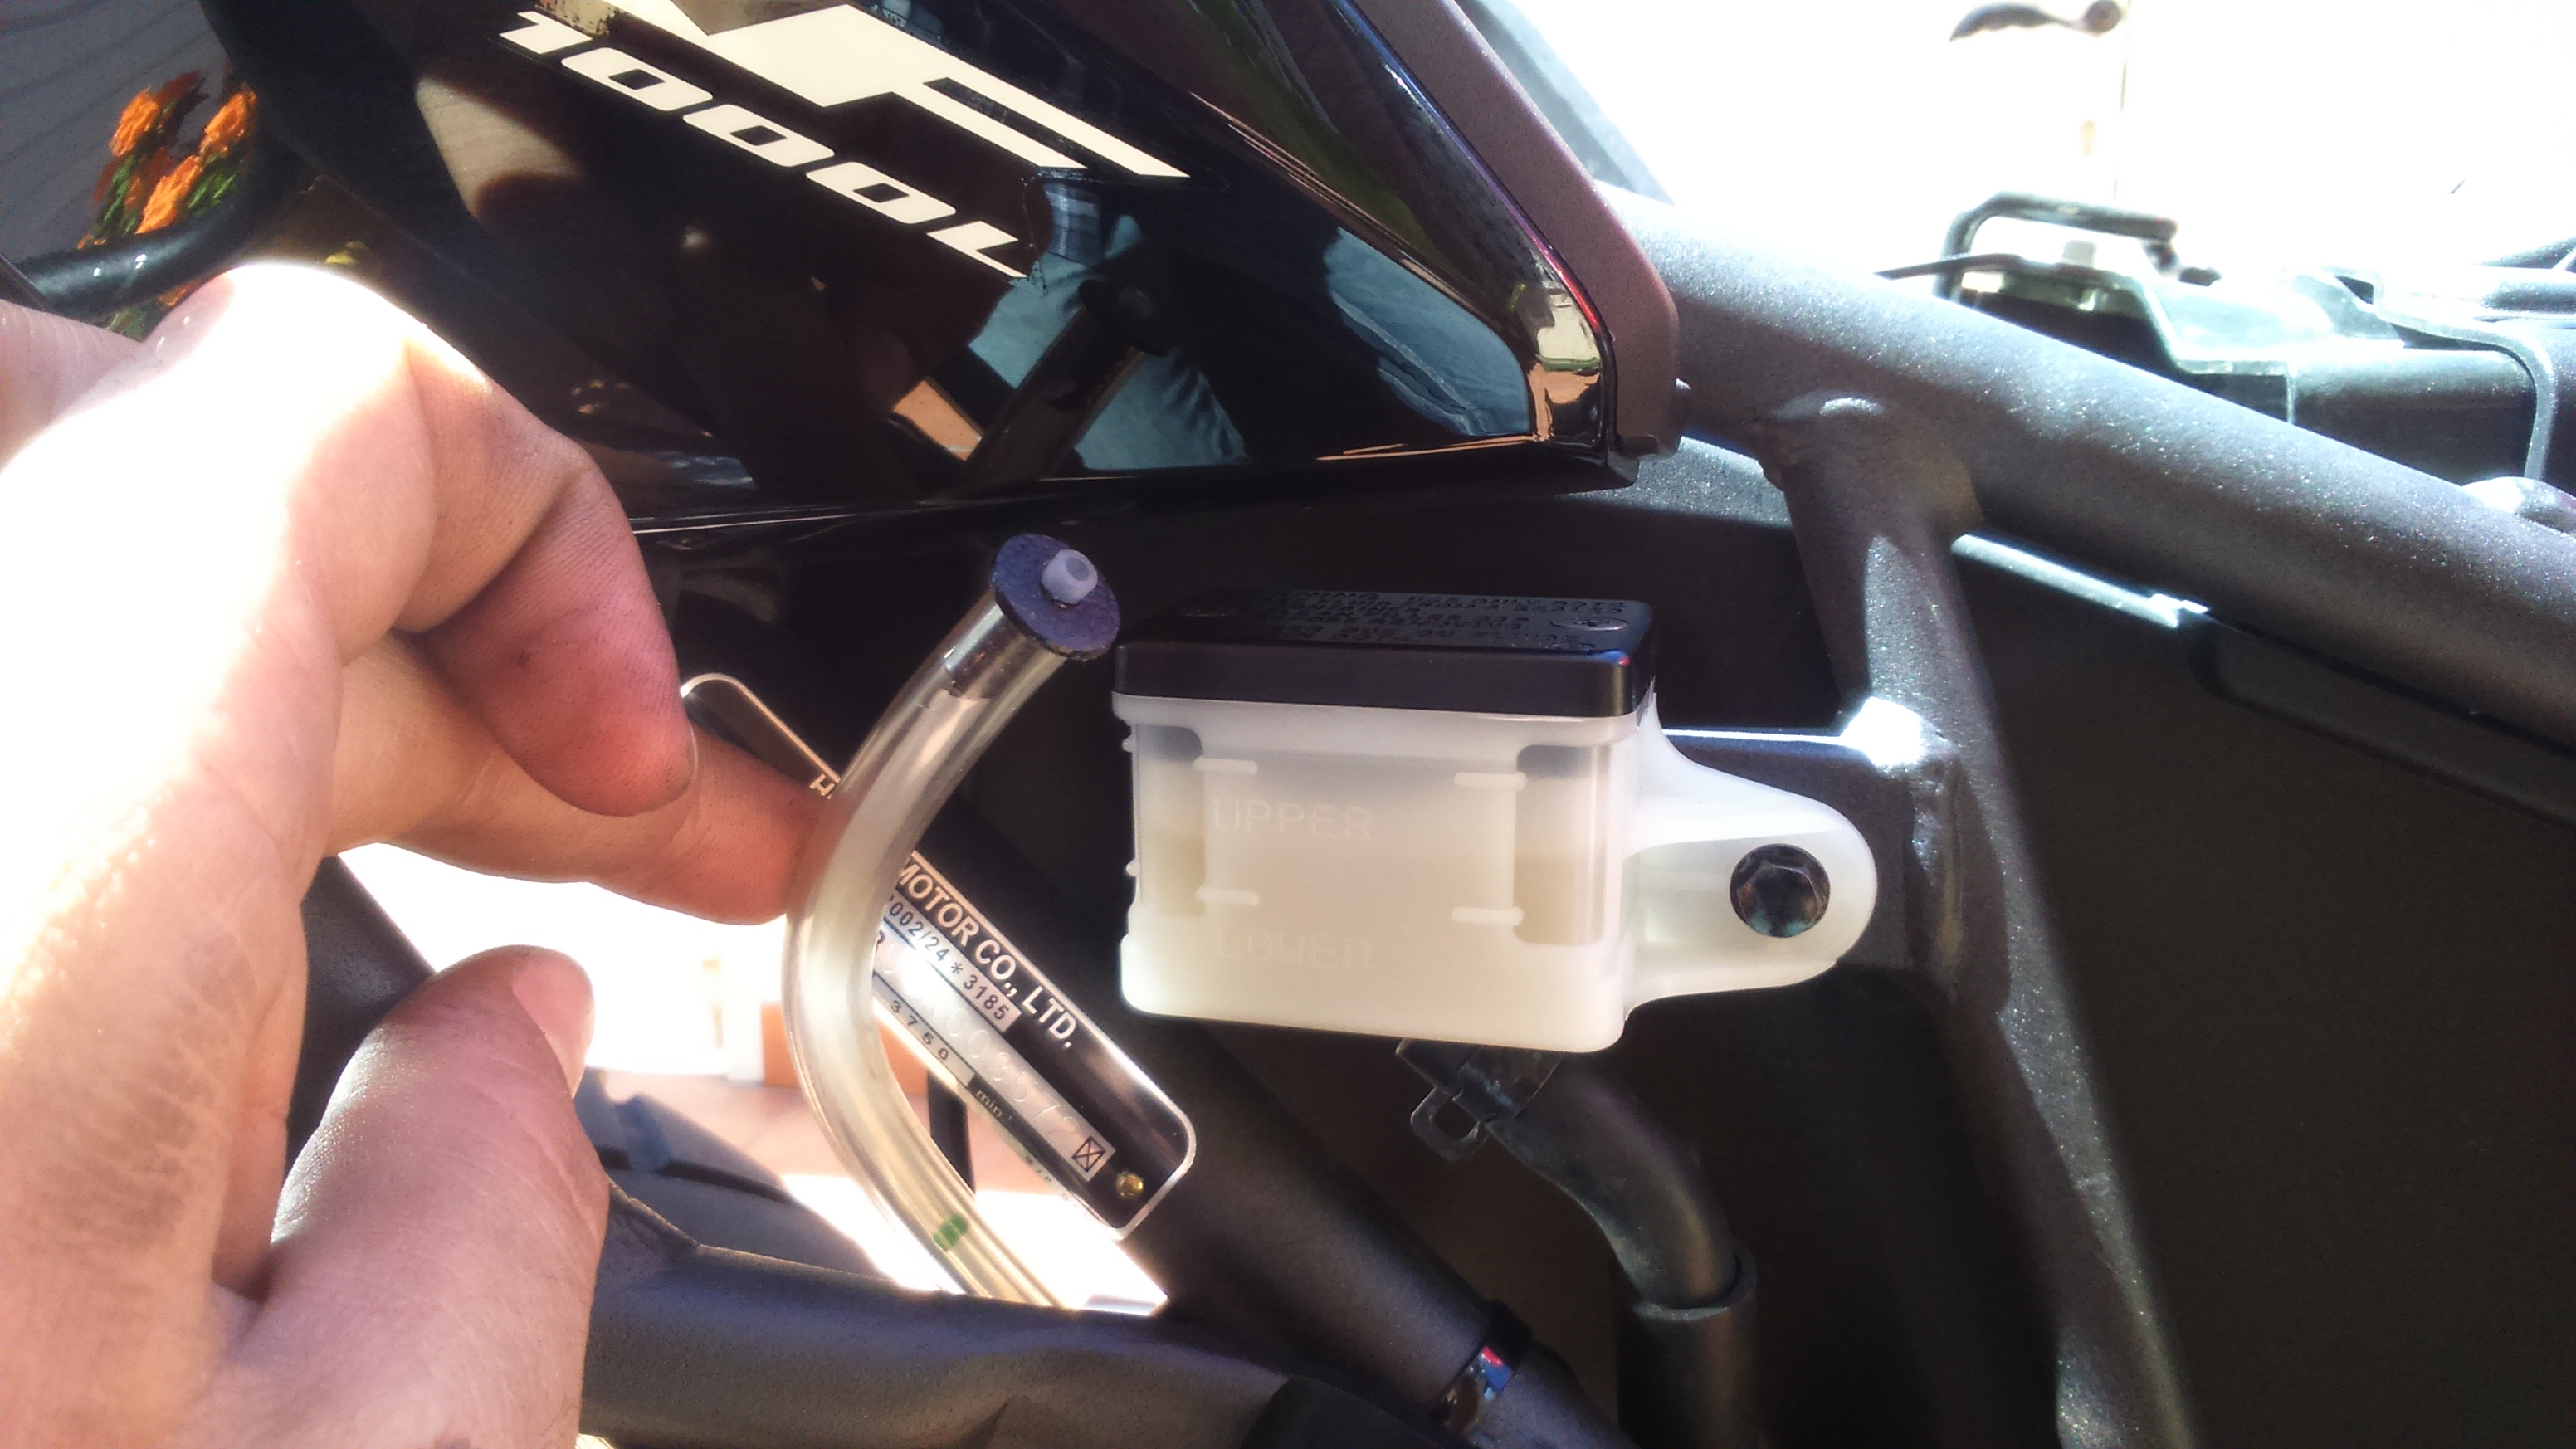
 Removing the tank is also a fairly straightforward process – there is only one bolt to be undone (under the seat), even though you need to remove the seat lock assembly to access it, and you pull it up and back to detach it from the front mounting points, which are two rubber pegs. With the help of a friend who lifts the tank a bit, unplug the fuel line, two electrical connectors and the rubber tubes for the breathing and the overflow and you are done. It is much easier if the tank is empty or close to it, as it is much lighter.
I installed an aftermarket waterproof 12V socket which fit perfectly into the hole on the dashboard.

The heated grips proved to be a bit trickier. It took some swearing and sweating to pull the OEM grips off the handlebars, and while the heated left one slid in without problems (I had to put a couple of drops of glue to stop it form rotating afterwards), the right one refused to slid more than halfway in. In the end we used a big screw clamp to push it in. They do not have a separate control unit, it is integrated in the left grip, like the Honda OEM ones. This looks great, but I found that I kept turning them on accidentally every time I used the indicators, so I had to rotate it down a bit to make sure the button is out of the way.
The oiler control unit went on the right handlebar and the fog lamp switches on the left one, in a position I can easily reach with my thumb. I mounted them on a PMR bar switch that replaces the clutch clamp. It looks great, but the bolts did not align exactly with the holes in the clamps, we had to file them off a bit.
 After fitting the fog lamps to the crash bars – very easy on the Holan ones, as they include two mounting points – all that was left was route all the wires along existing ones, secure them with zip ties and plug all the connectors. I strongly recommend fitting a fuse box on this bike, as the battery is difficult to access and it simplifies electrical work considerably.
We checked that everything worked and we put the bike back together.
Other last minute additions before the big trip have been a pair of Heidenau K60 tires and two custom made bags for the Holan crash bars to carry a pair of spare tubes and the tools to change them.
