
The lastest addition to the AT is a set of protective stickers to prevent the zippers on my riding jacket and pants from scratching the paint on the fuel tank.
Some people have complained on the Spanish AT forum that the lacquer on the sides of their tanks has started to show some minor damage very quickly, so before mine does too, I ordered this set on Ebay.
They come from Italy, and first impressions on the quality of the product and the service from the vendor were good. They were delivered within a week of ordering and are thick and well-finished.
Things did not look so good when it came to putting them on the tank, however. These stickers are designed specifically for the Rally red paint scheme on the AT, the side stickers following the white stripe. When I lined them up against it, I saw that the white stripe on the sticker did not match the one on the bike at several points.
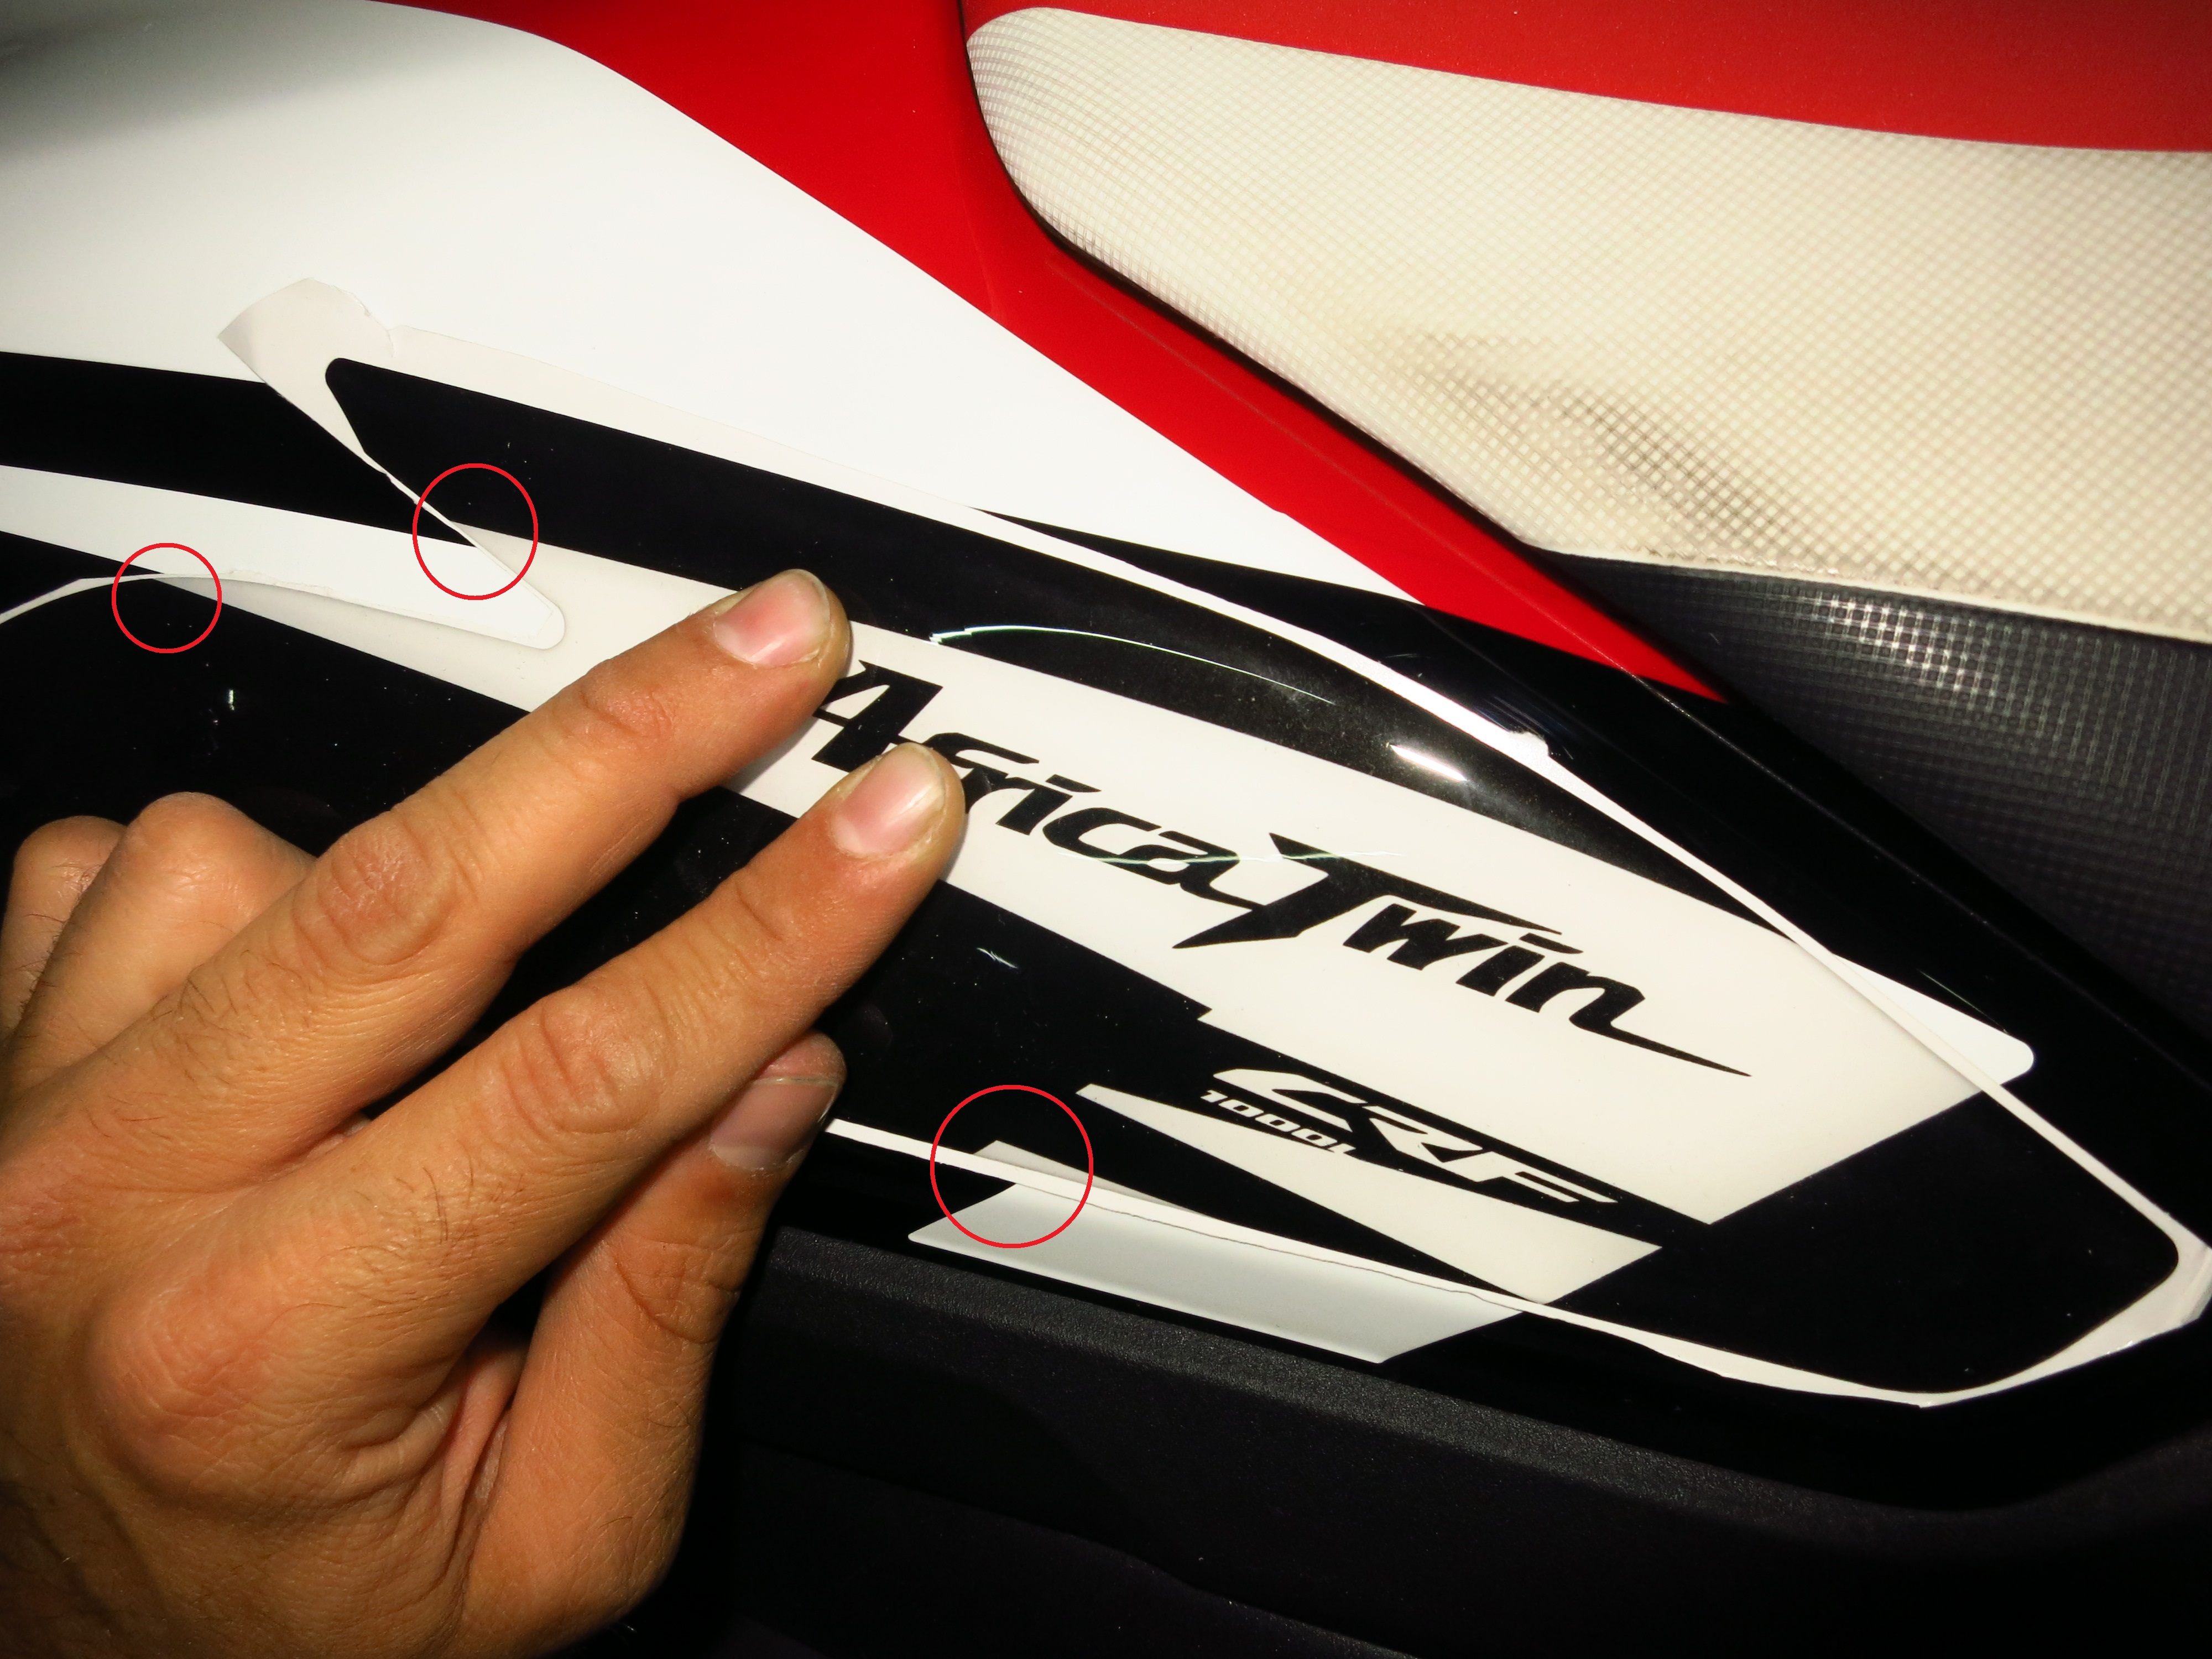 I sent a complaint to the vendor with these pictures attached, and got a reply in less than 24 hours: nothing wrong with the stickers, the white stripe is actually transparent to allow for differences in the paint in different bikes. What I saw white was actually the protective film behind the sticker. Well, that was embarrassing…
Back to the garage to get them on, then.
The tank protector that the previous owner had put on my old V-Strom was about 2cm off to the left, which drove me crazy for the five years I rode the bike, and that was black on black. Determined to do a proper job this time, I watched some tutorials online and followed the recommended method:
Step one: clean the surface with alcohol and let it dry.
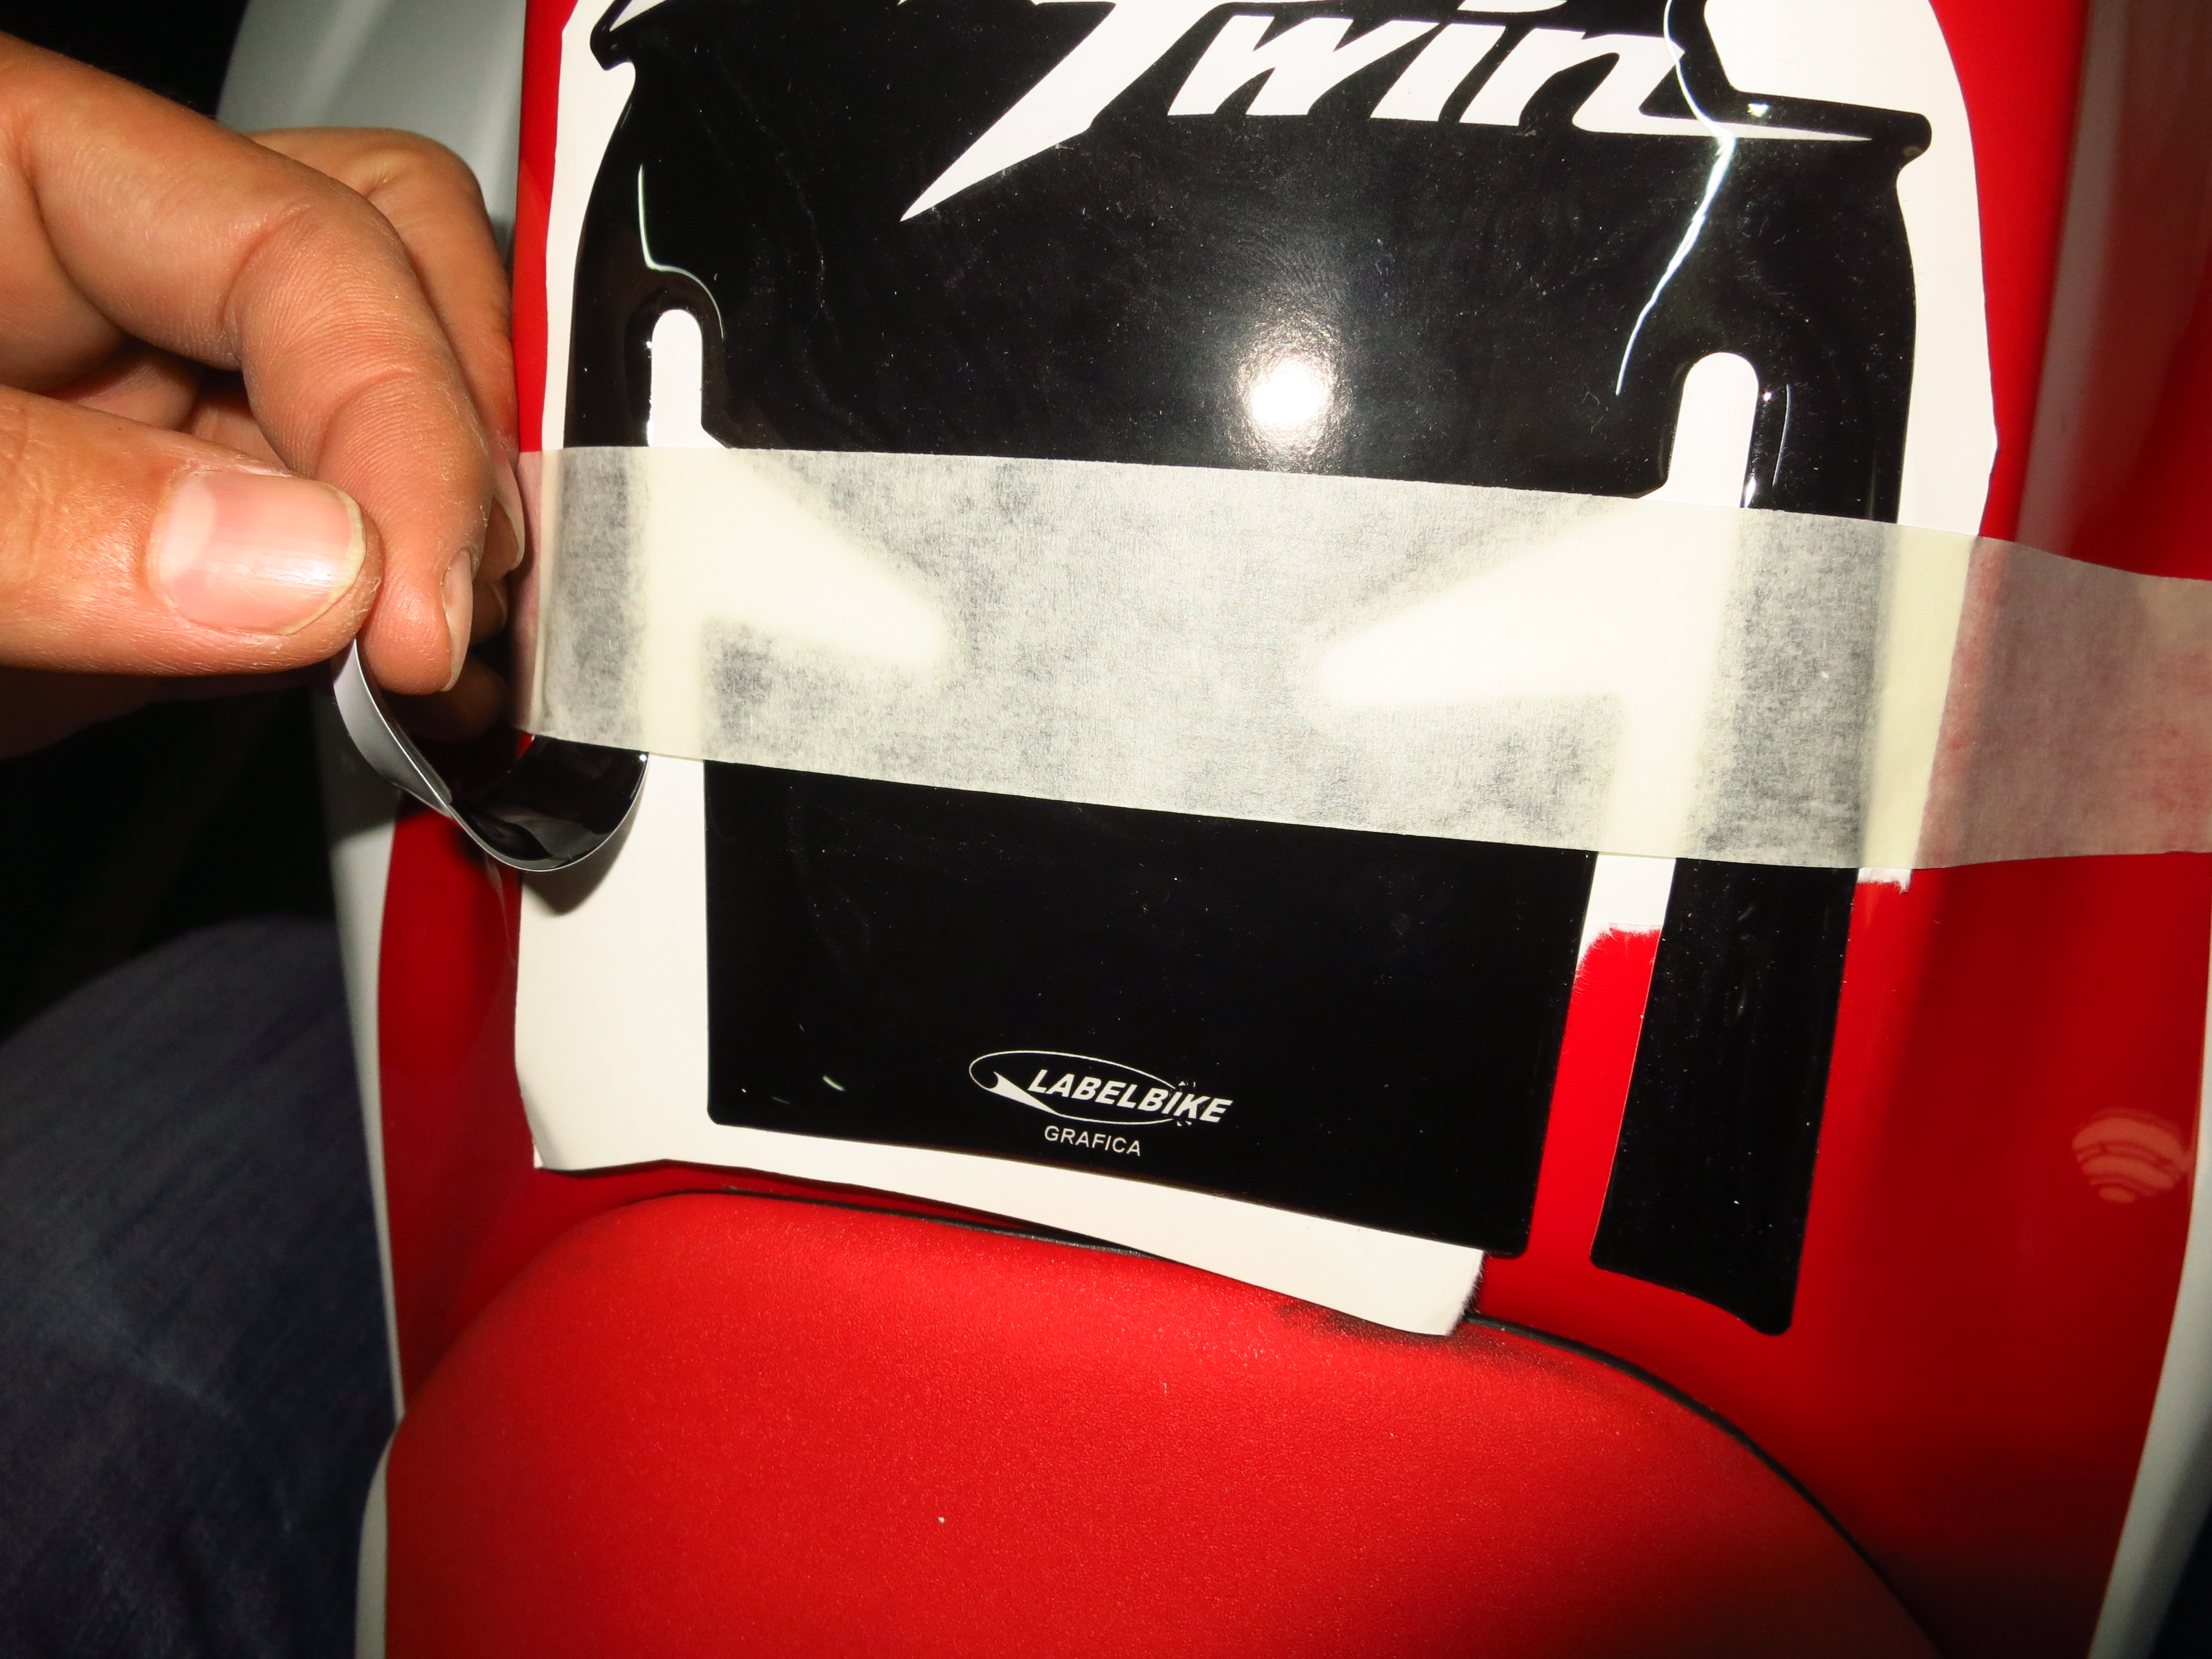
 Step two: without removing the white paper at the back of the stickers, put them in the desired position, make sure everything lines up correctly and fix them in place with masking tape.

 Step three: lift the sticker on either side of the masking tape, separate it from the white paper and cut the paper away. (Important tip here – you can tear the paper, but if there are transparent areas in the sticker, small shreds of paper might remain stuck to it and be visible, so it is better to cut it clean with a pair of scissors).


 Press the sticker against the tank surface from the masking tape outwards, making sure there are no wrinkles or air bubbles. A plastic ice scratcher is a good tool to do that.
 Step four: one third of the sticker securely in place, remove the masking tape, lift the other two thirds and repeat the process.

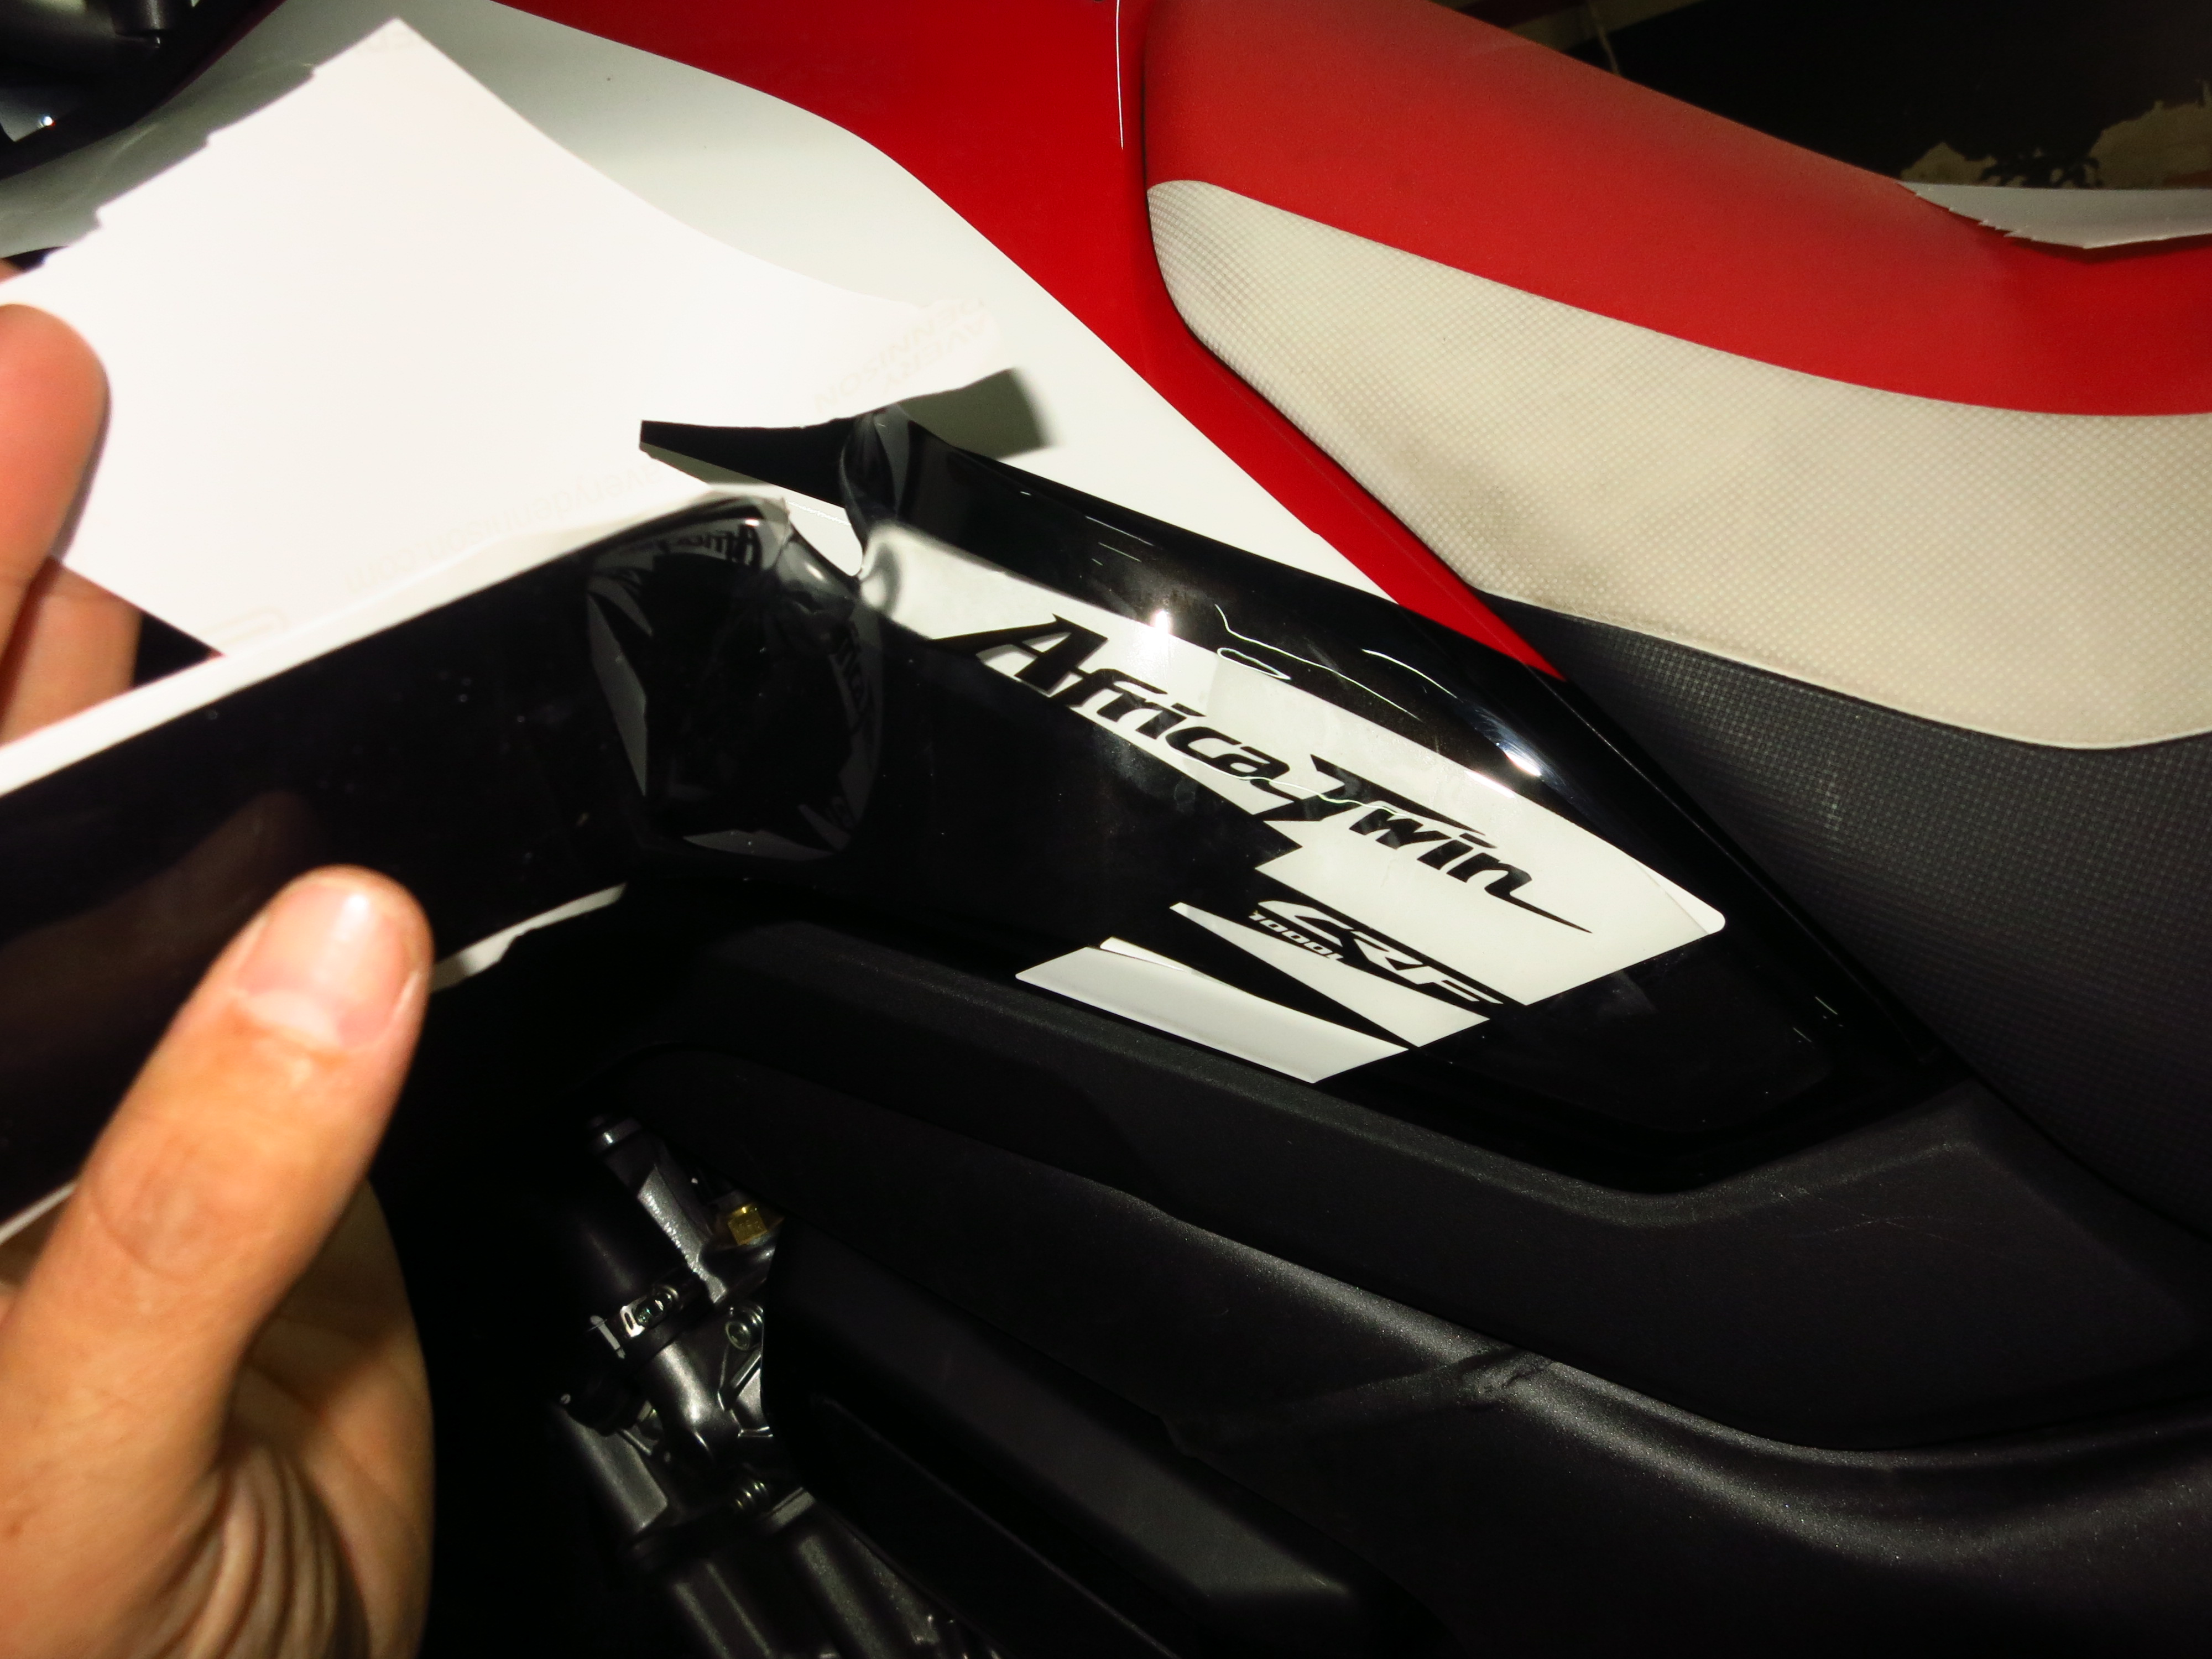 The result looks great:

 The white lines you can see are reflections from the fluorescent tubes on the ceiling.
